Category: Detroit Reno

  • February 2025 – Cosmetic Details

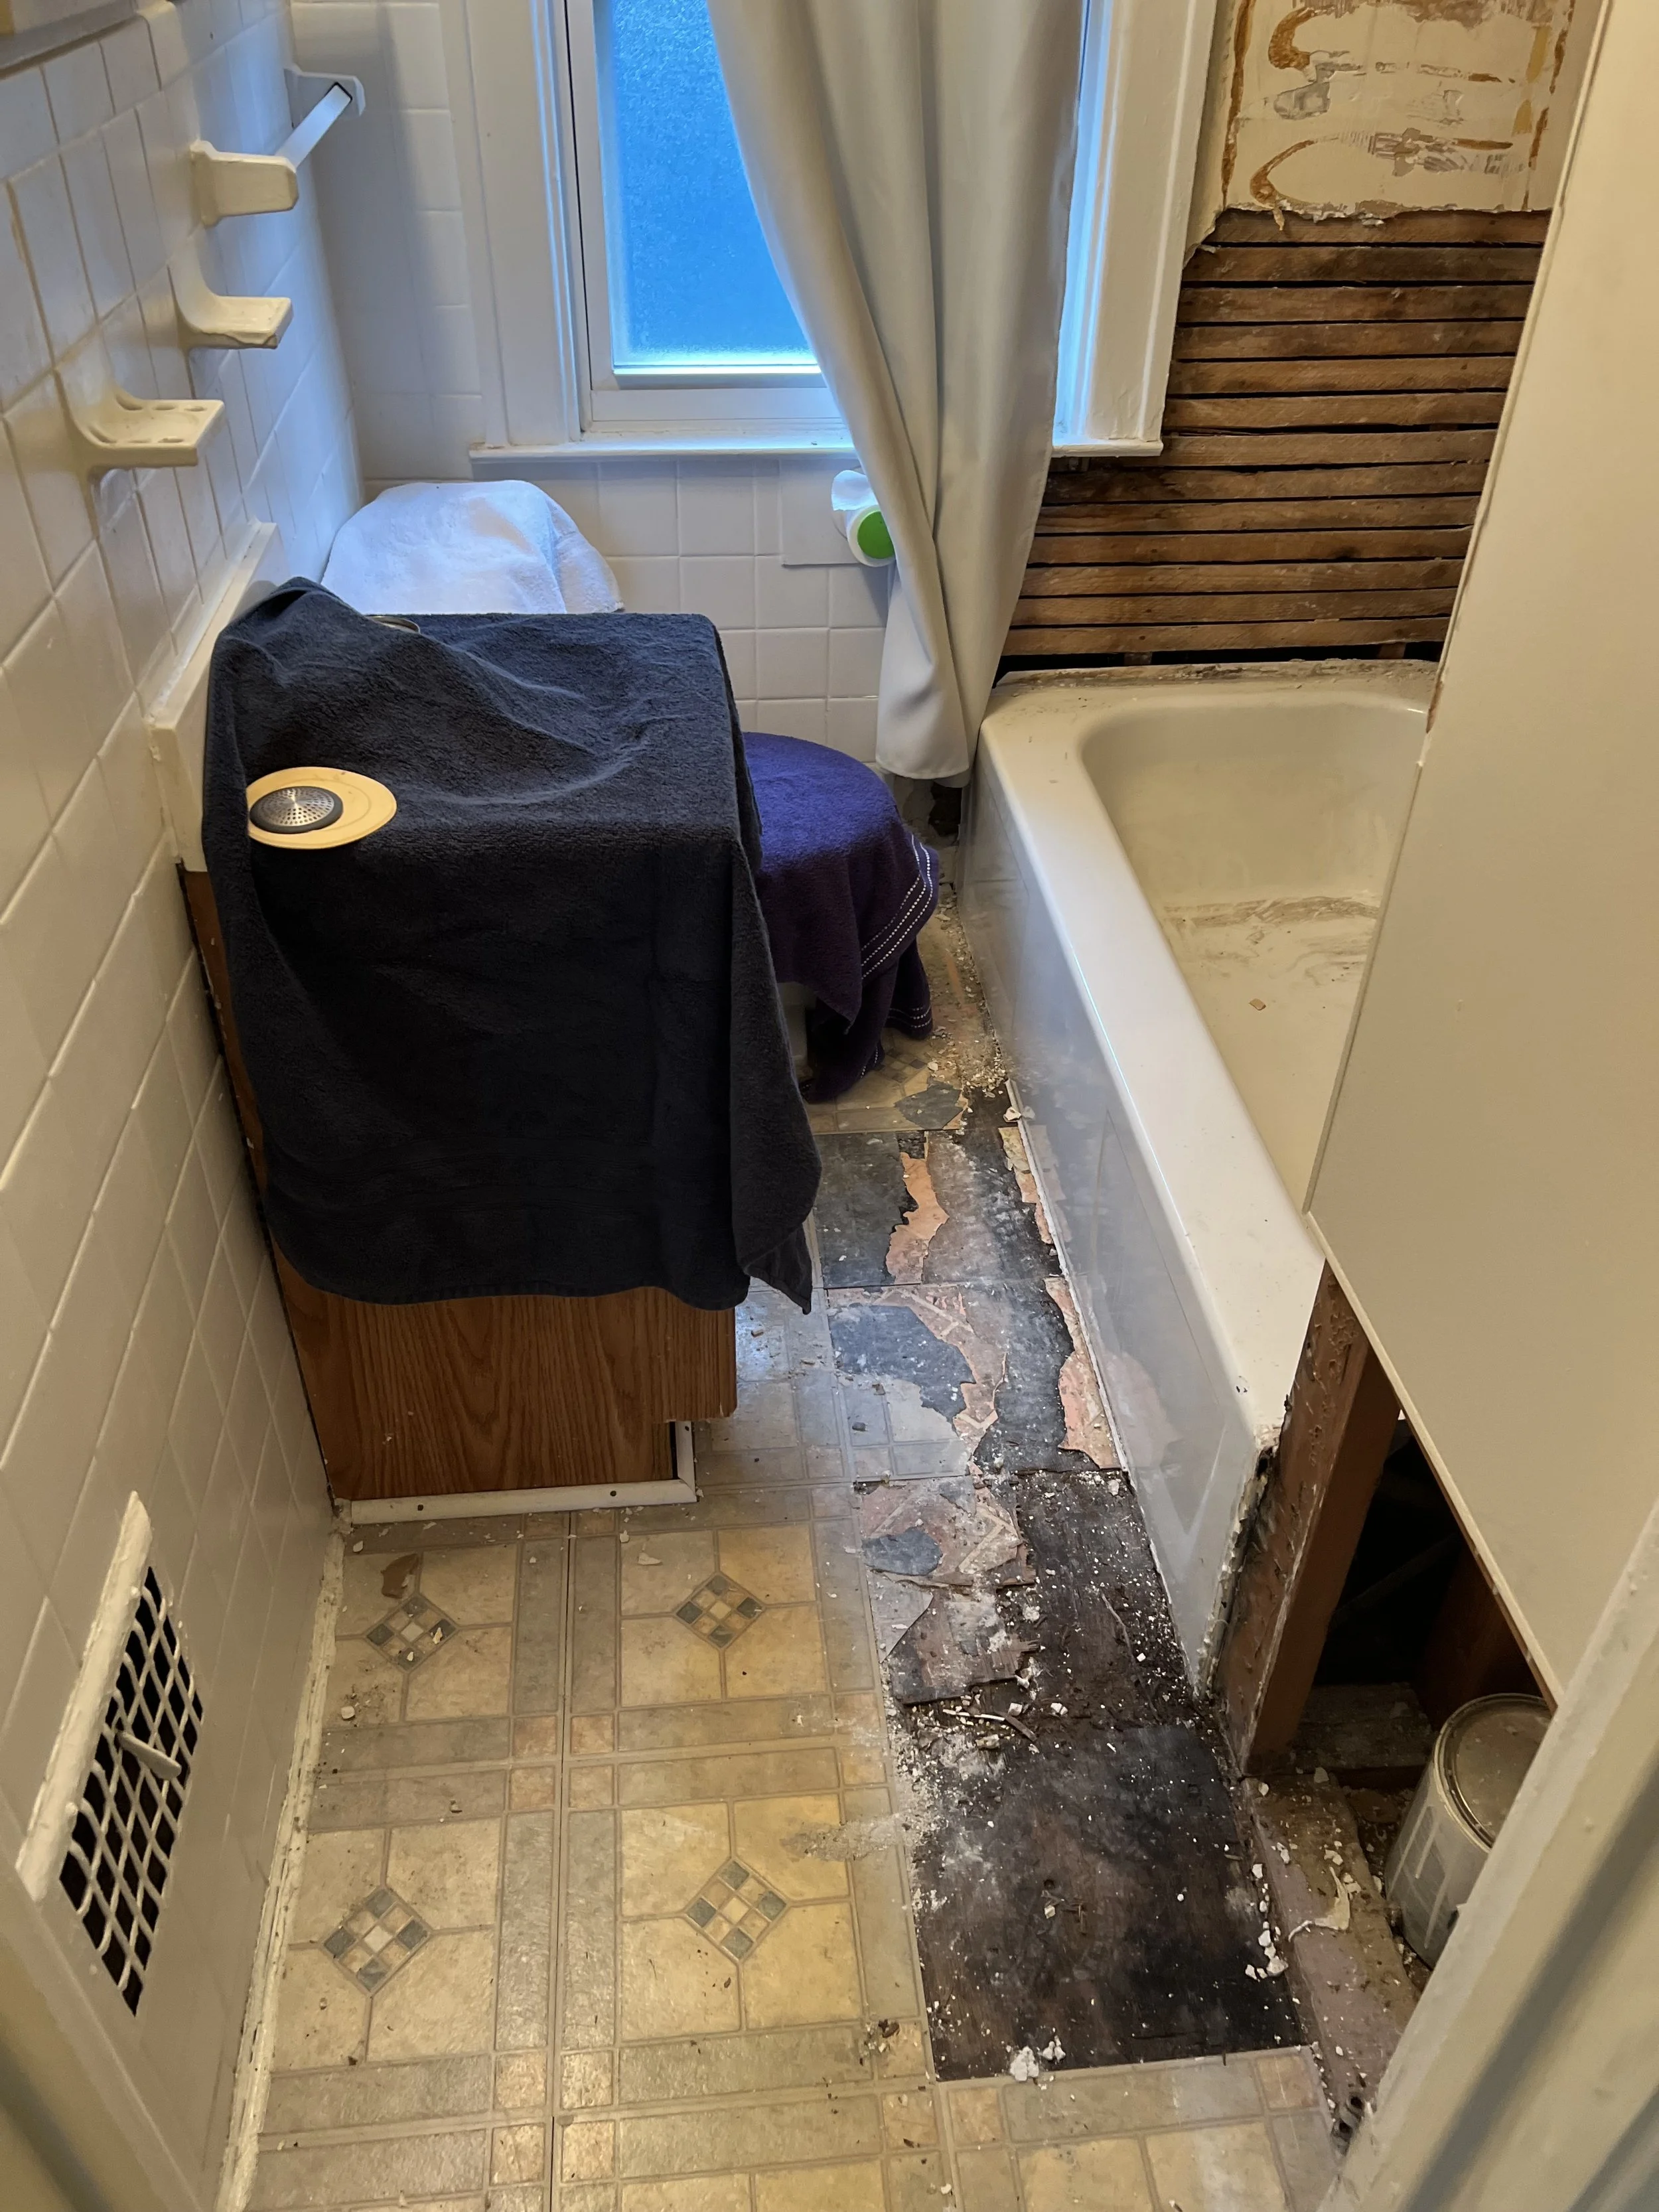
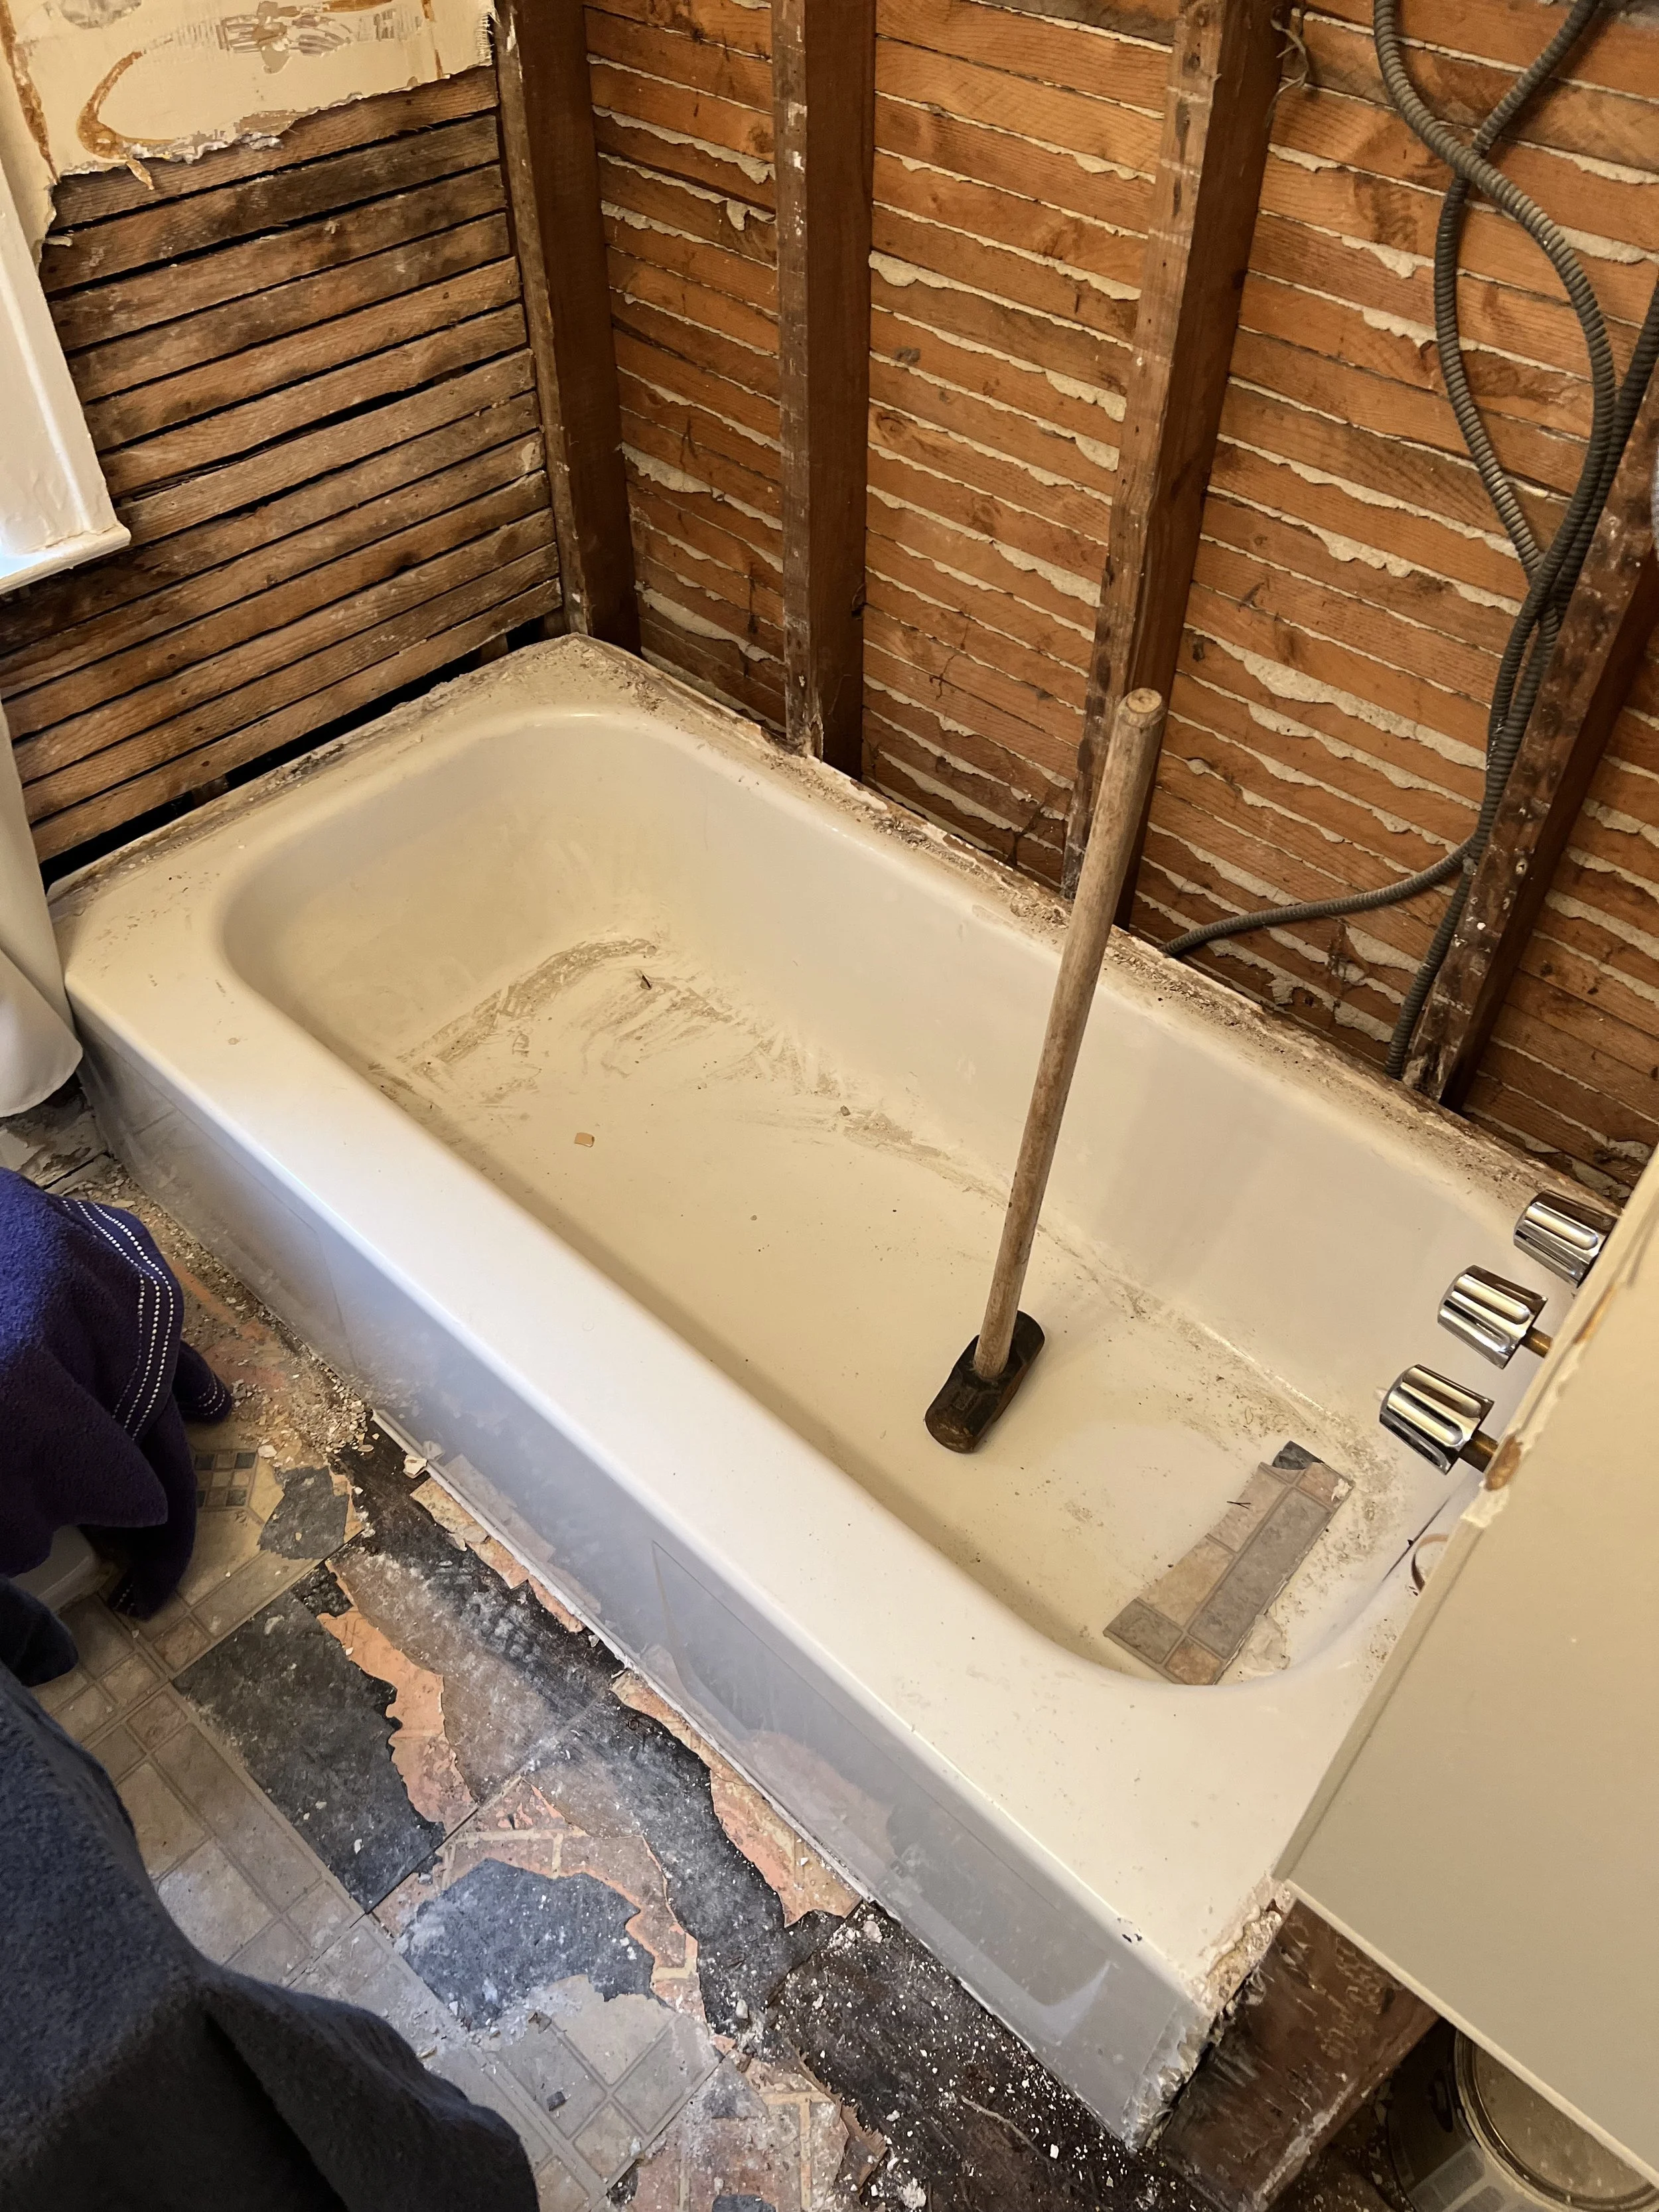
    In February the main project was the bathroom in my unit, but did several other little touchups around the house. We also got brand new water heaters, the old ones were both leaking, not holding consistent temperatures and at the end of their life.

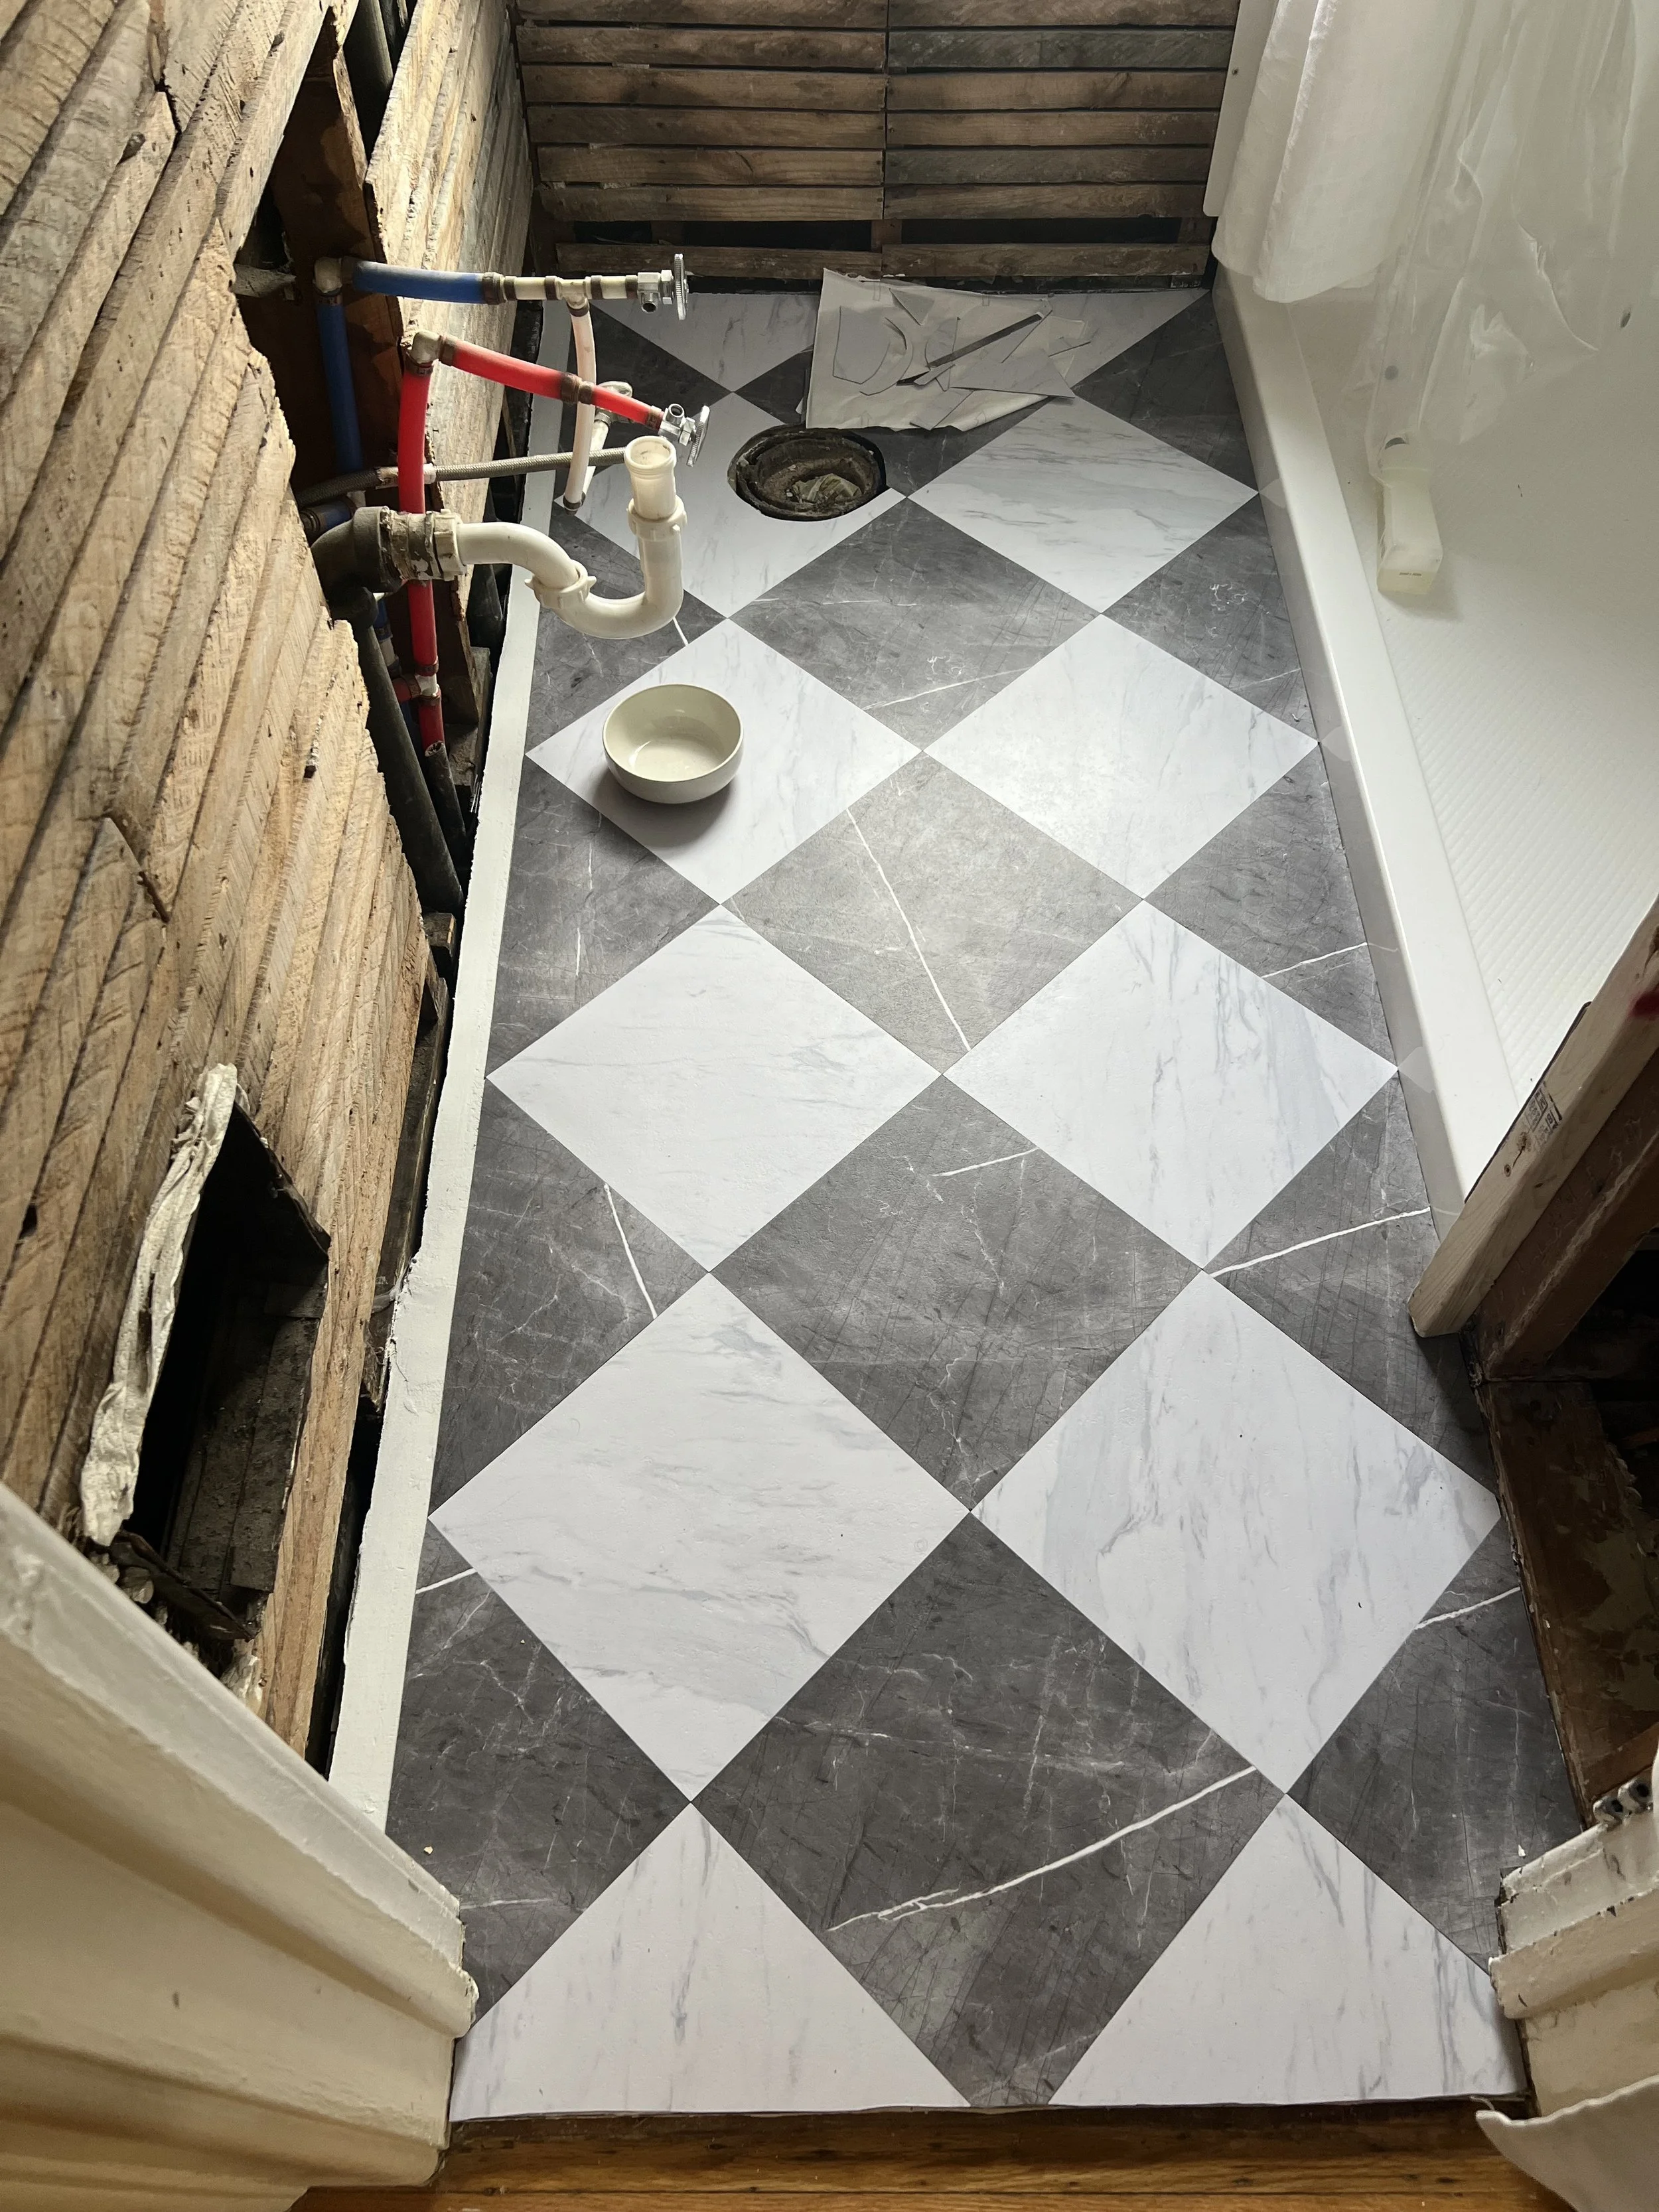
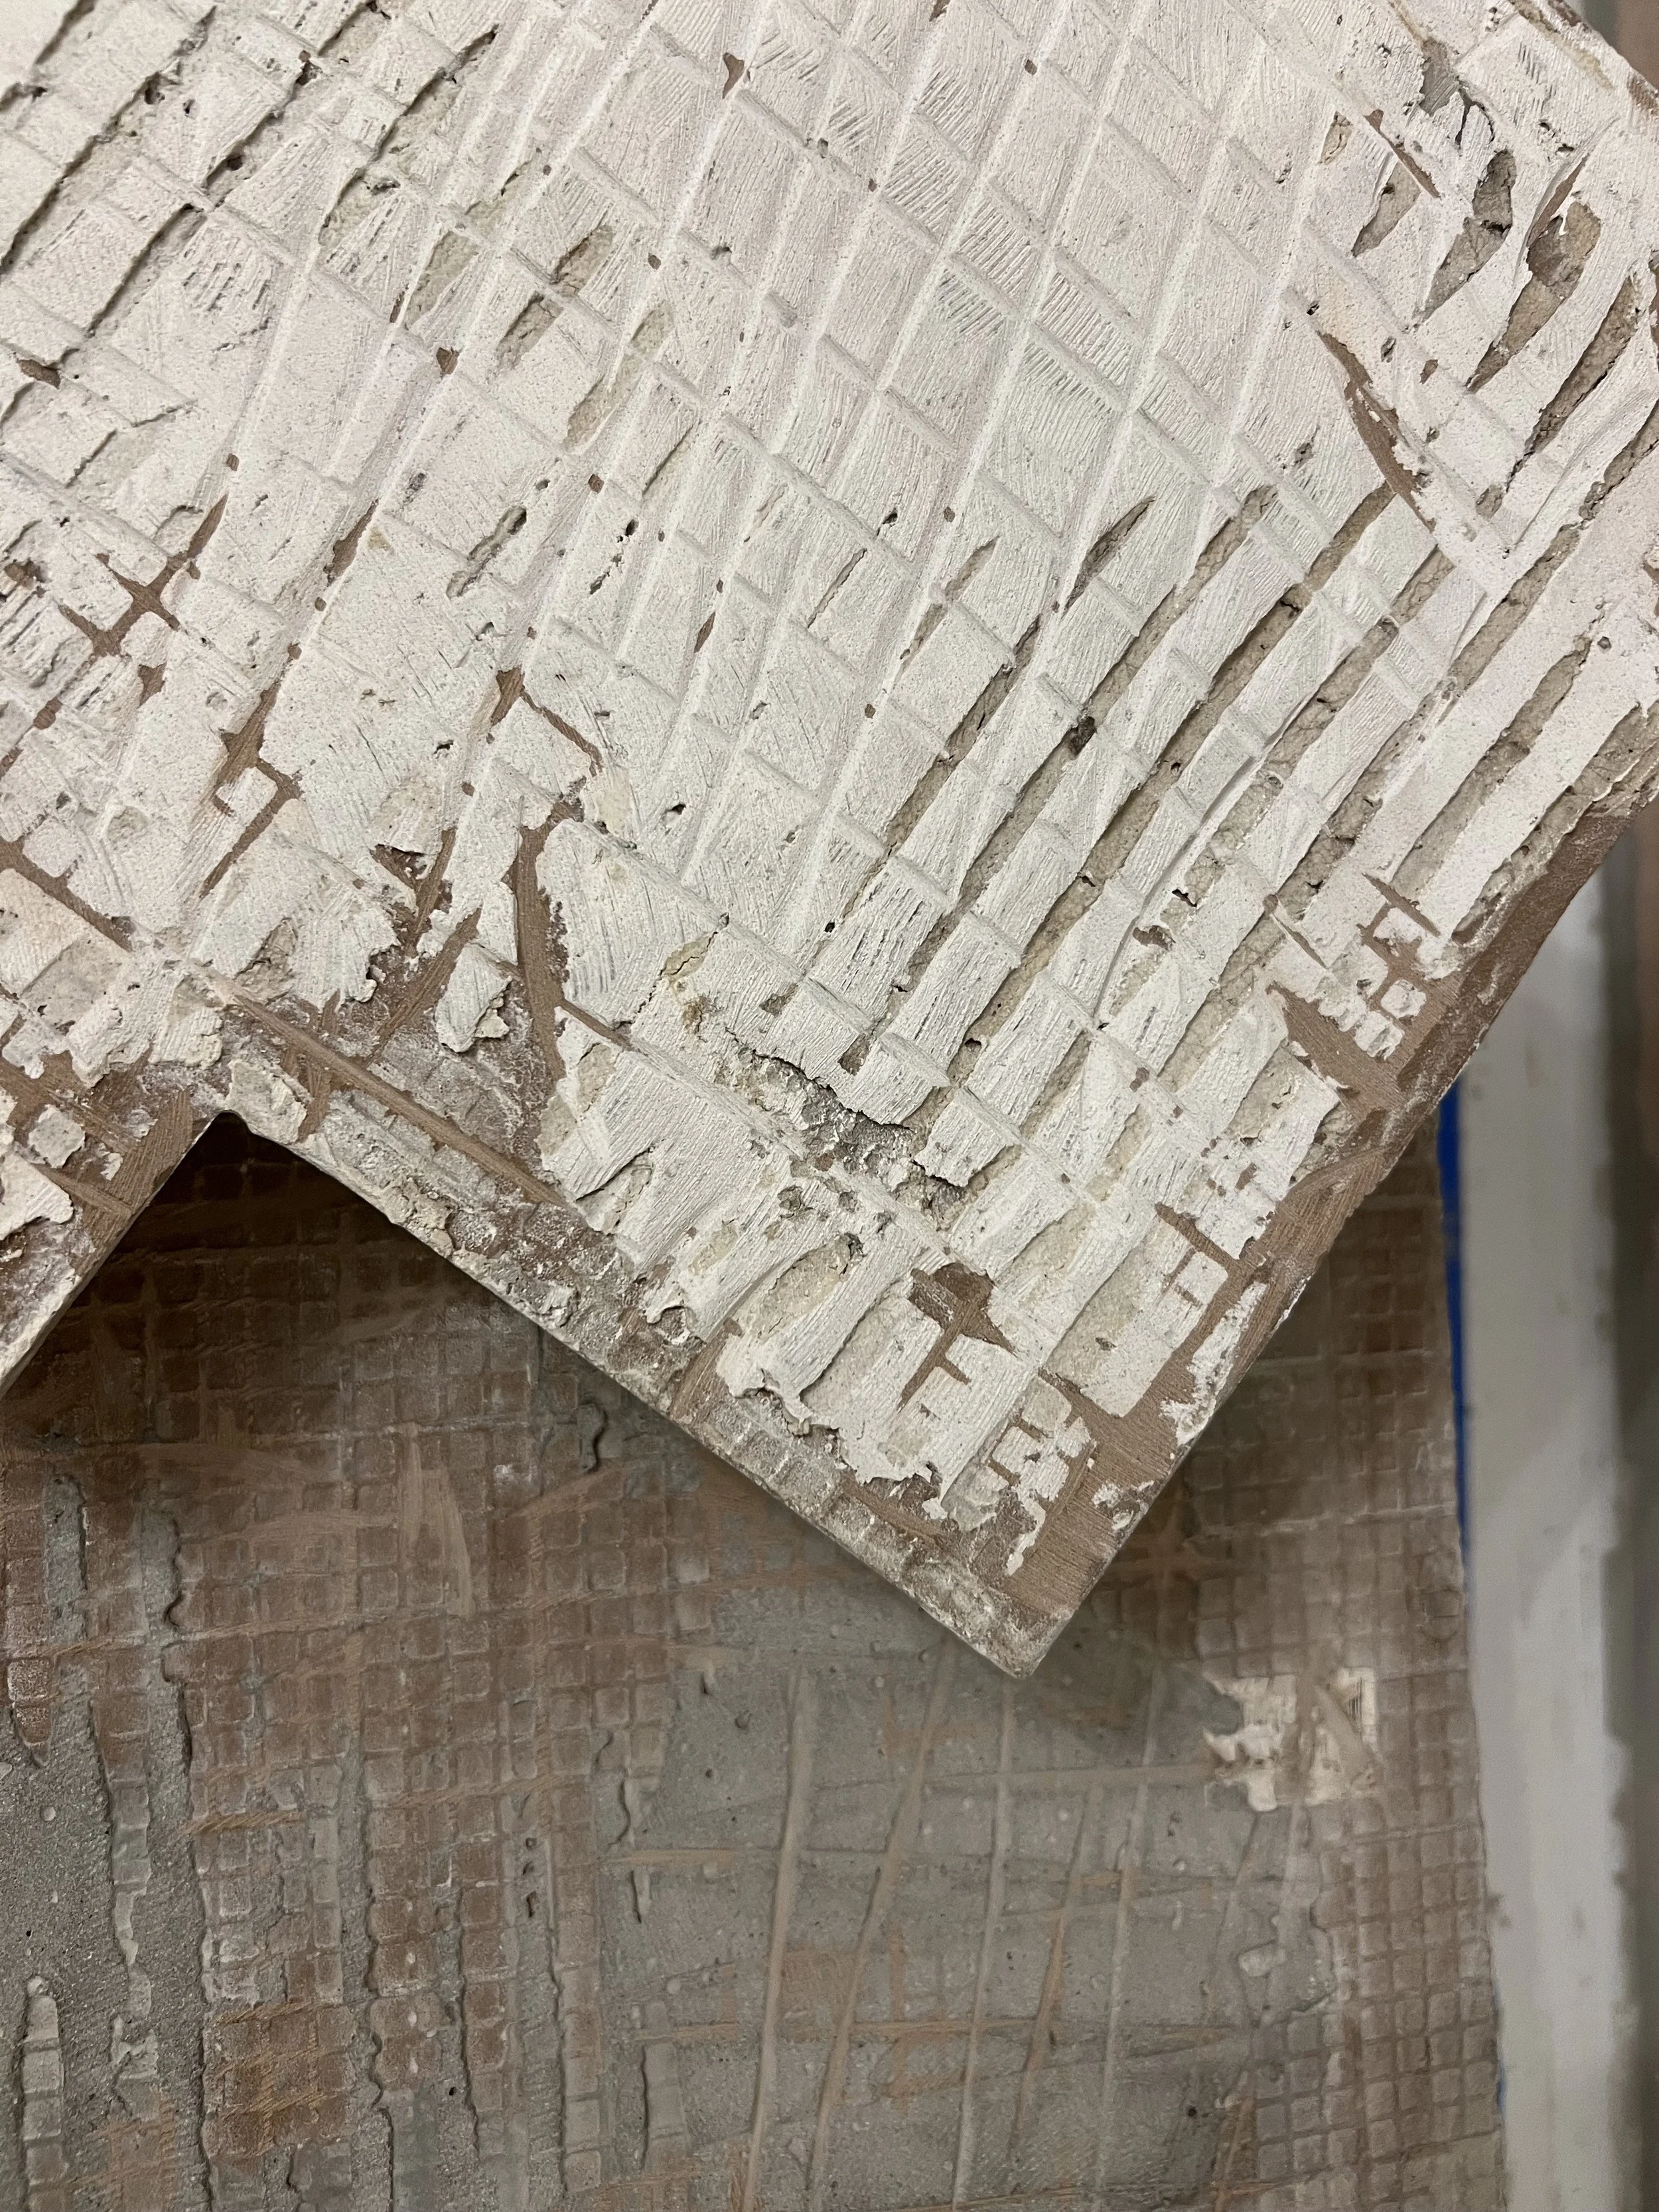
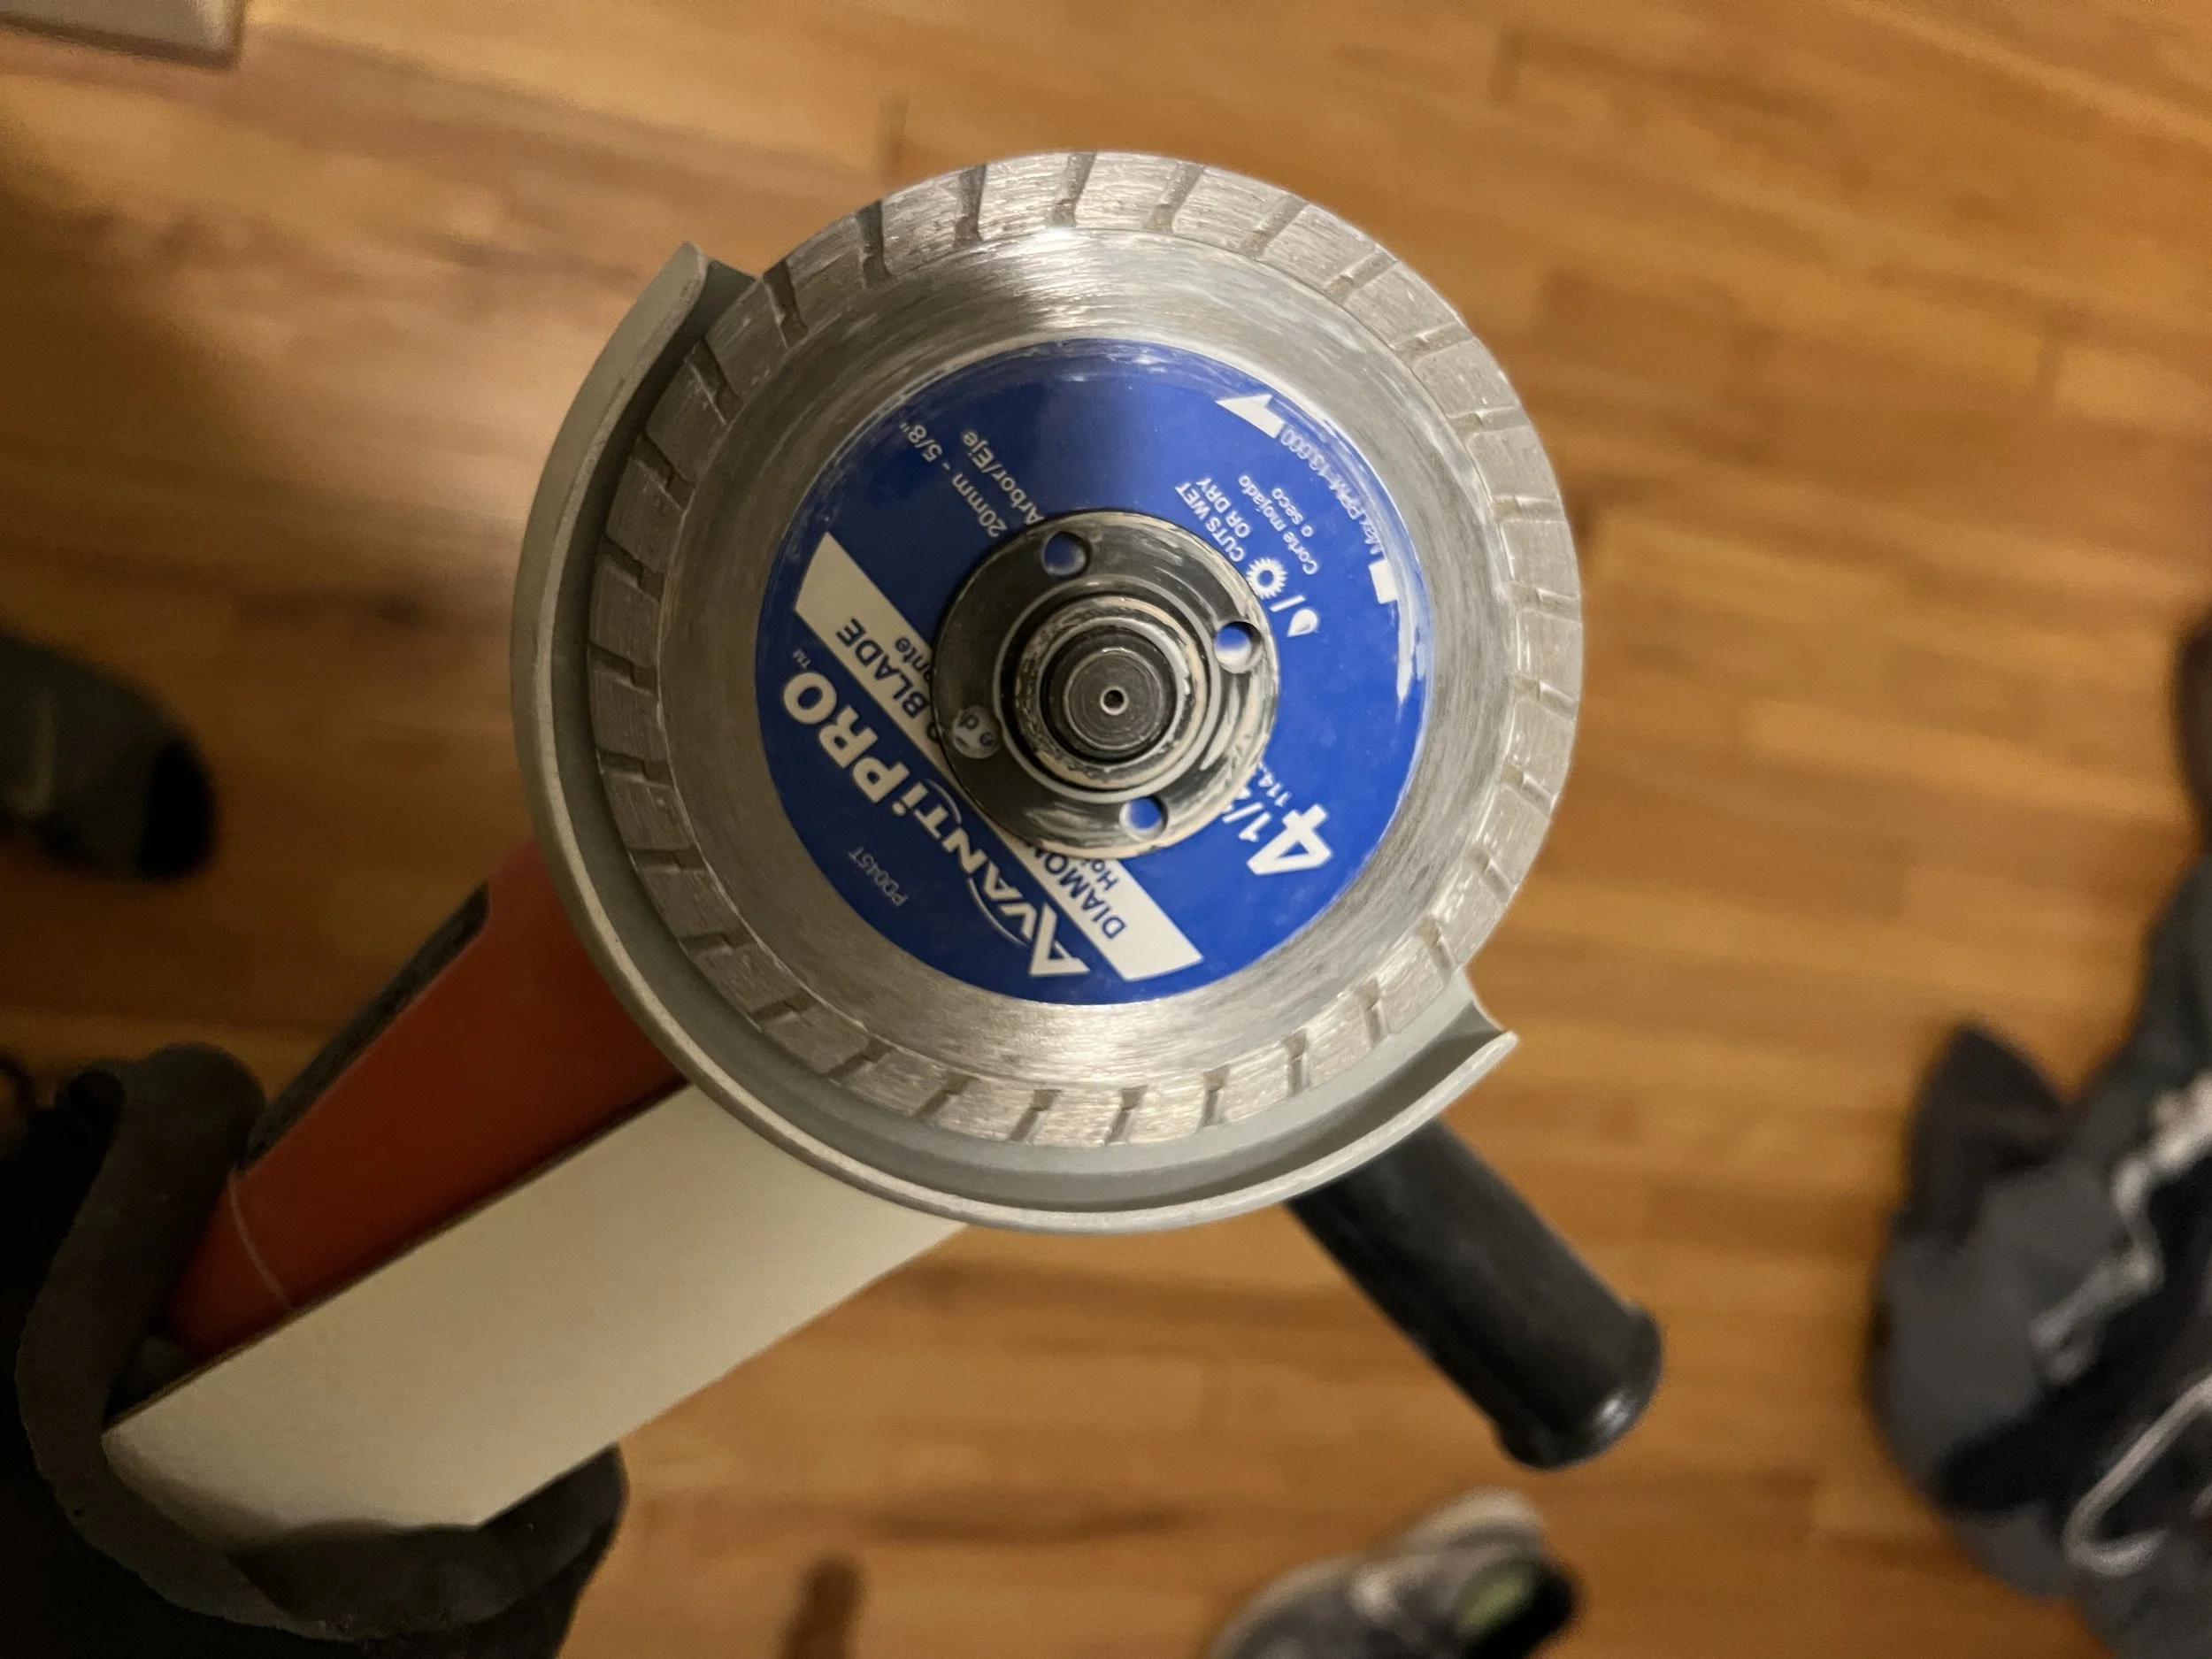
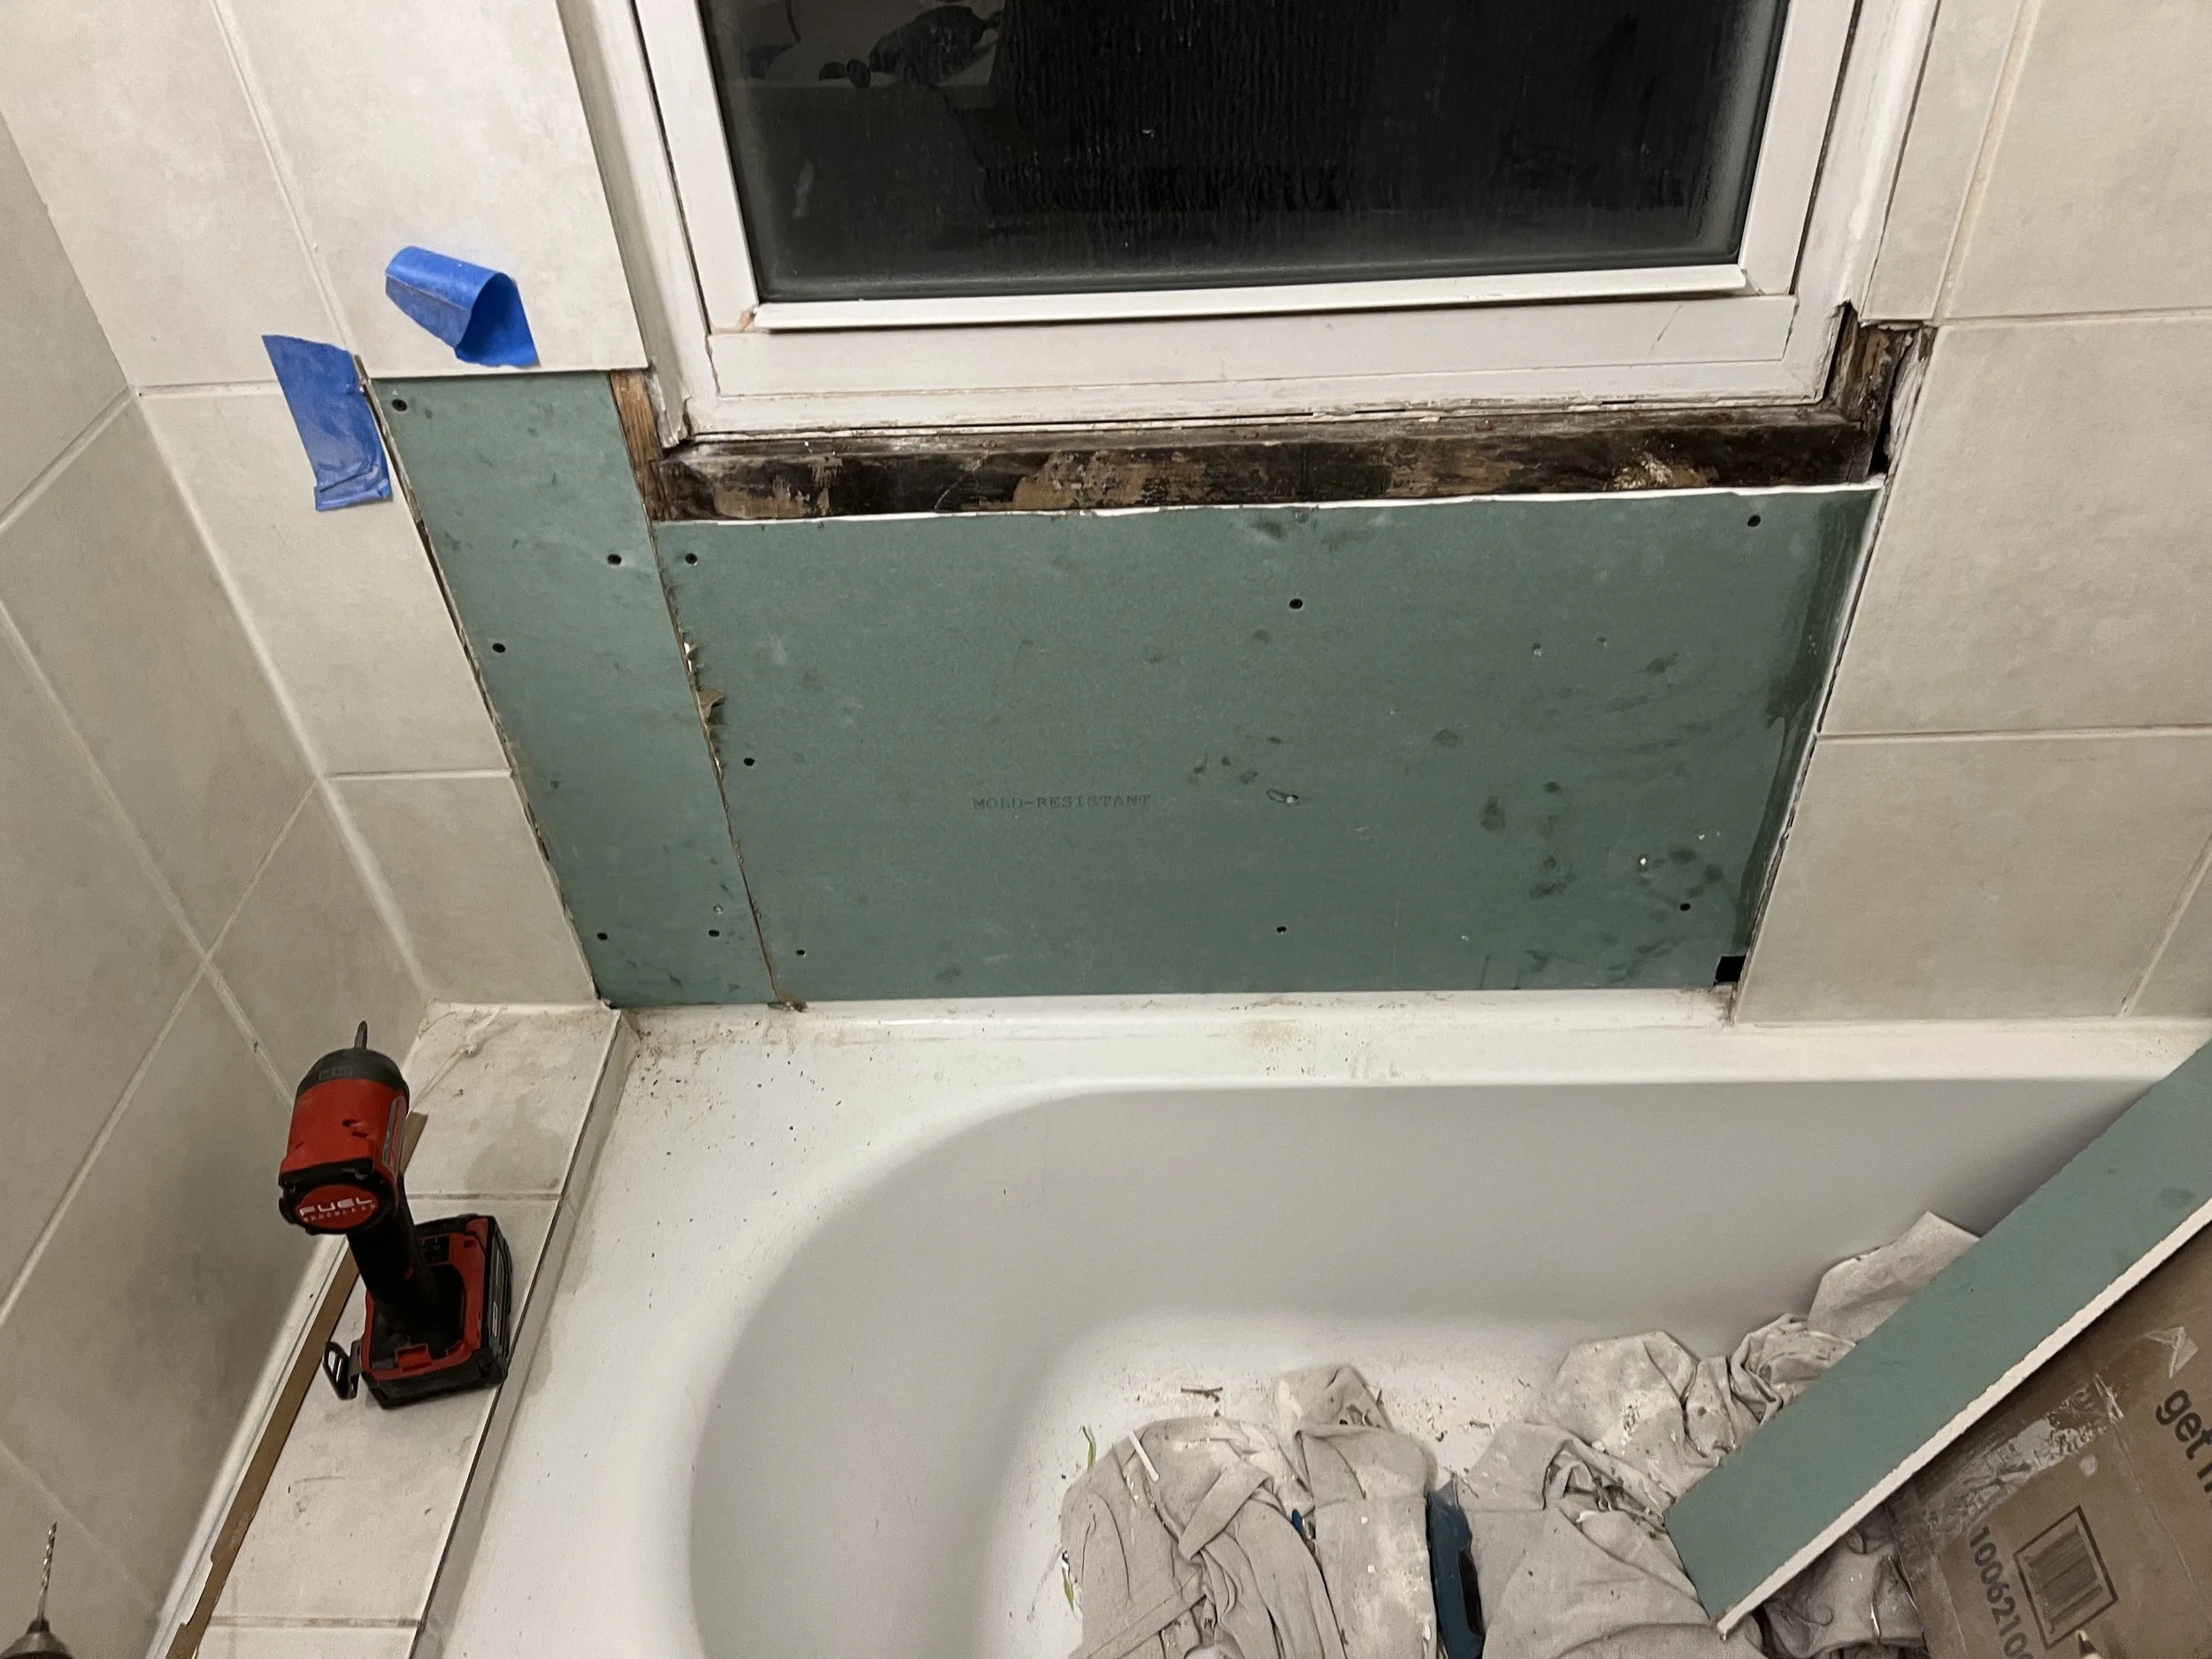
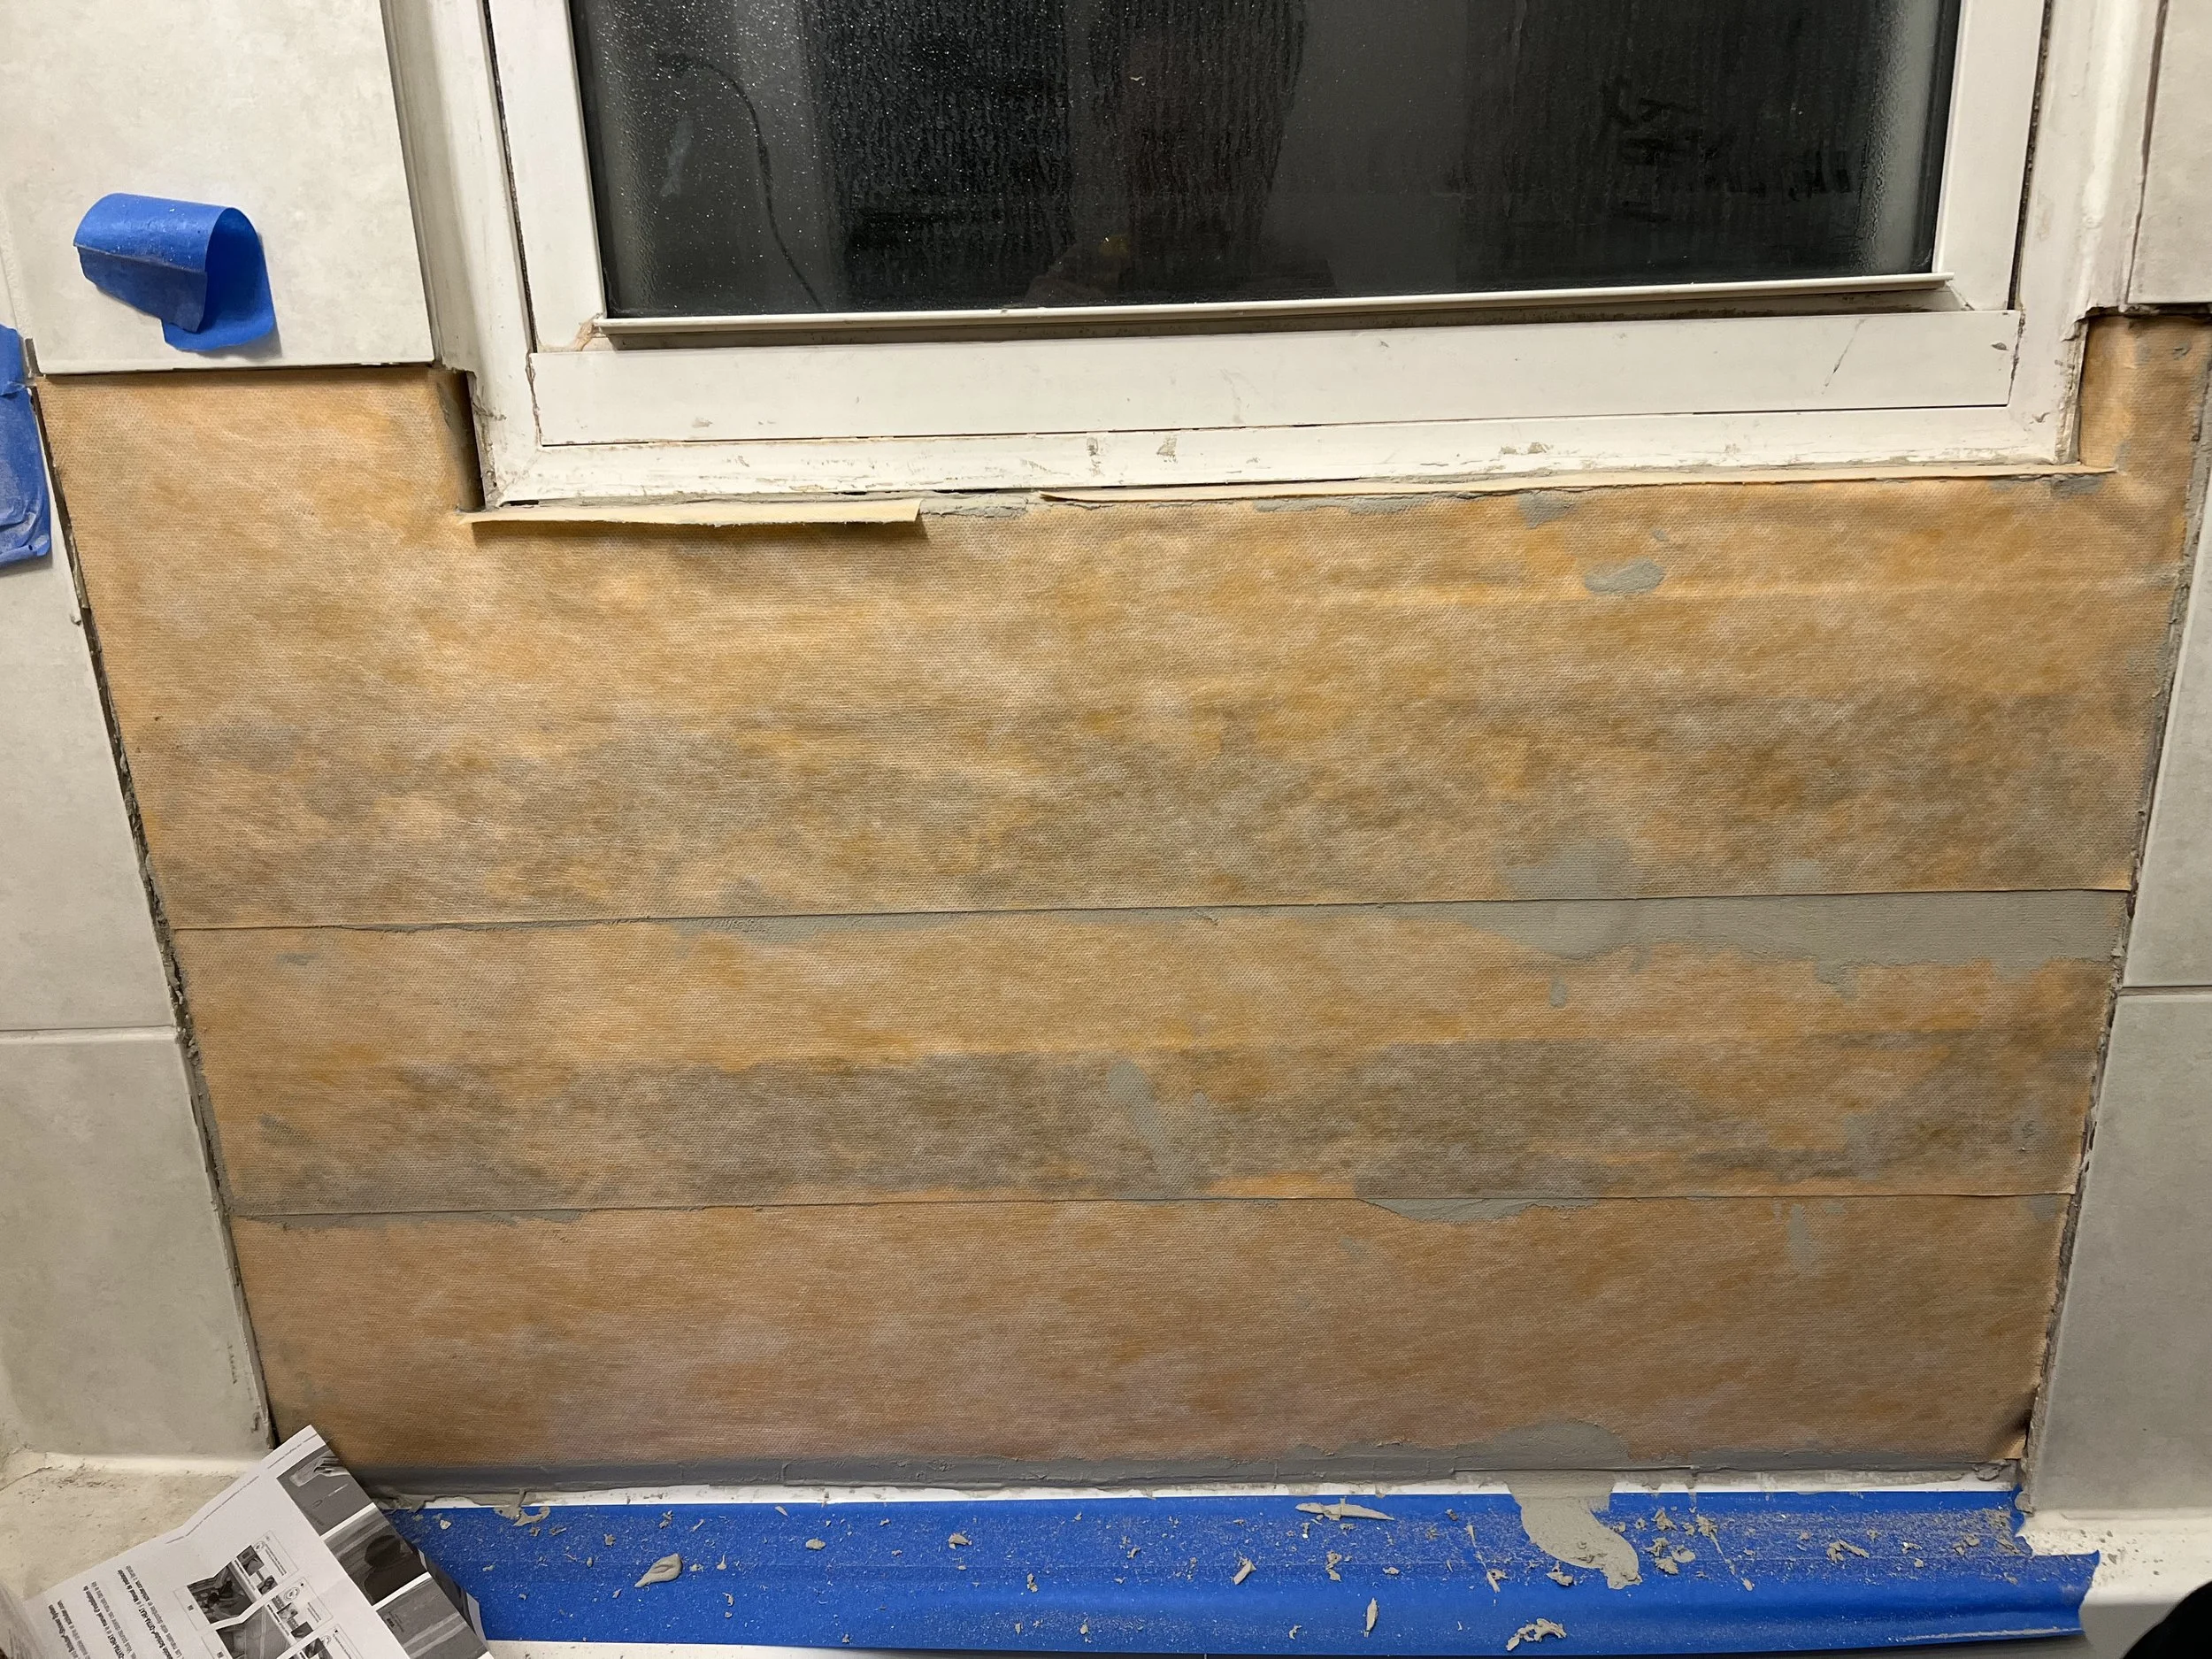
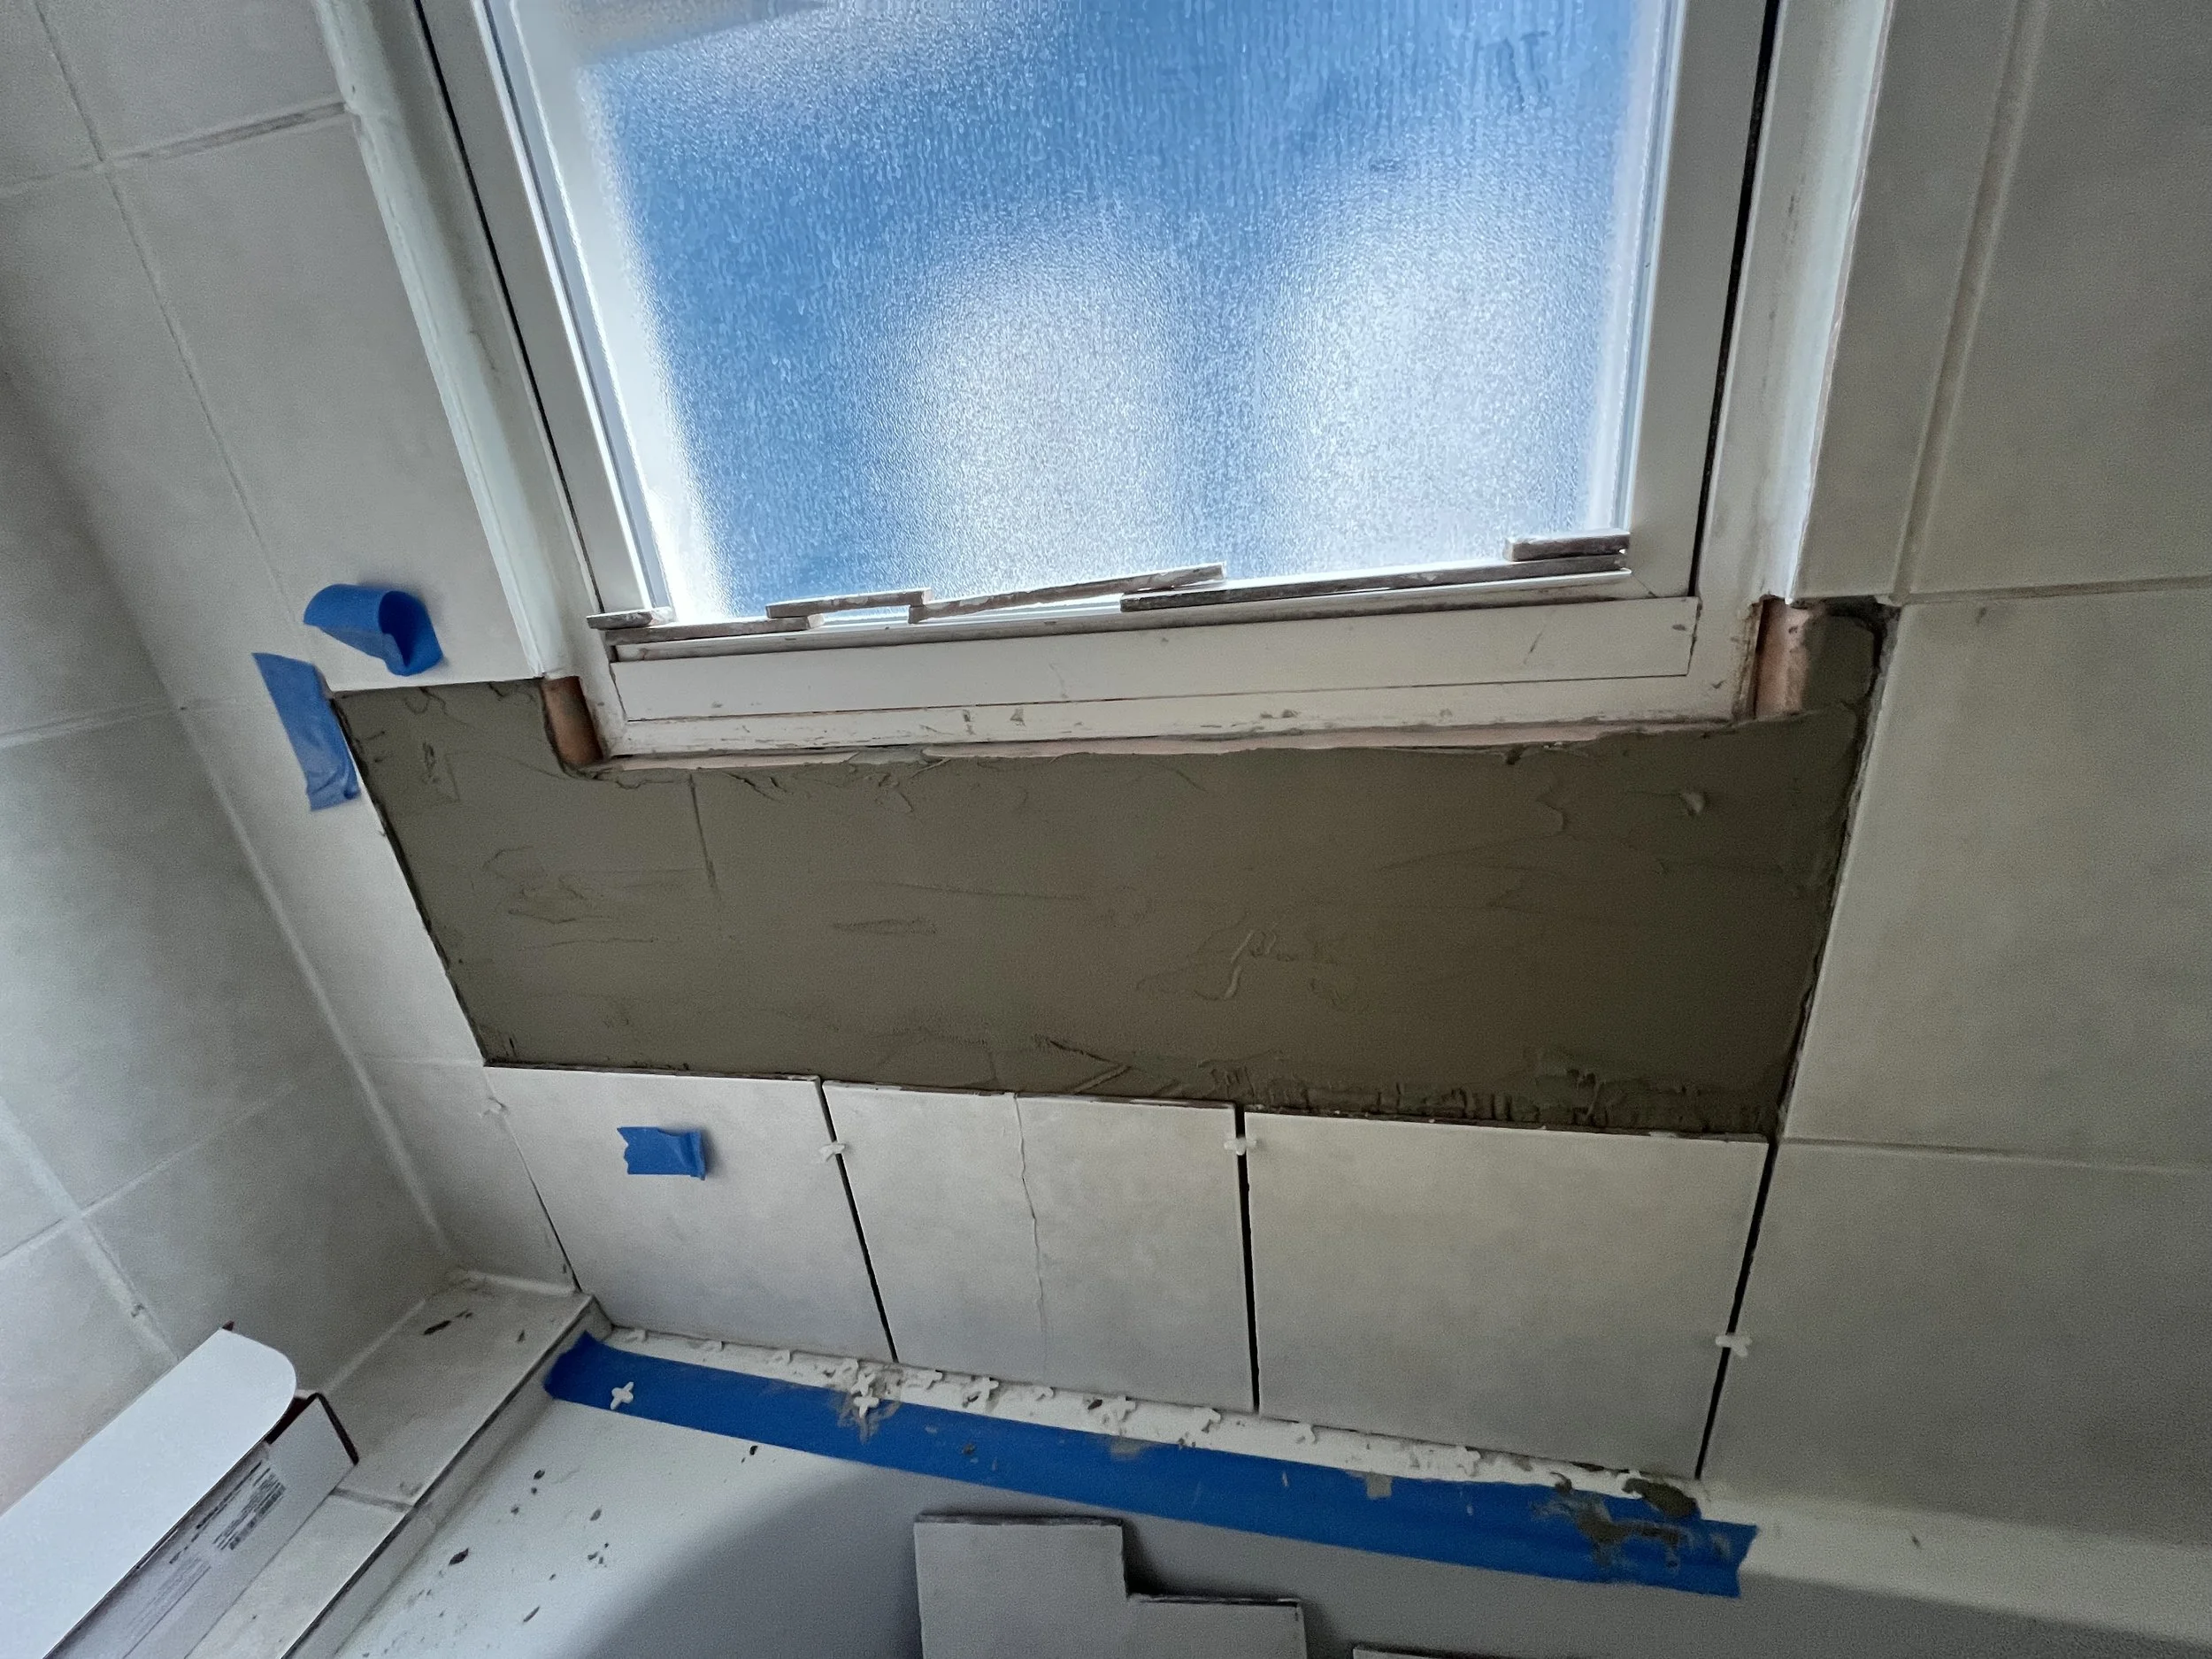
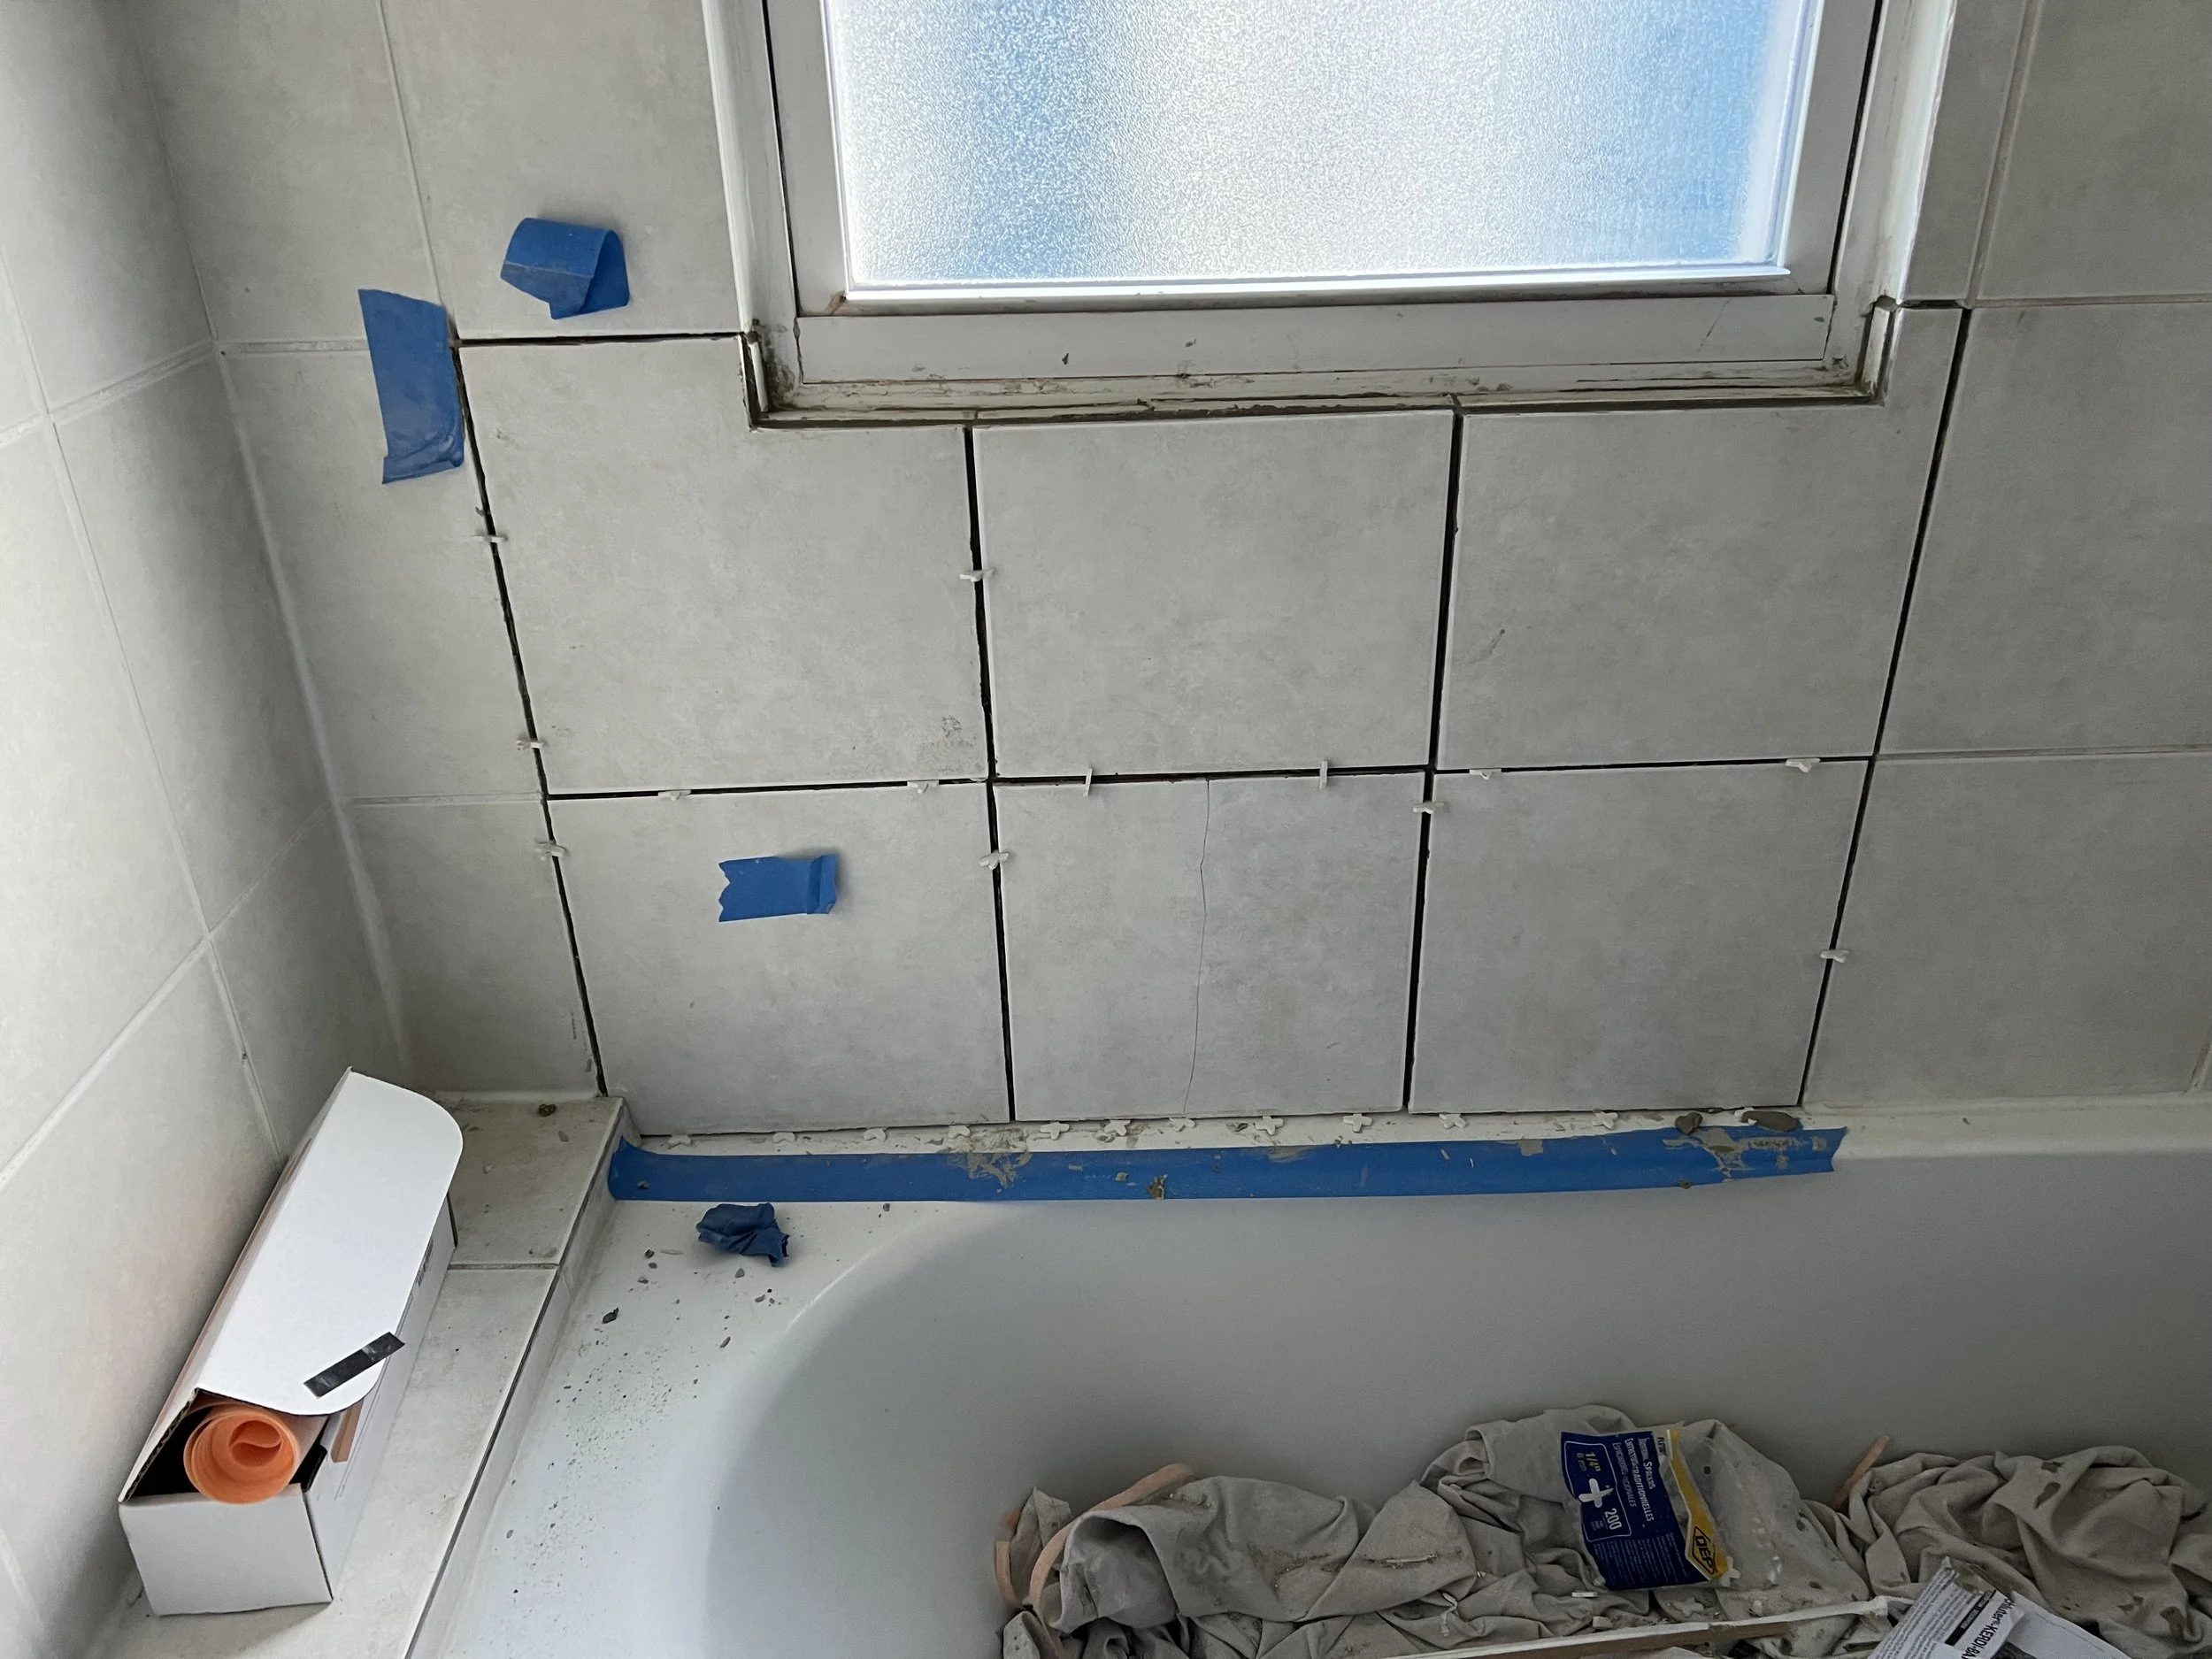
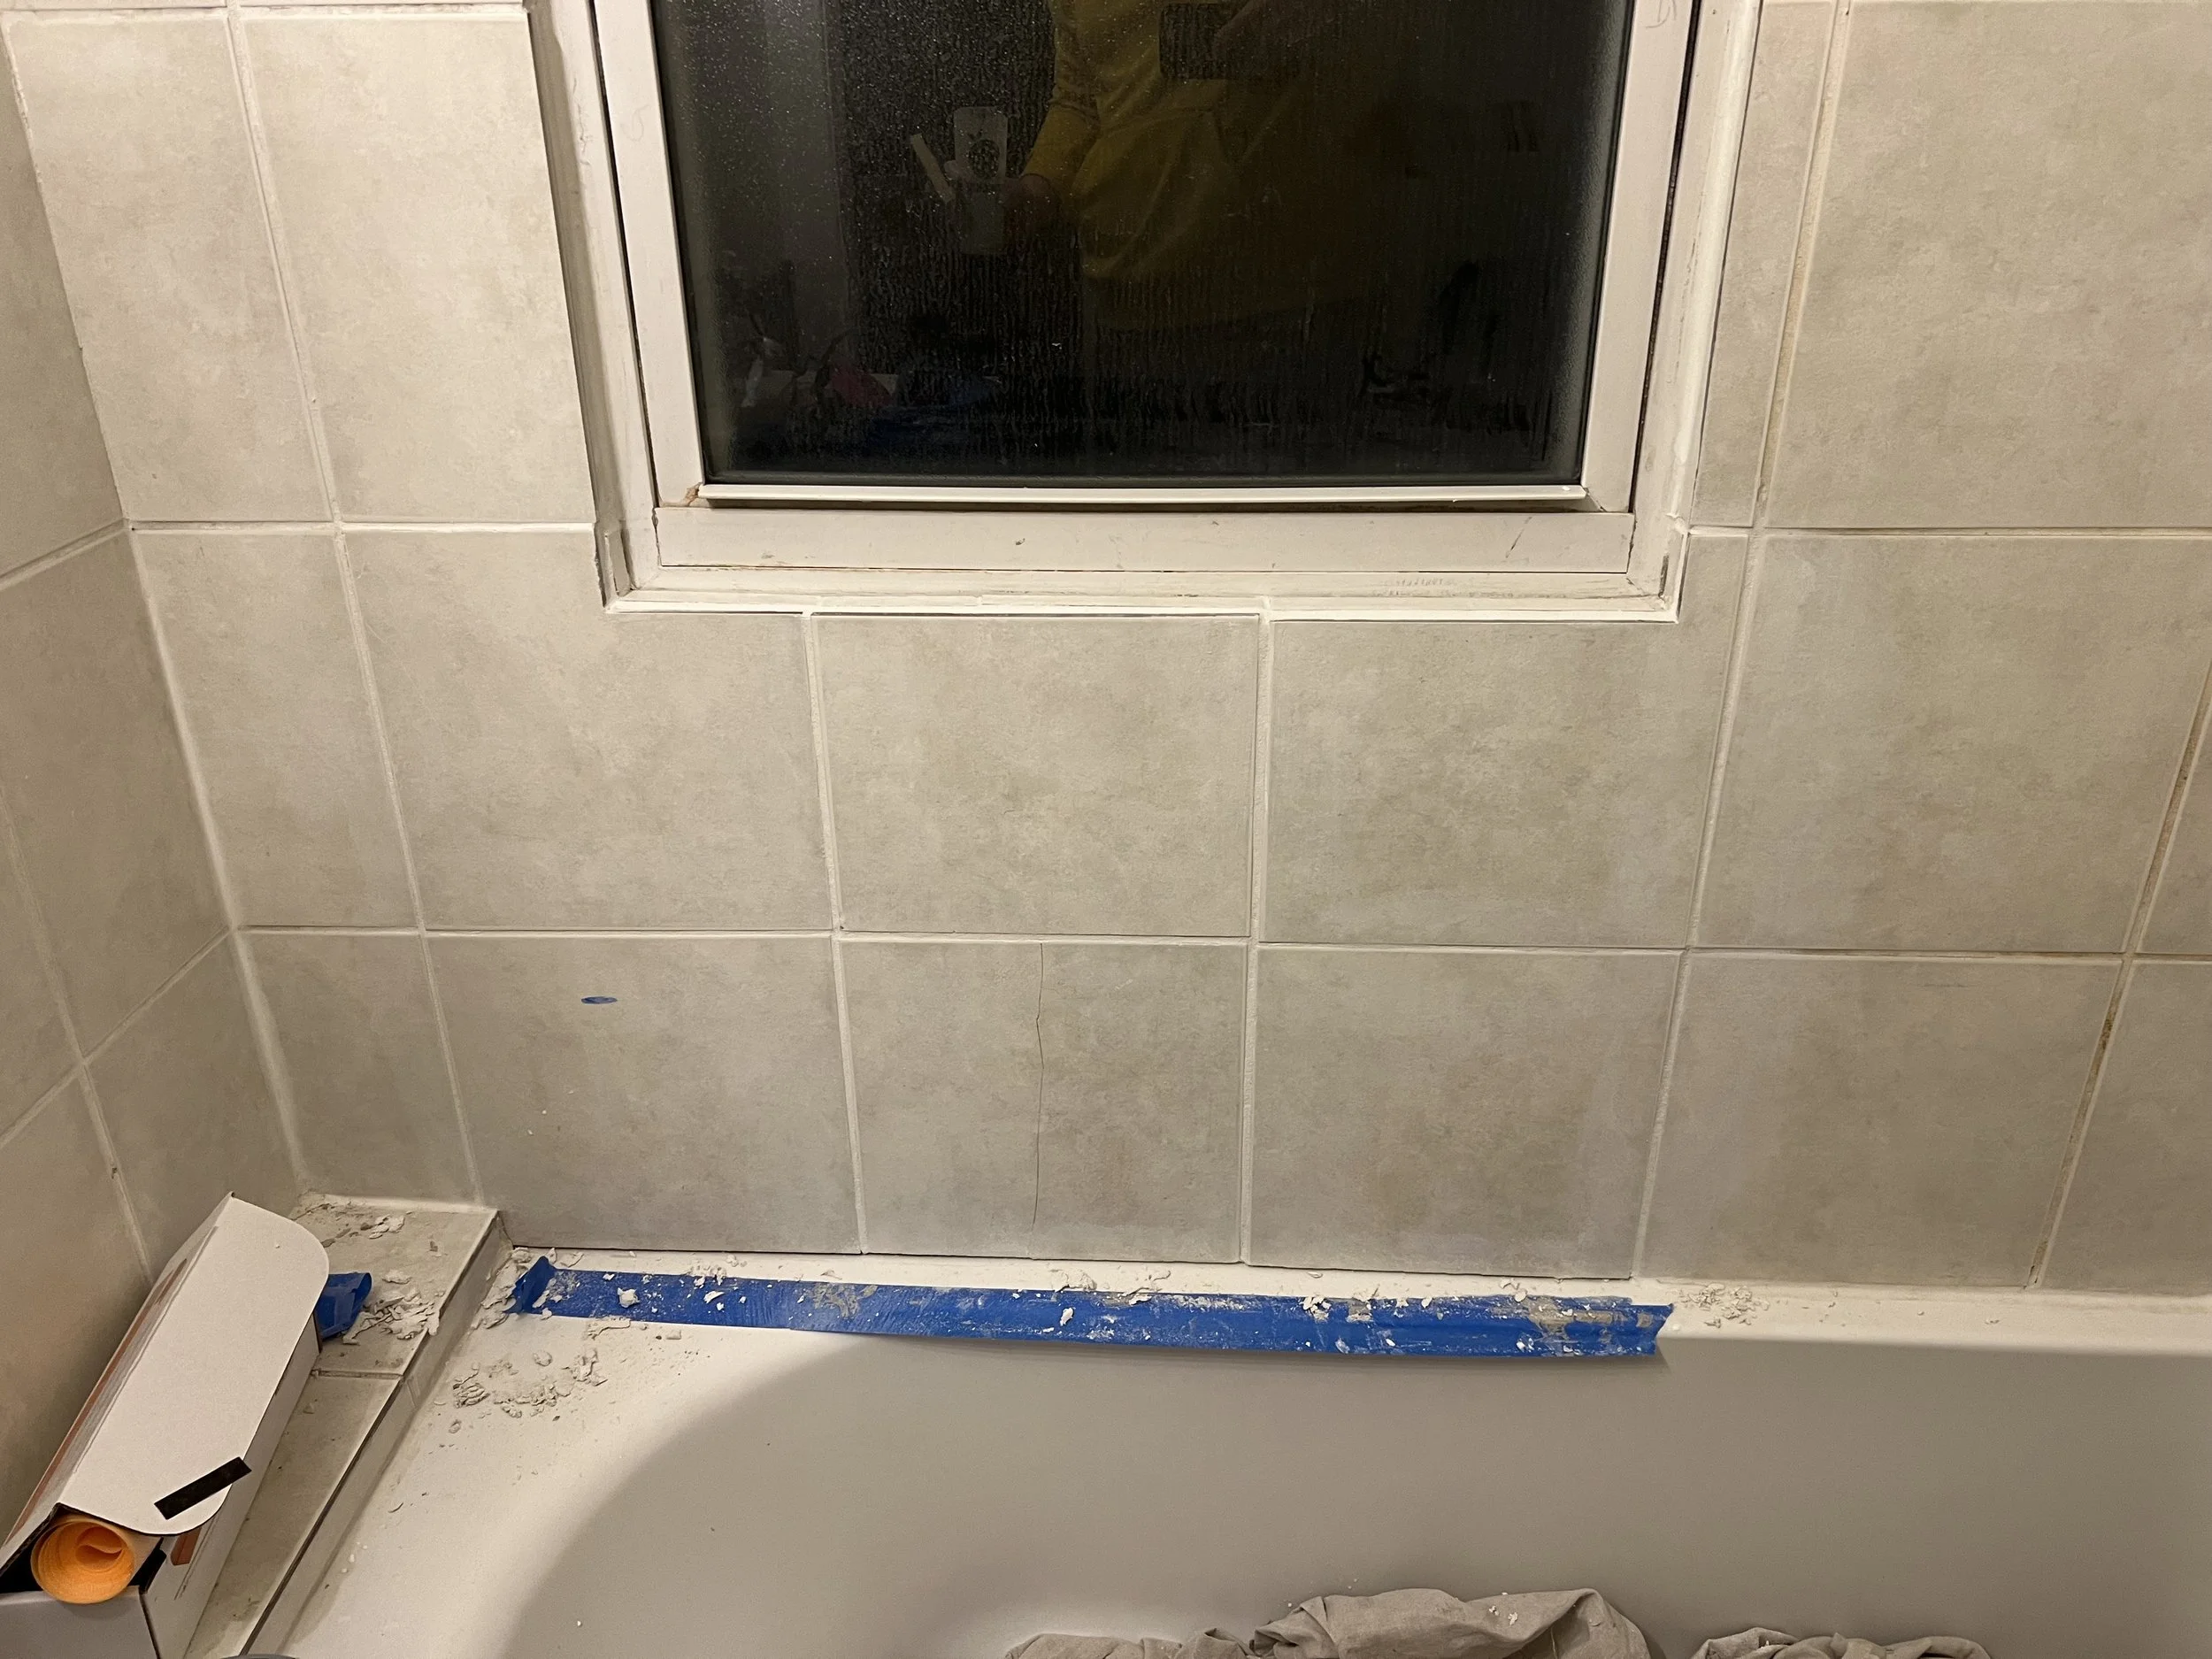
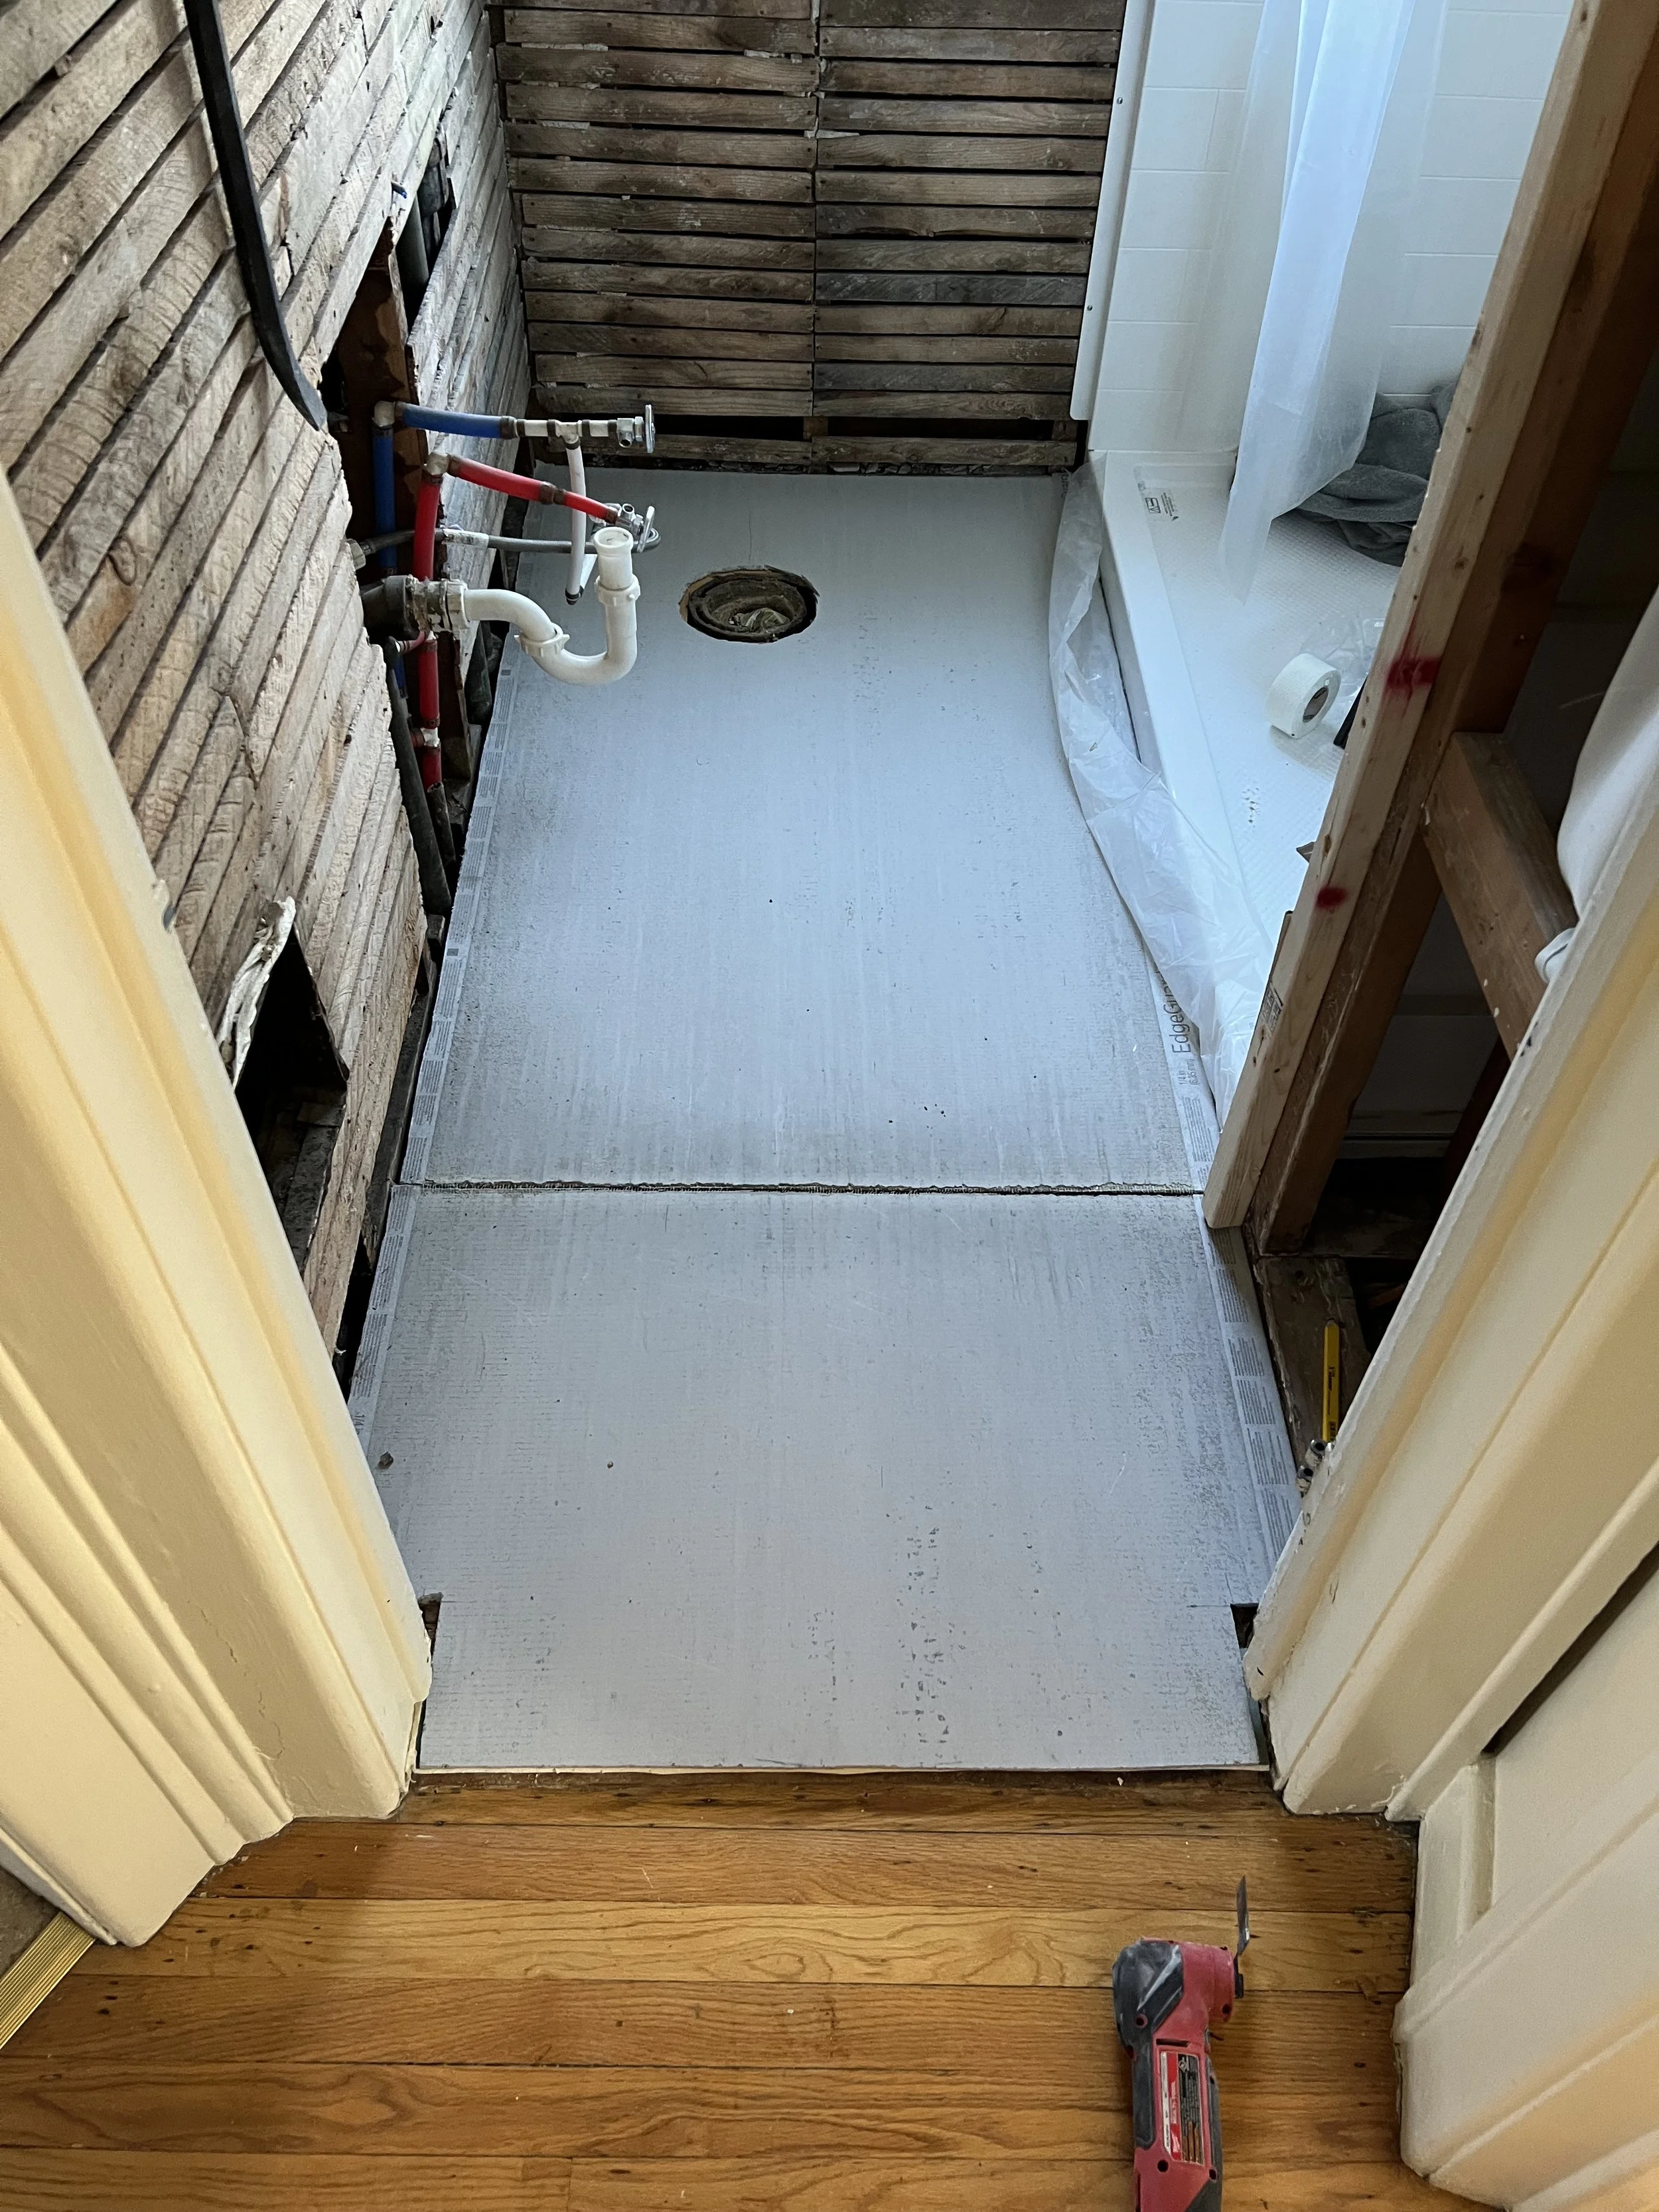
    Before installing the tiles, we started by applying a latex primer over the Hardie board. I then carefully cut and installed the tile.

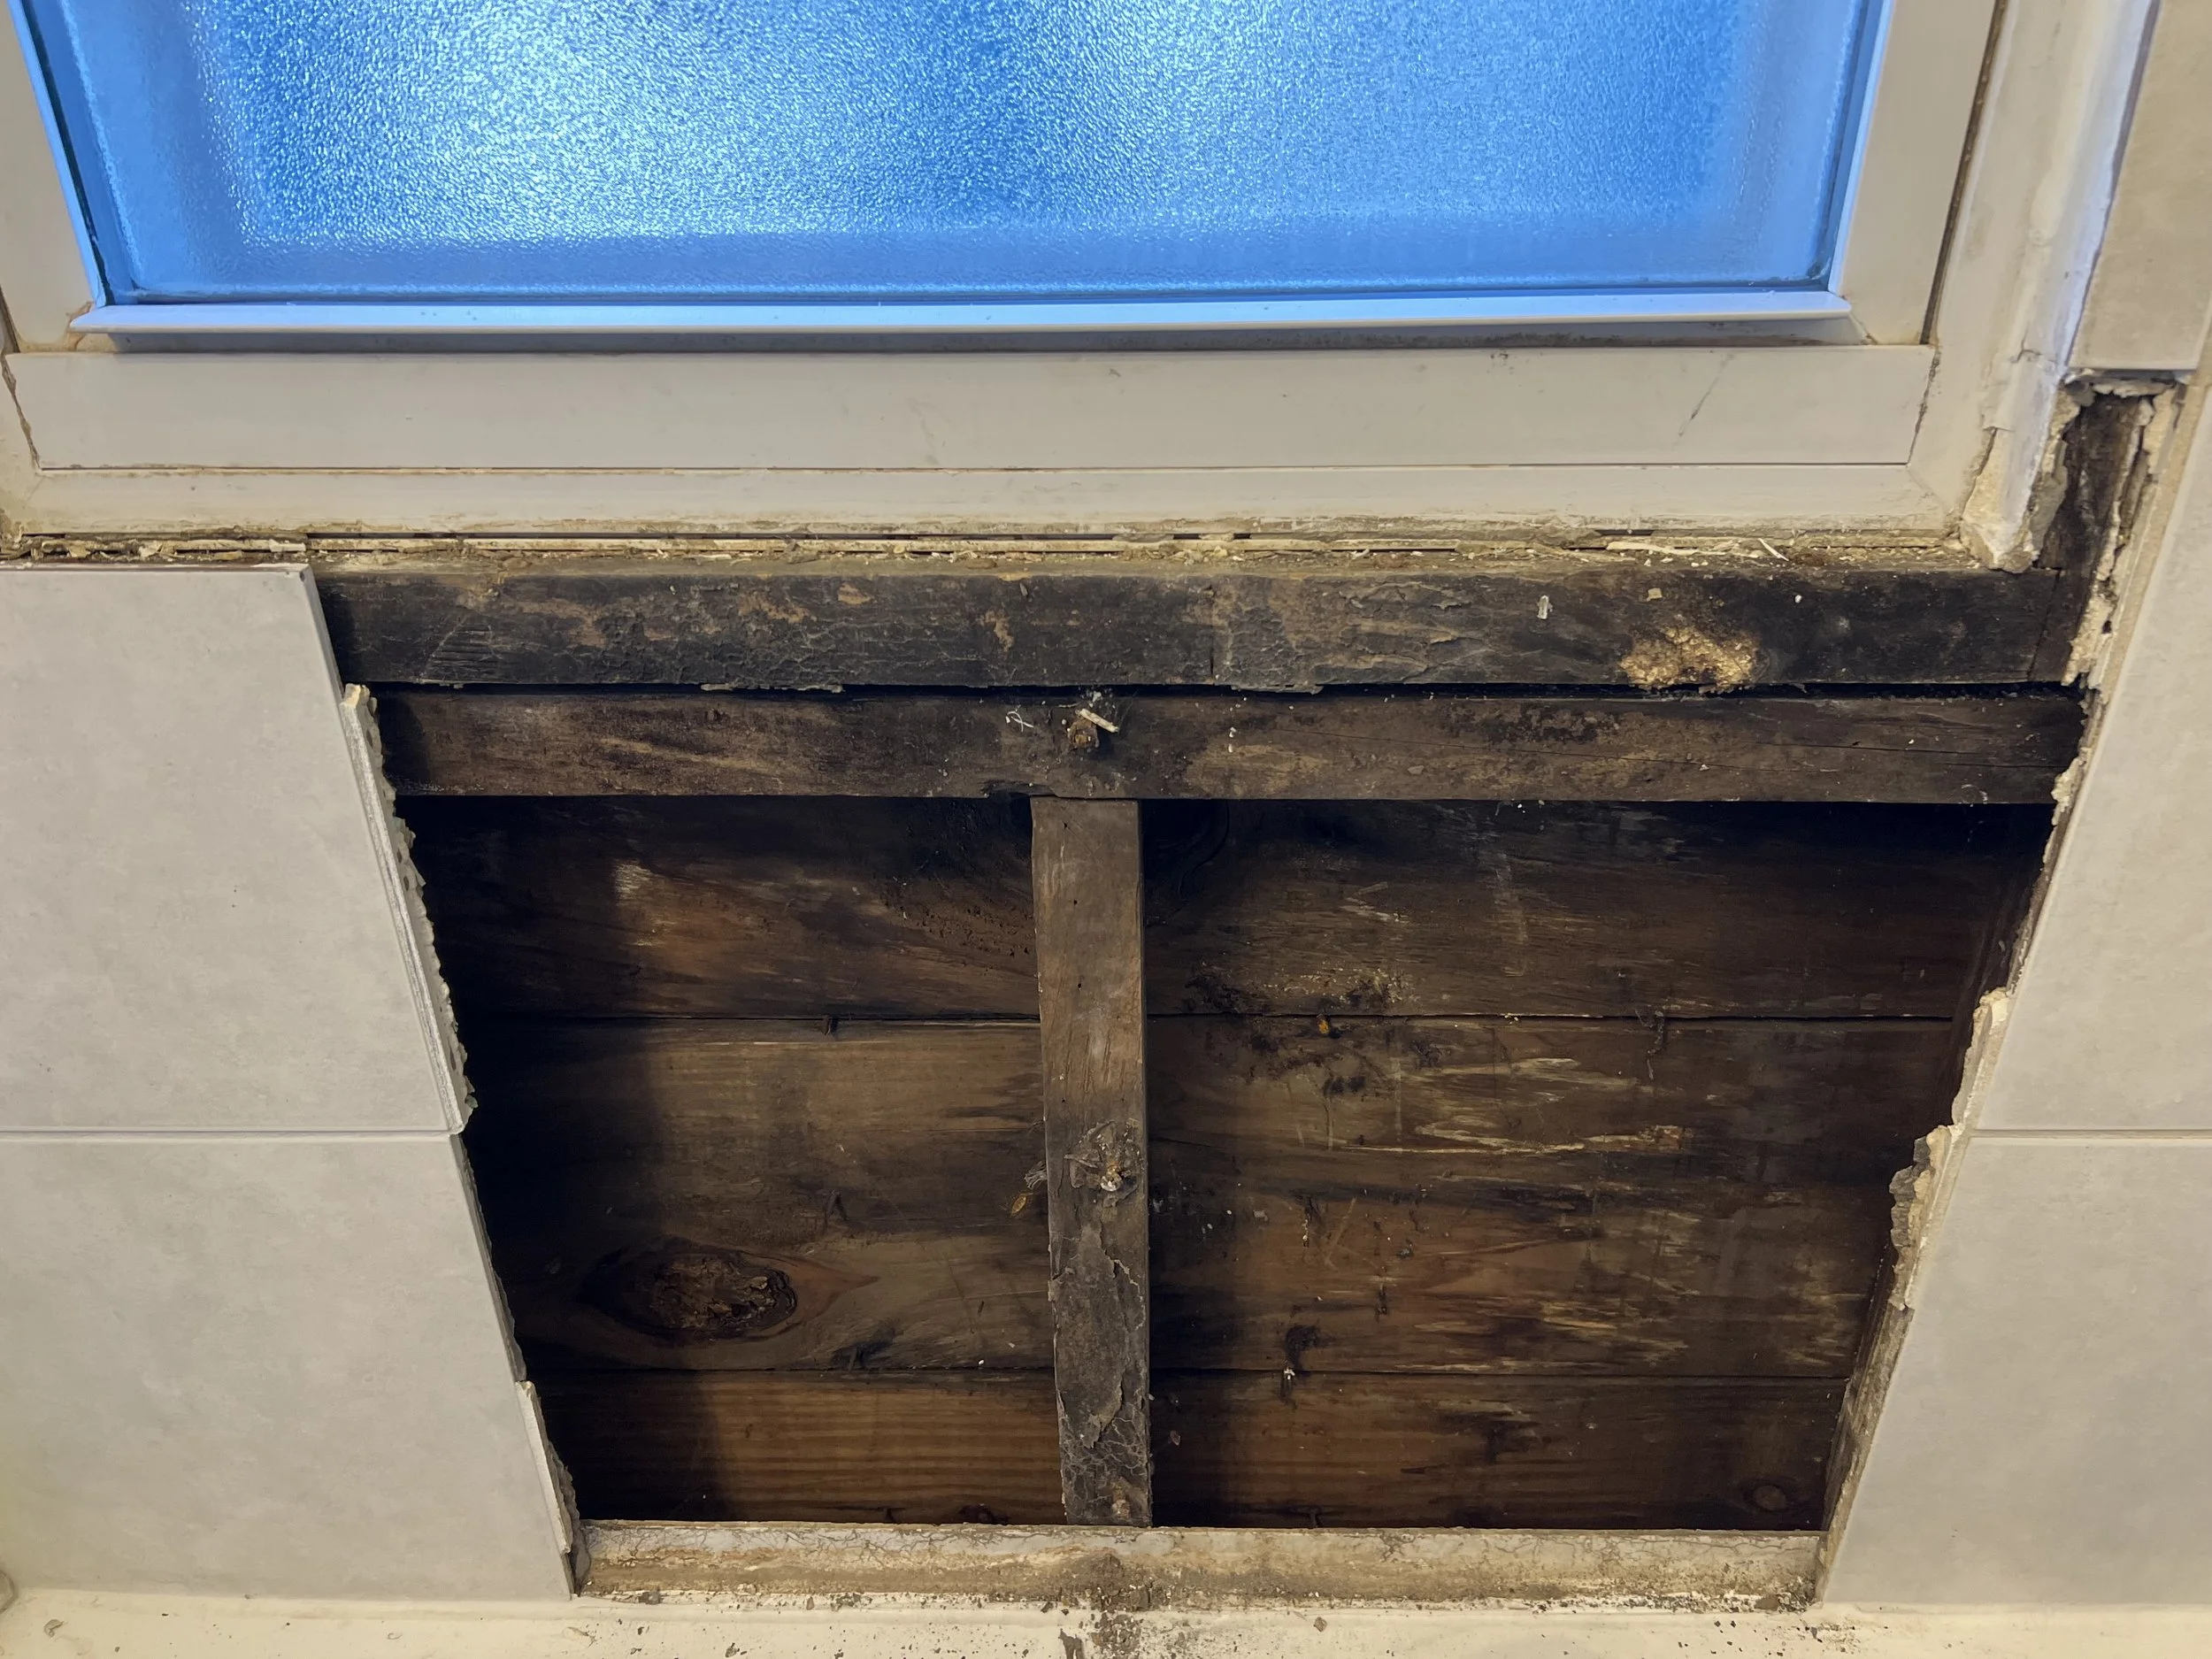
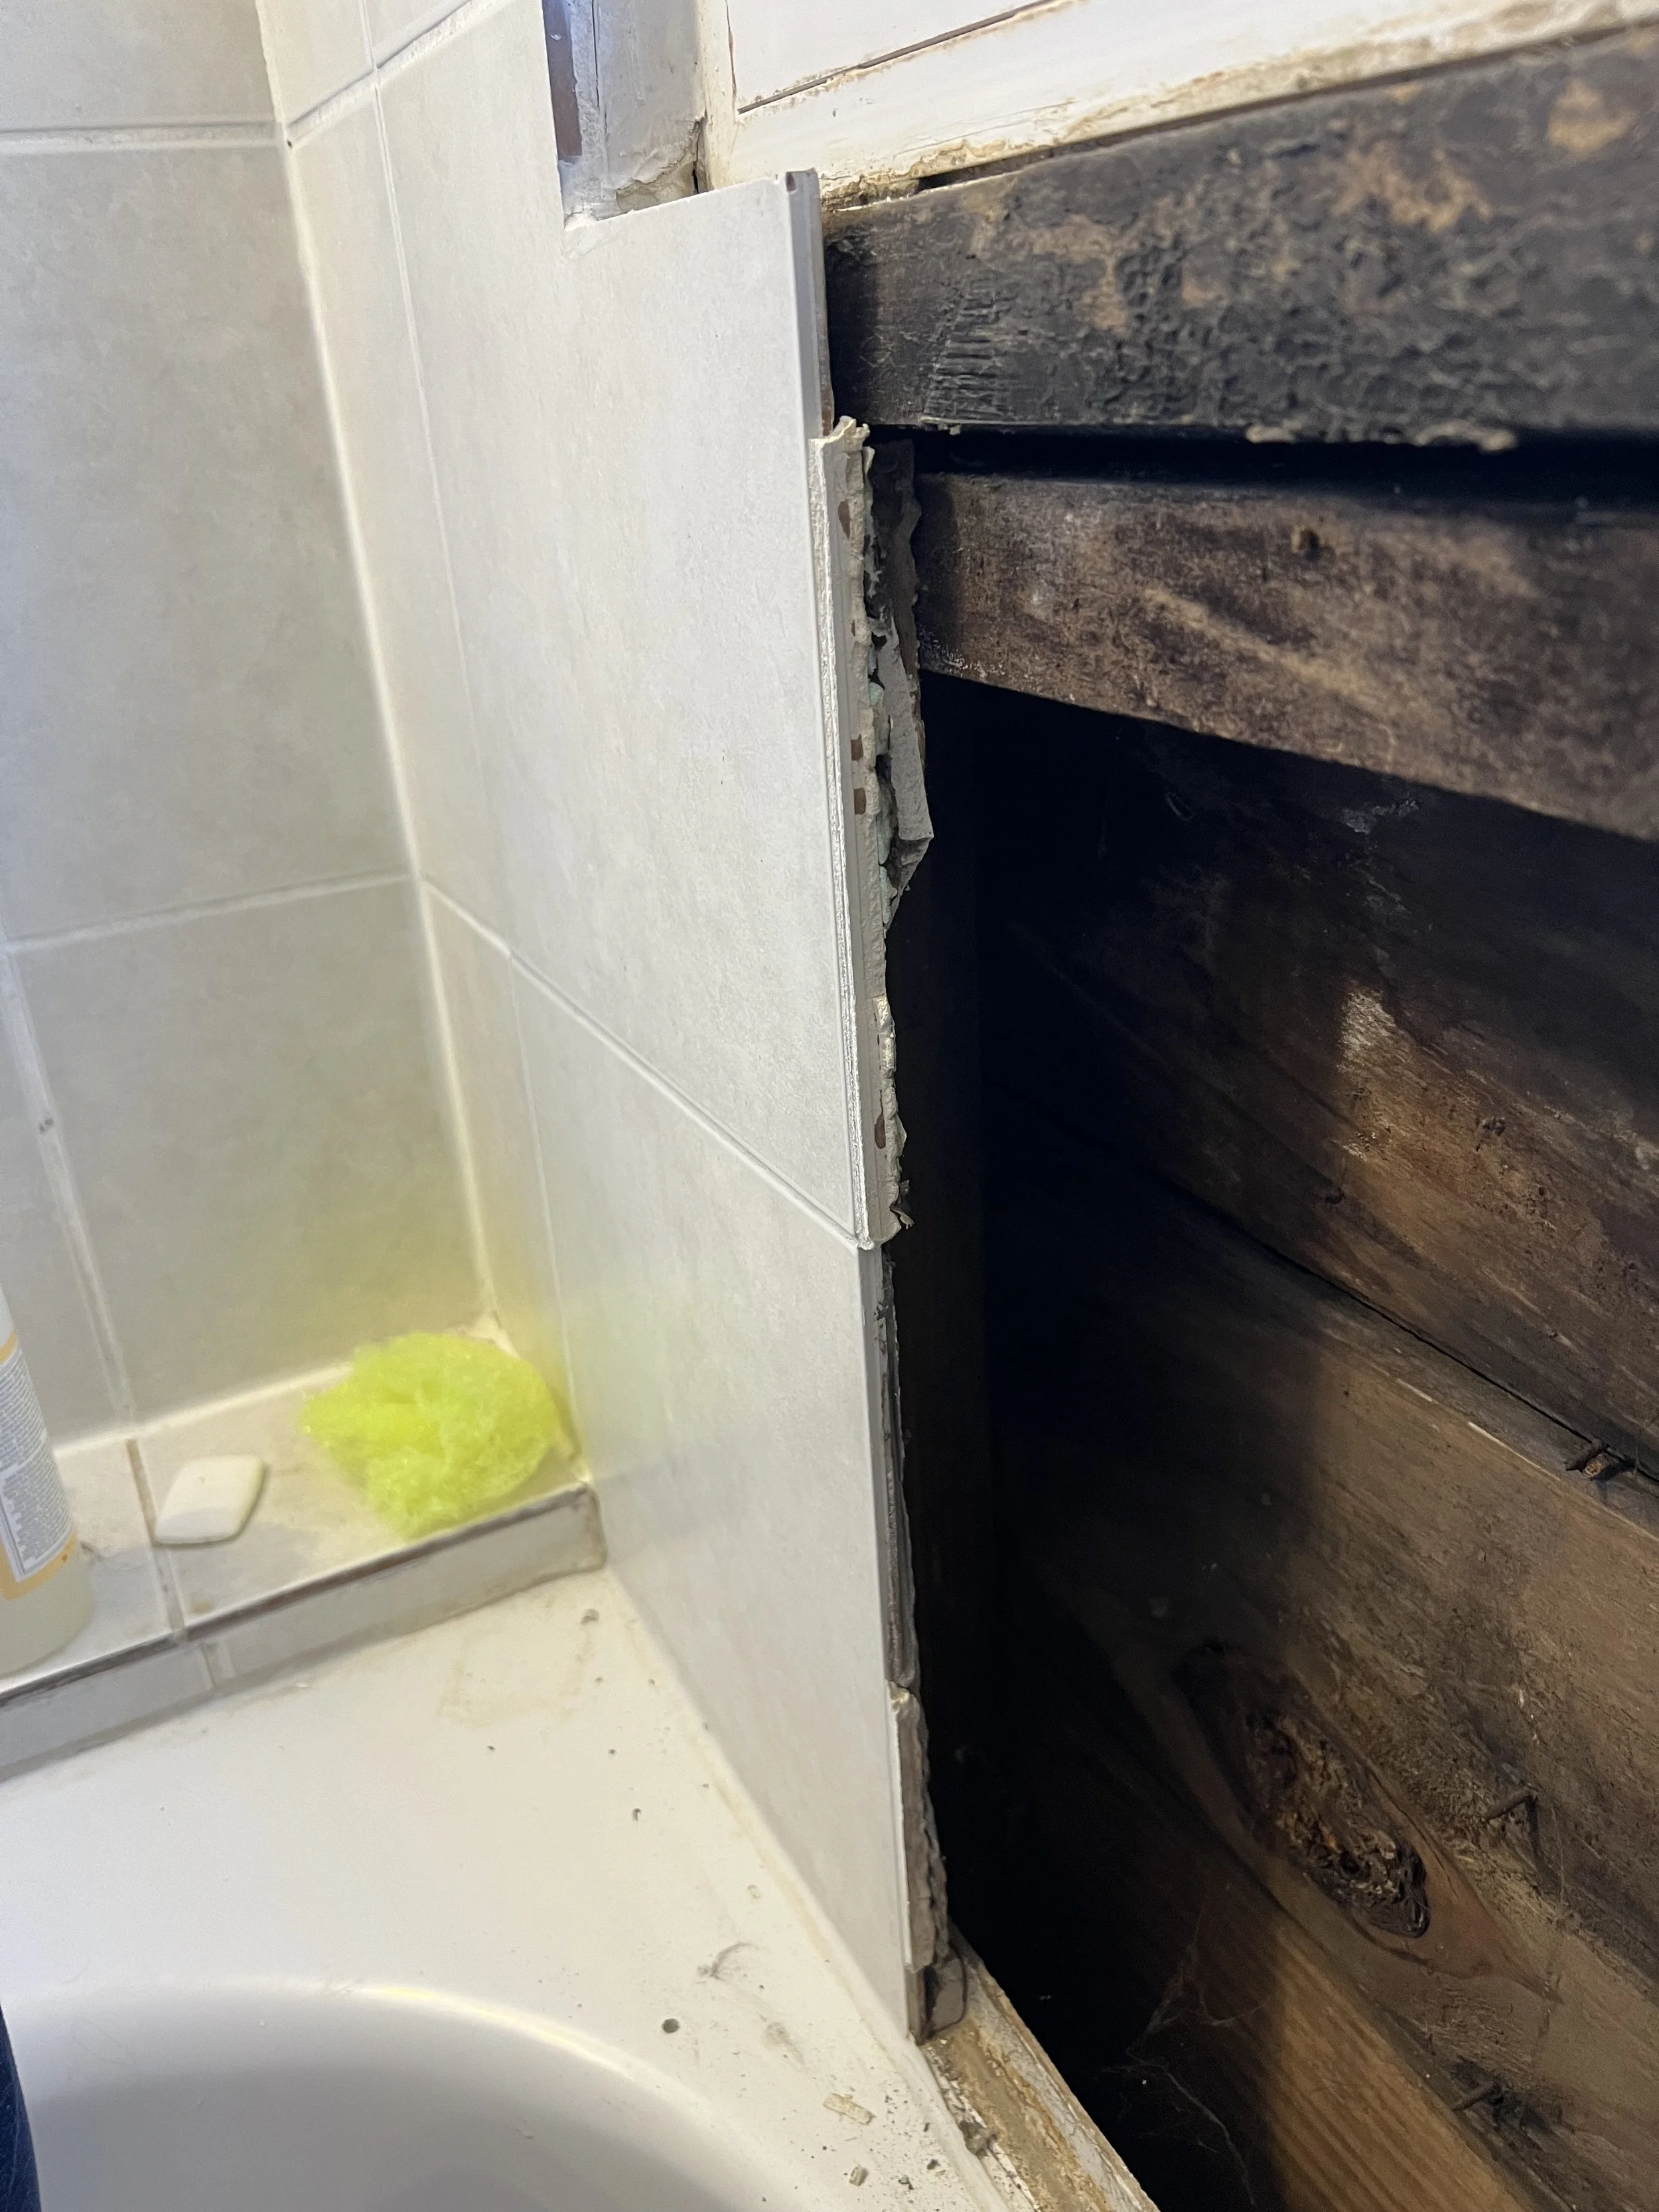
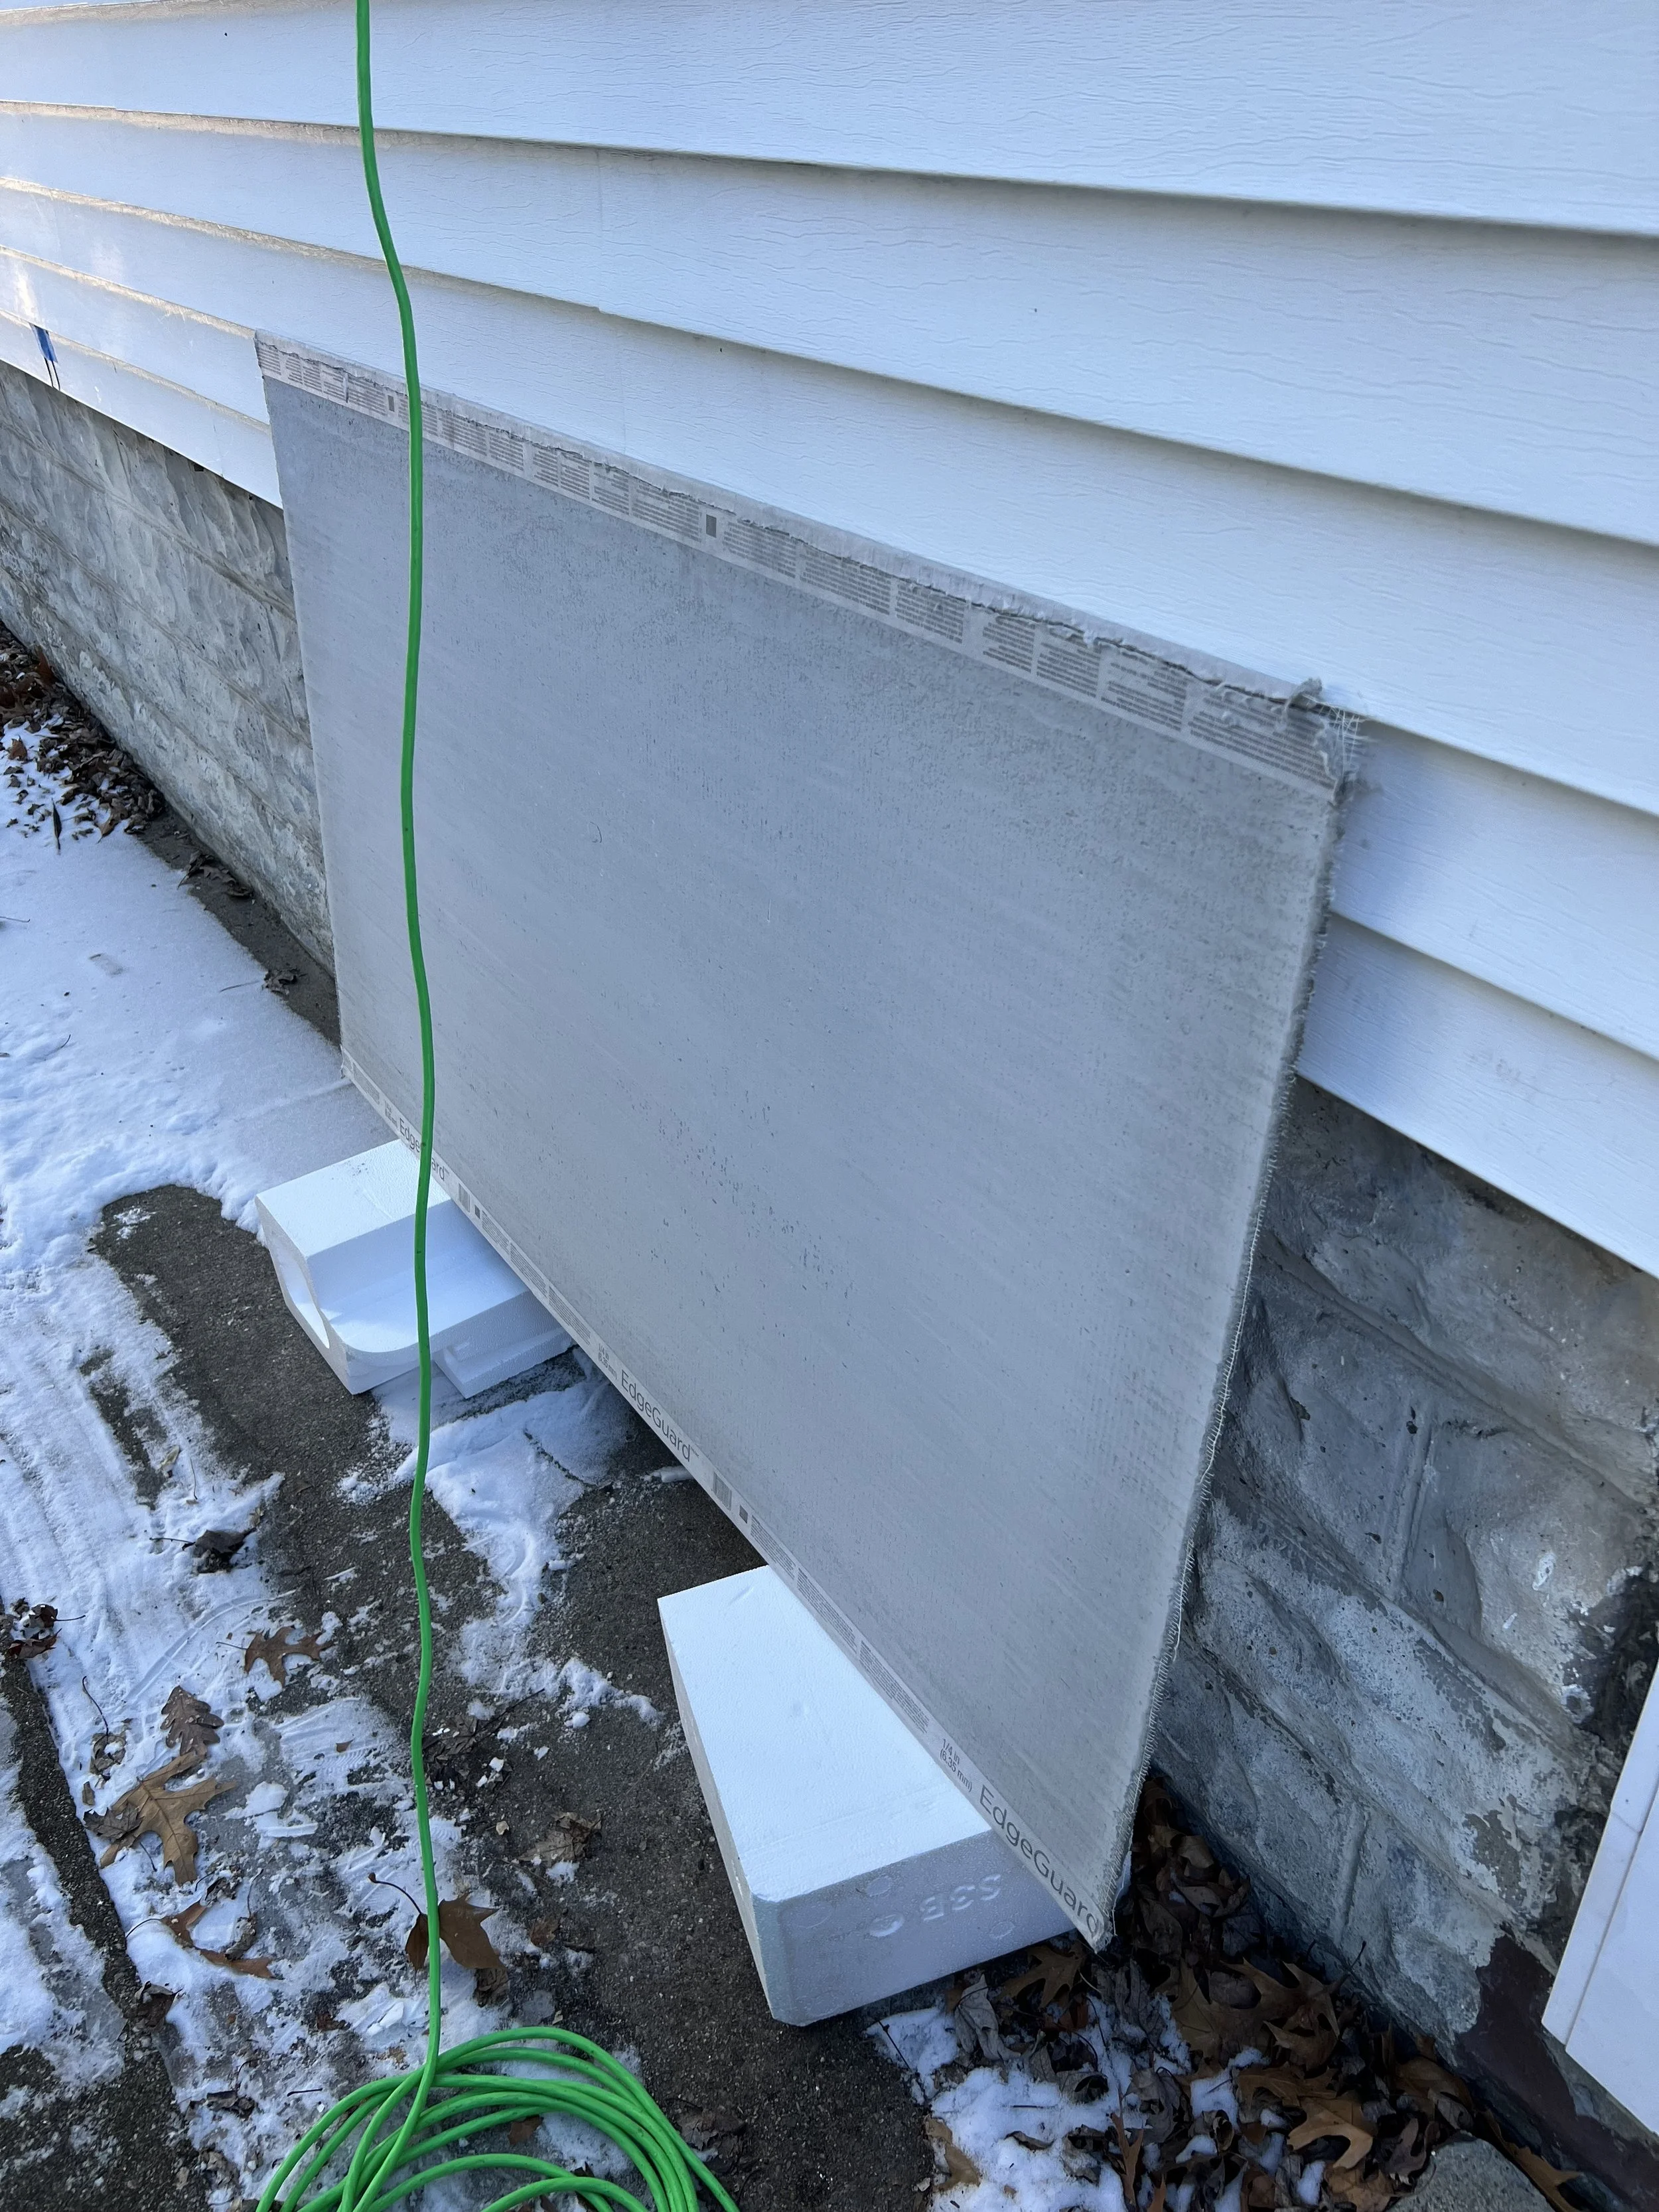
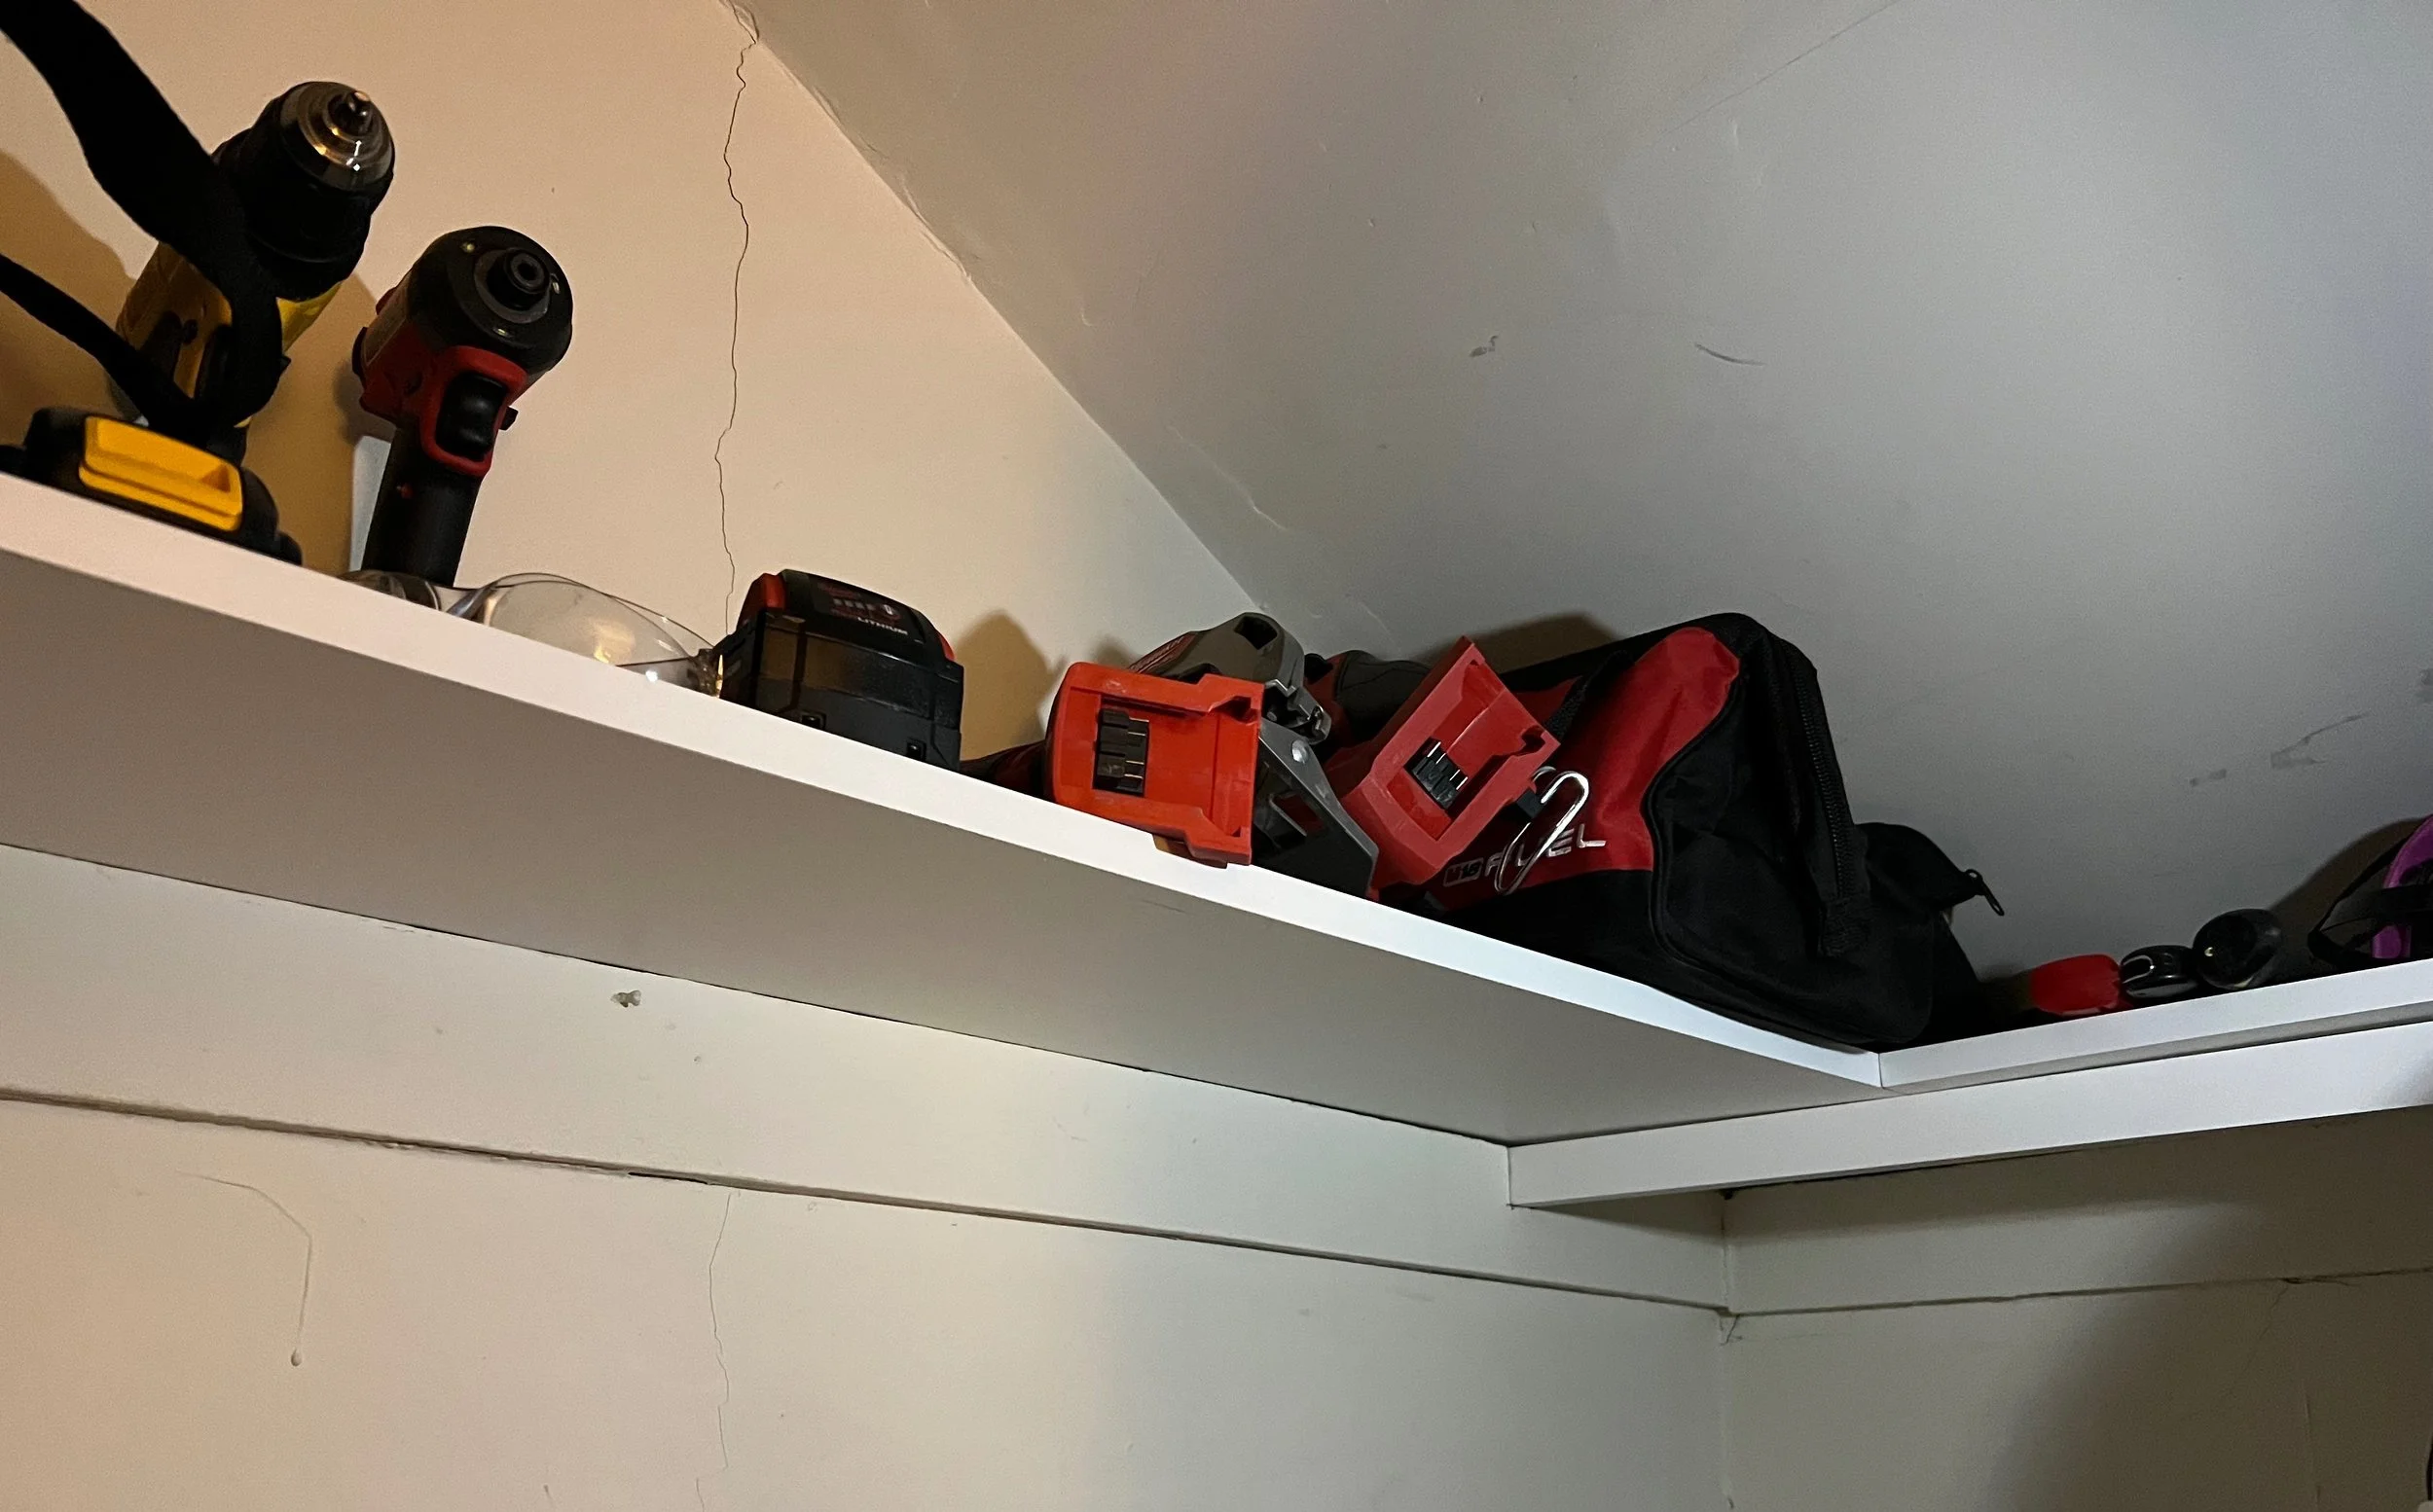
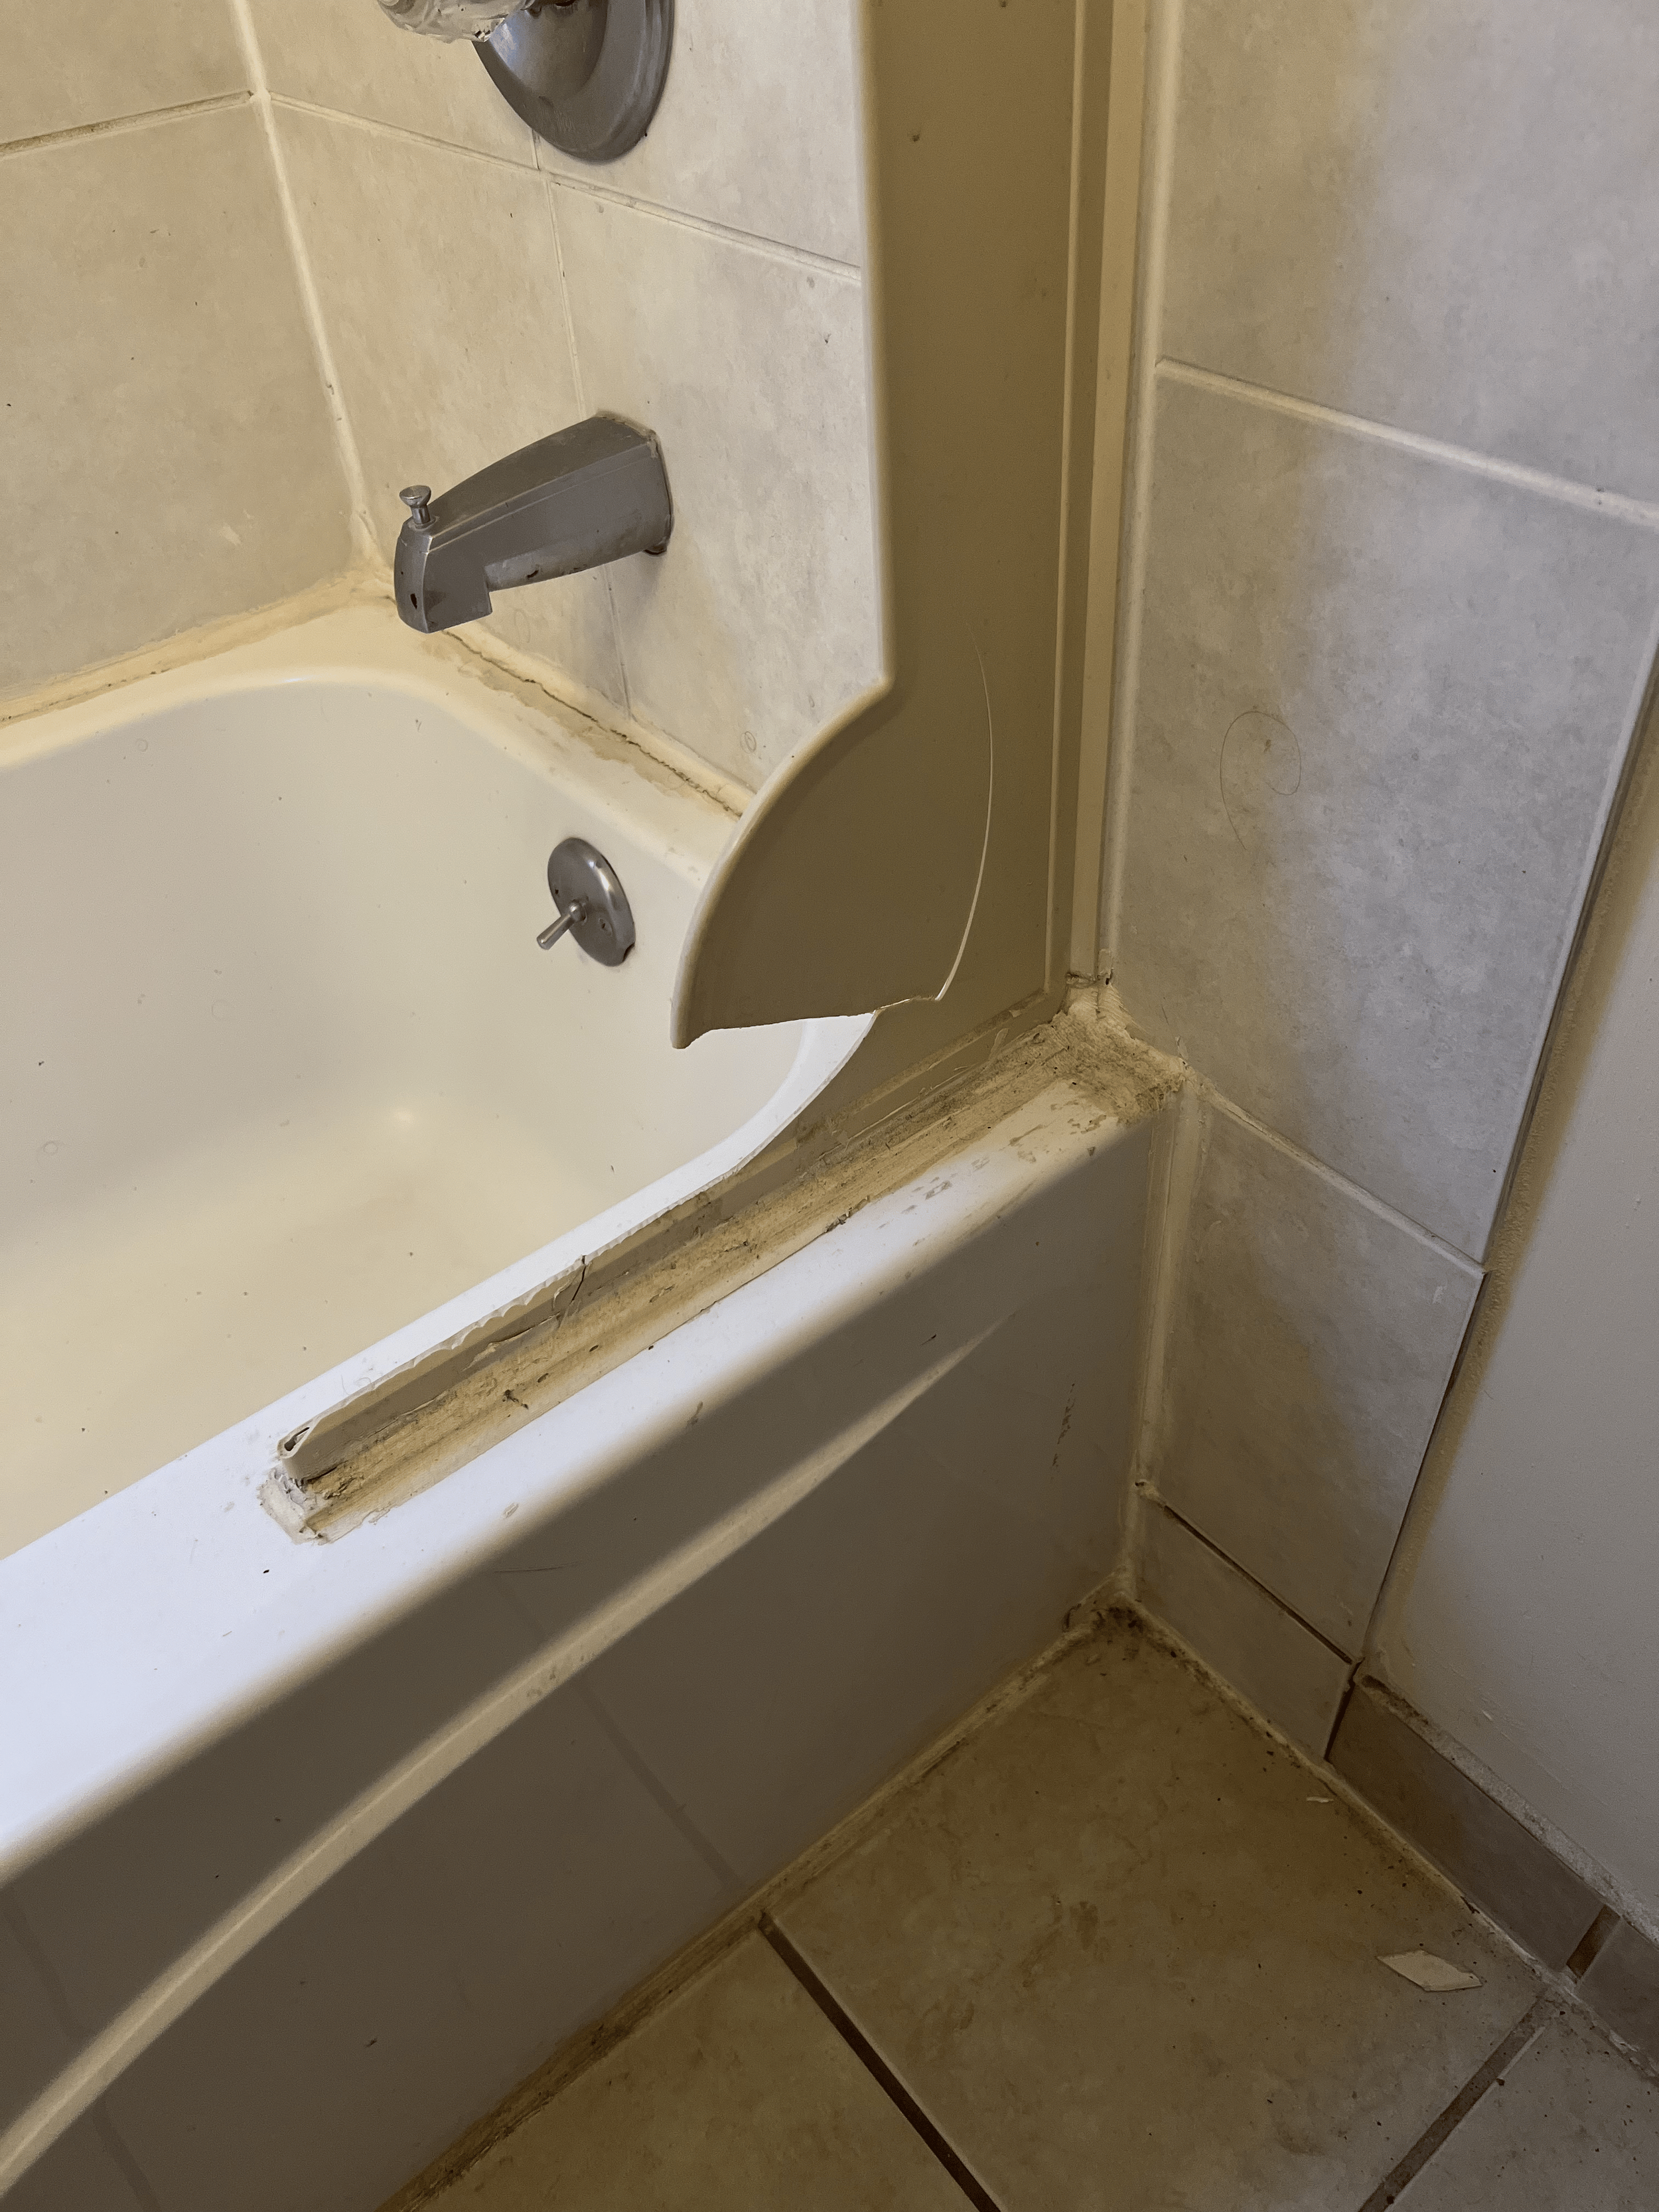
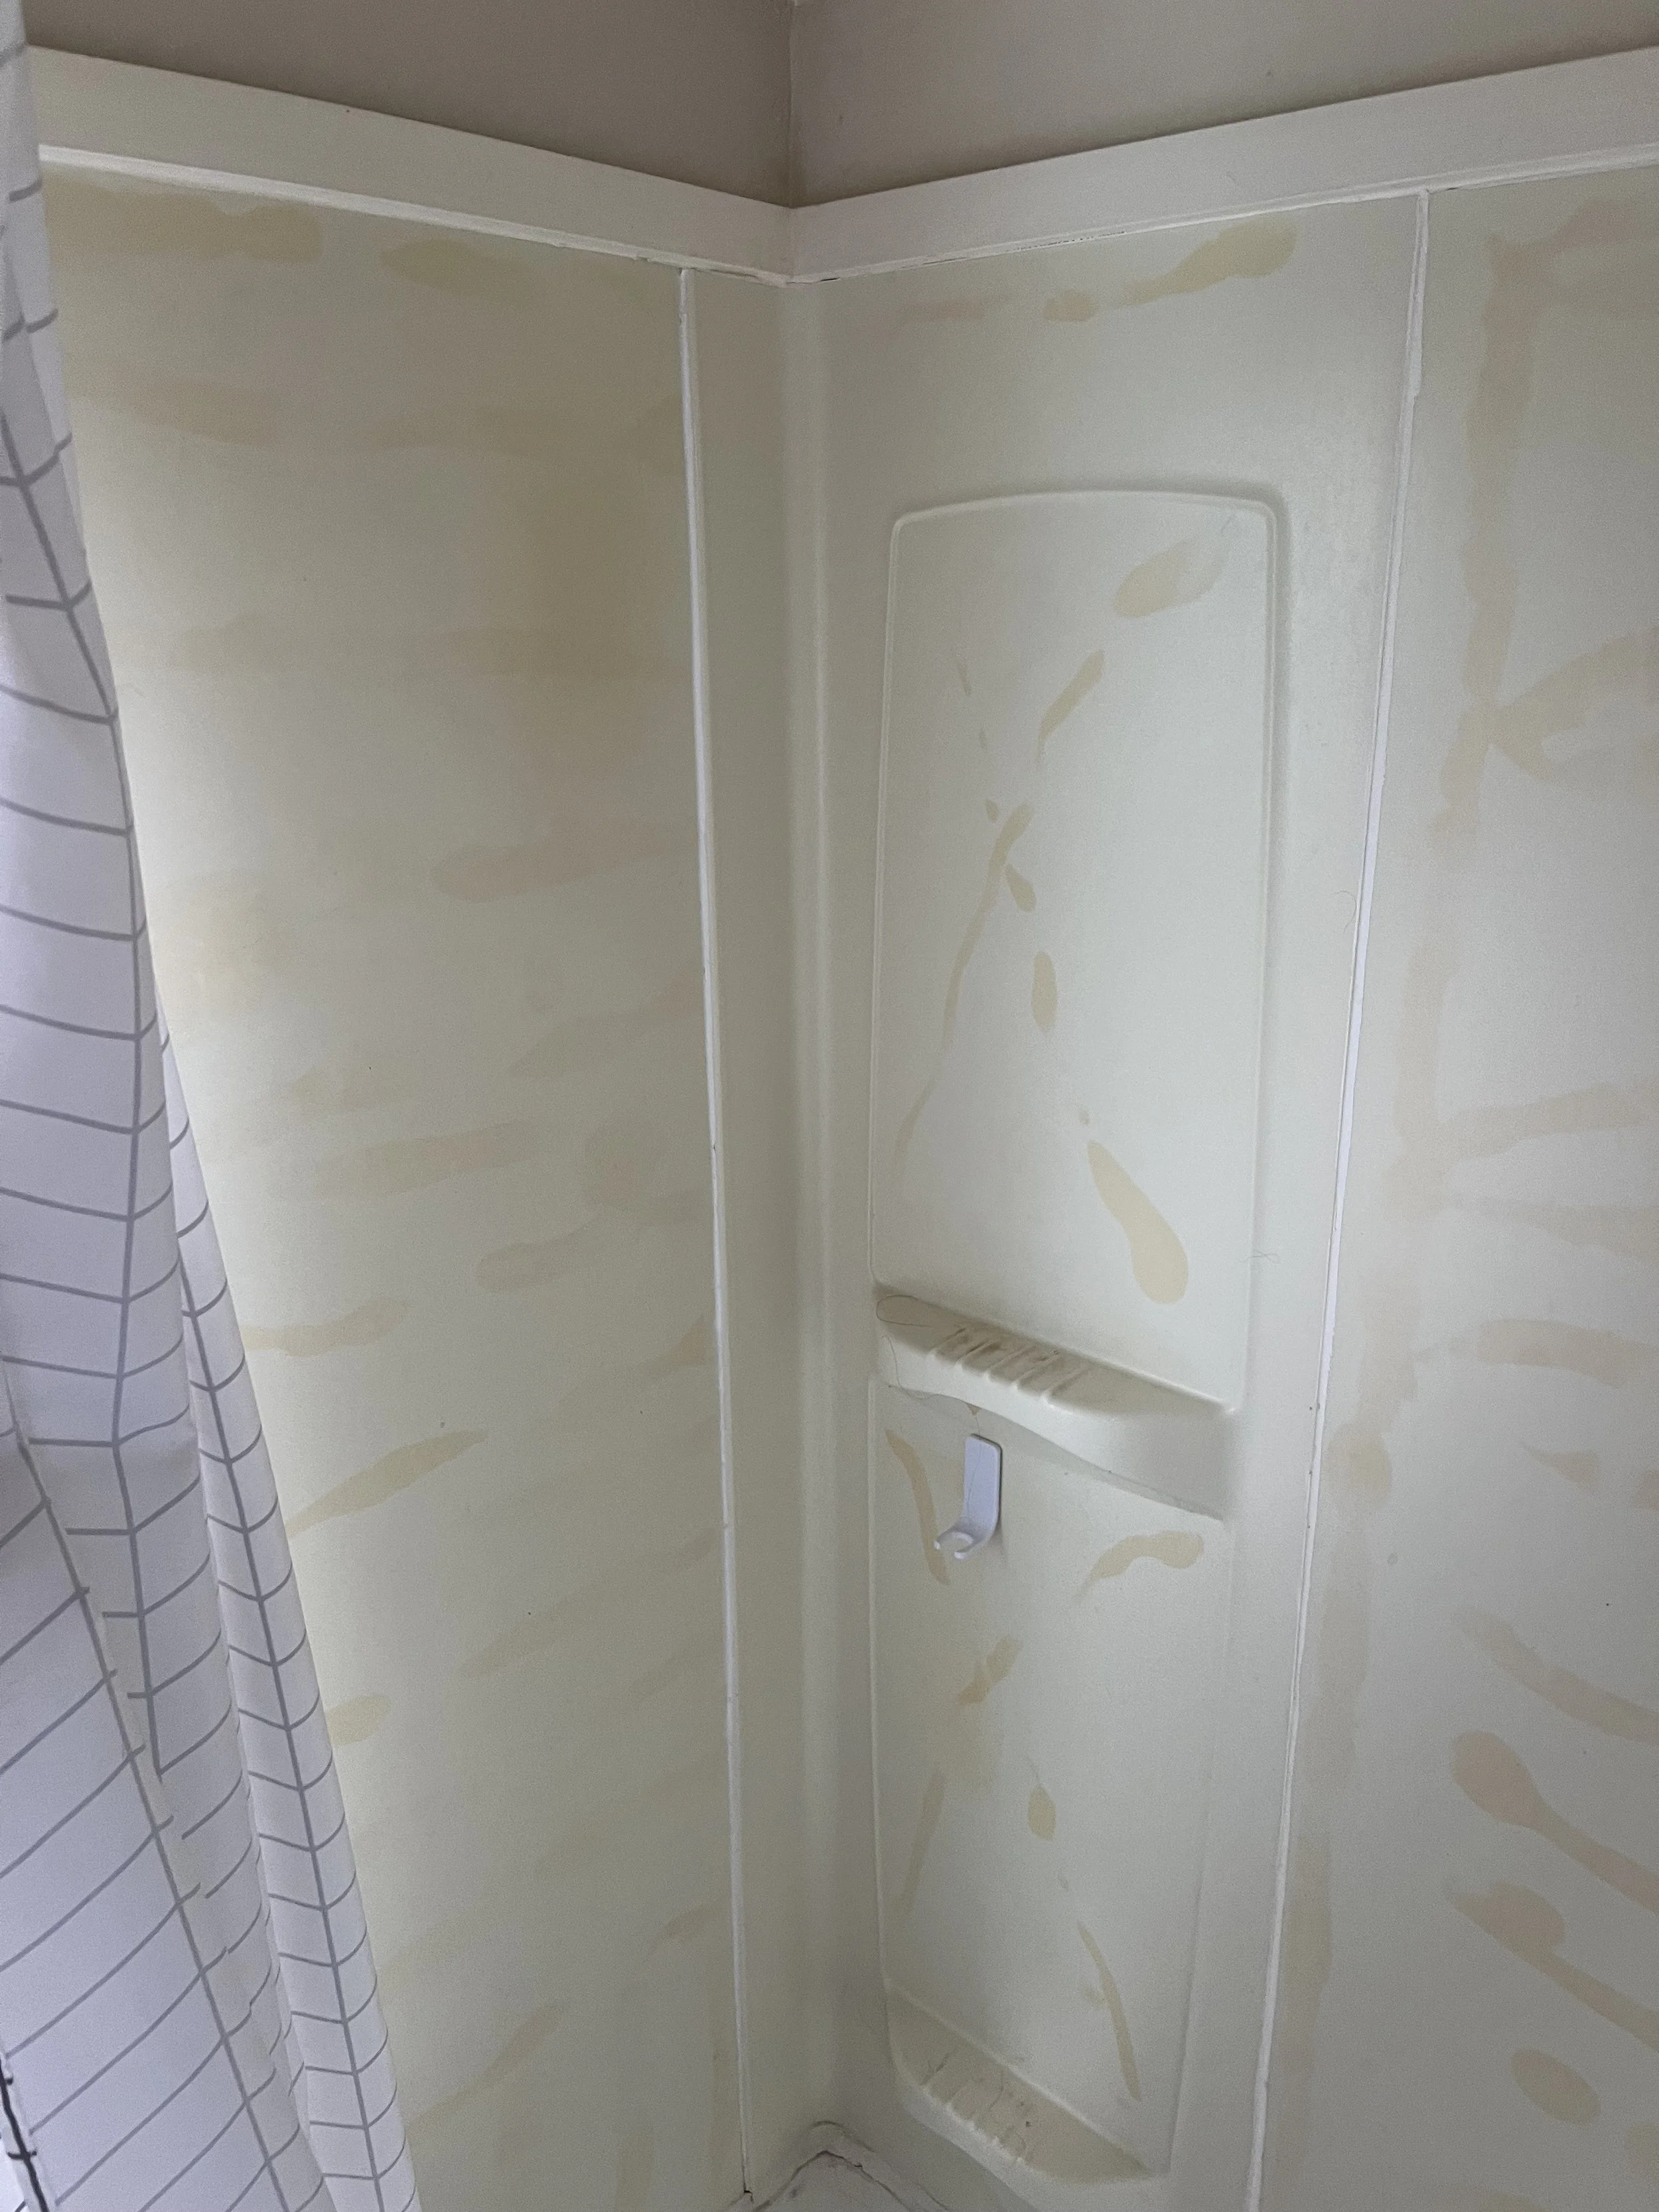
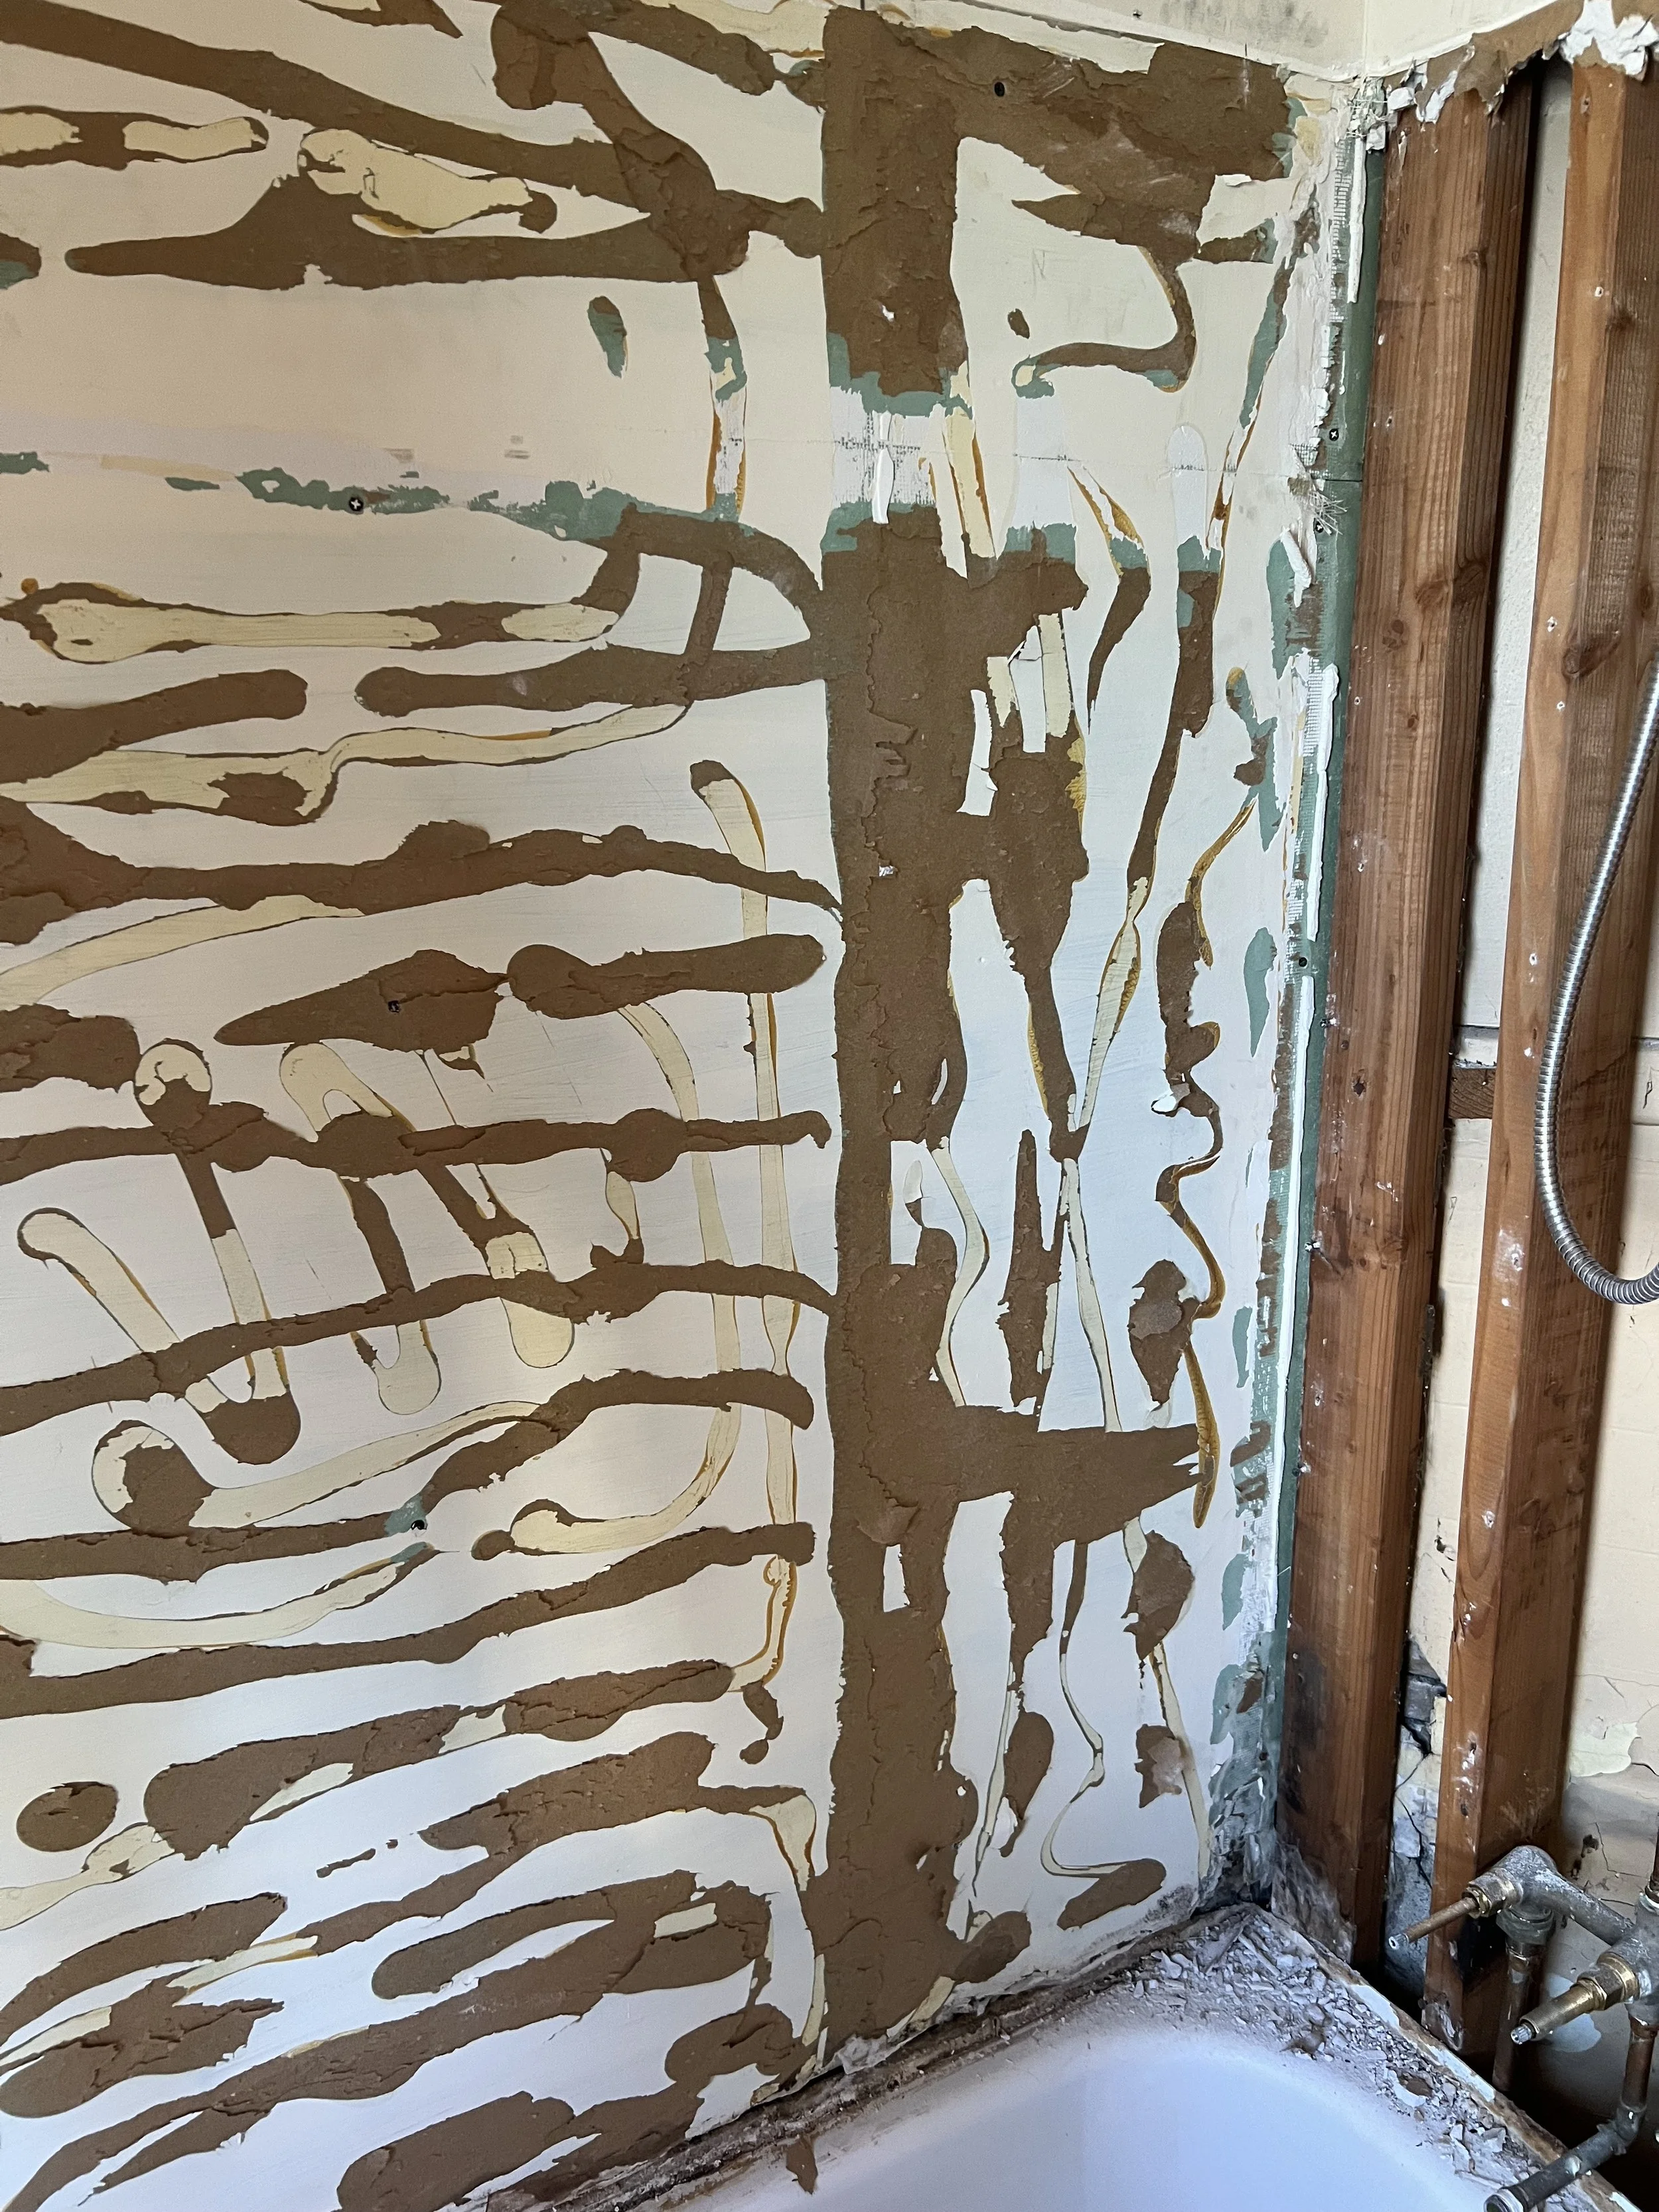
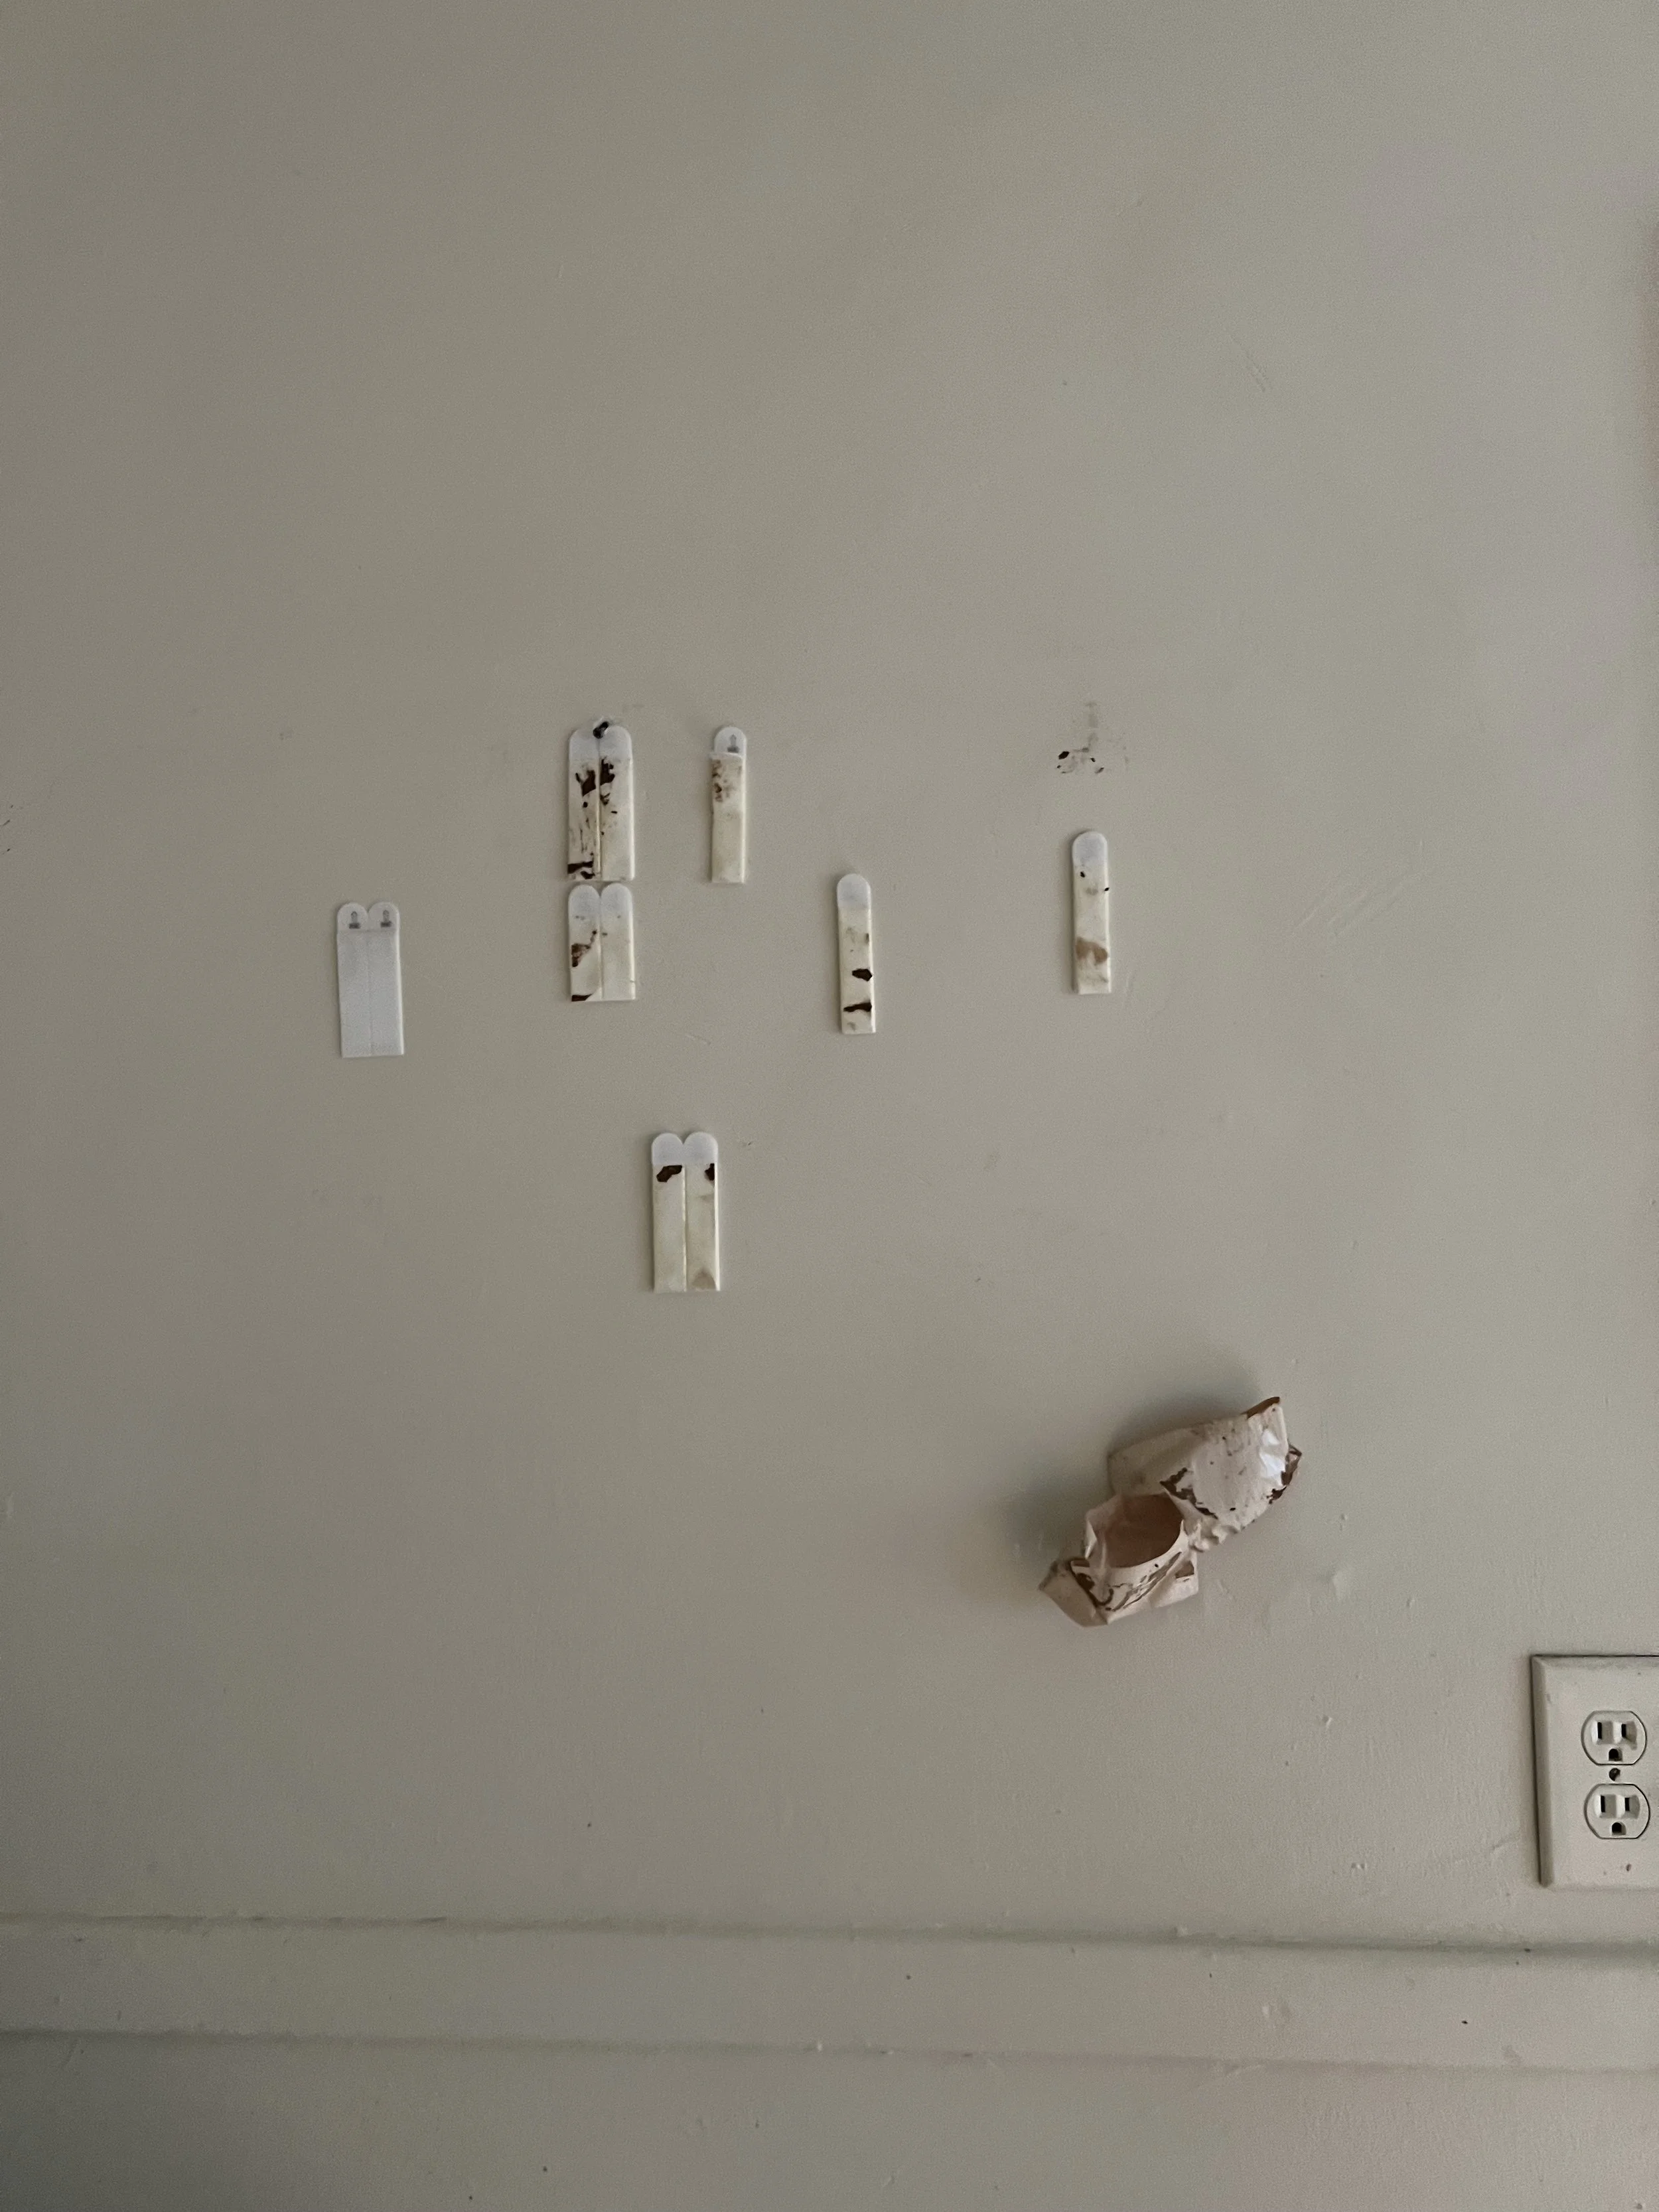
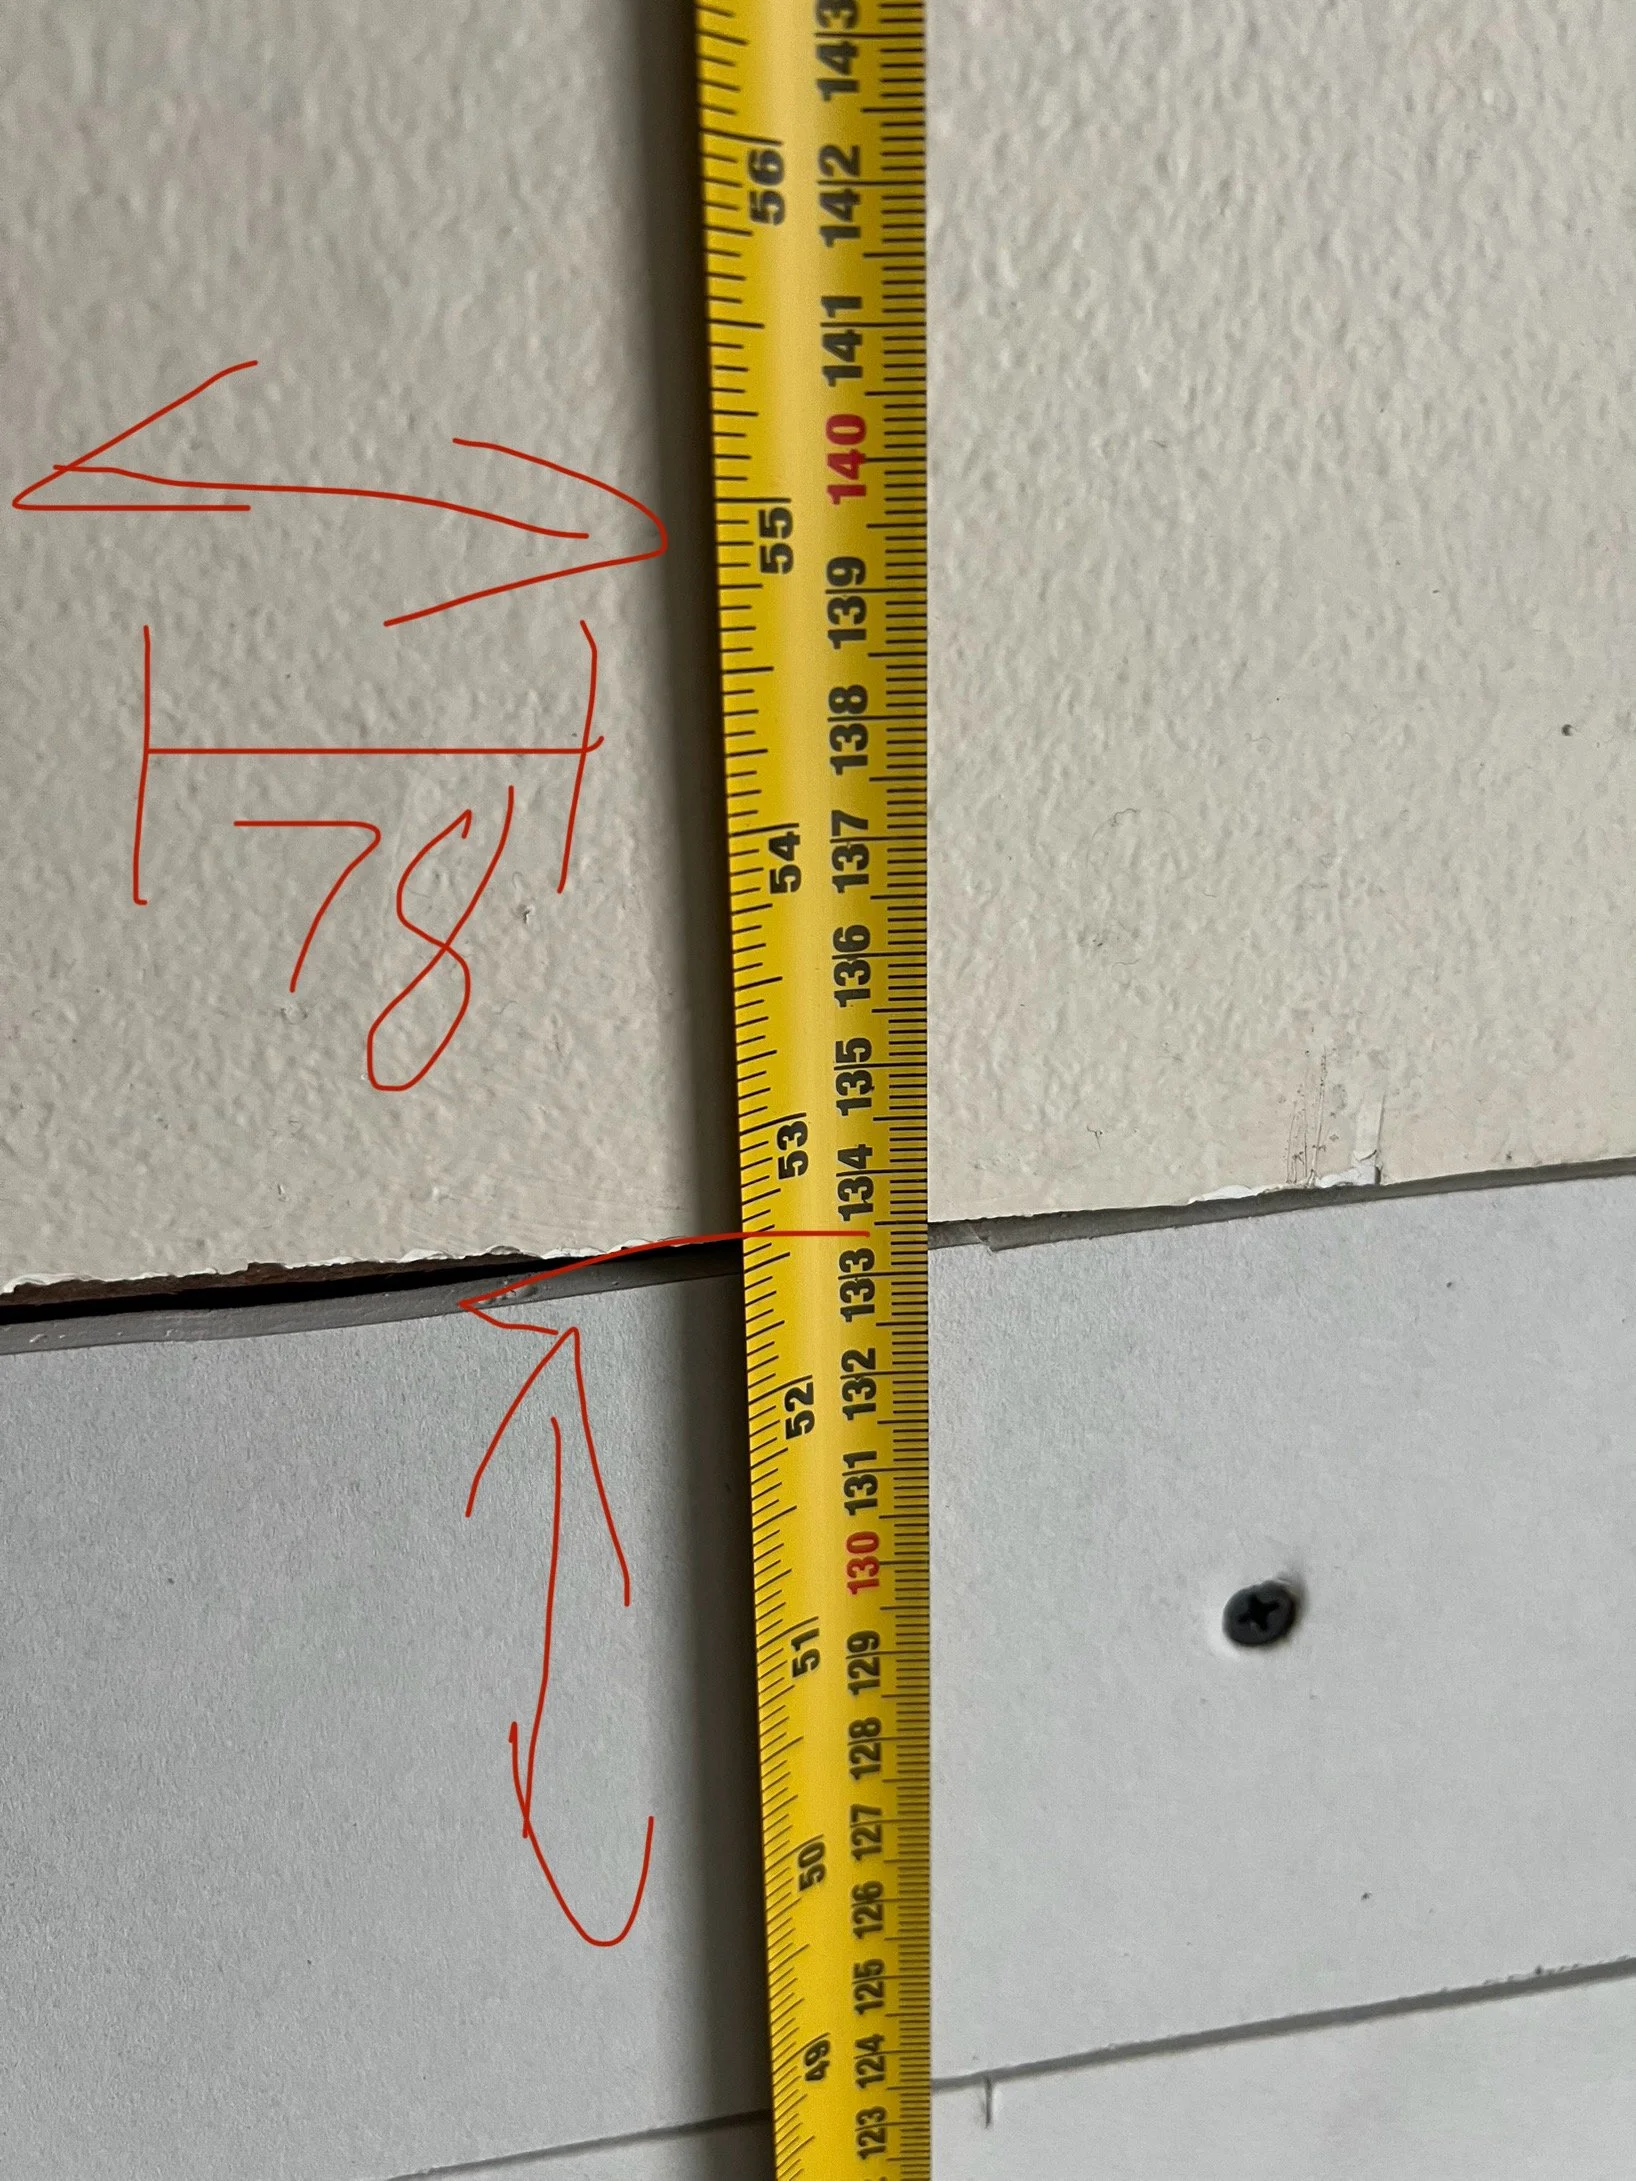
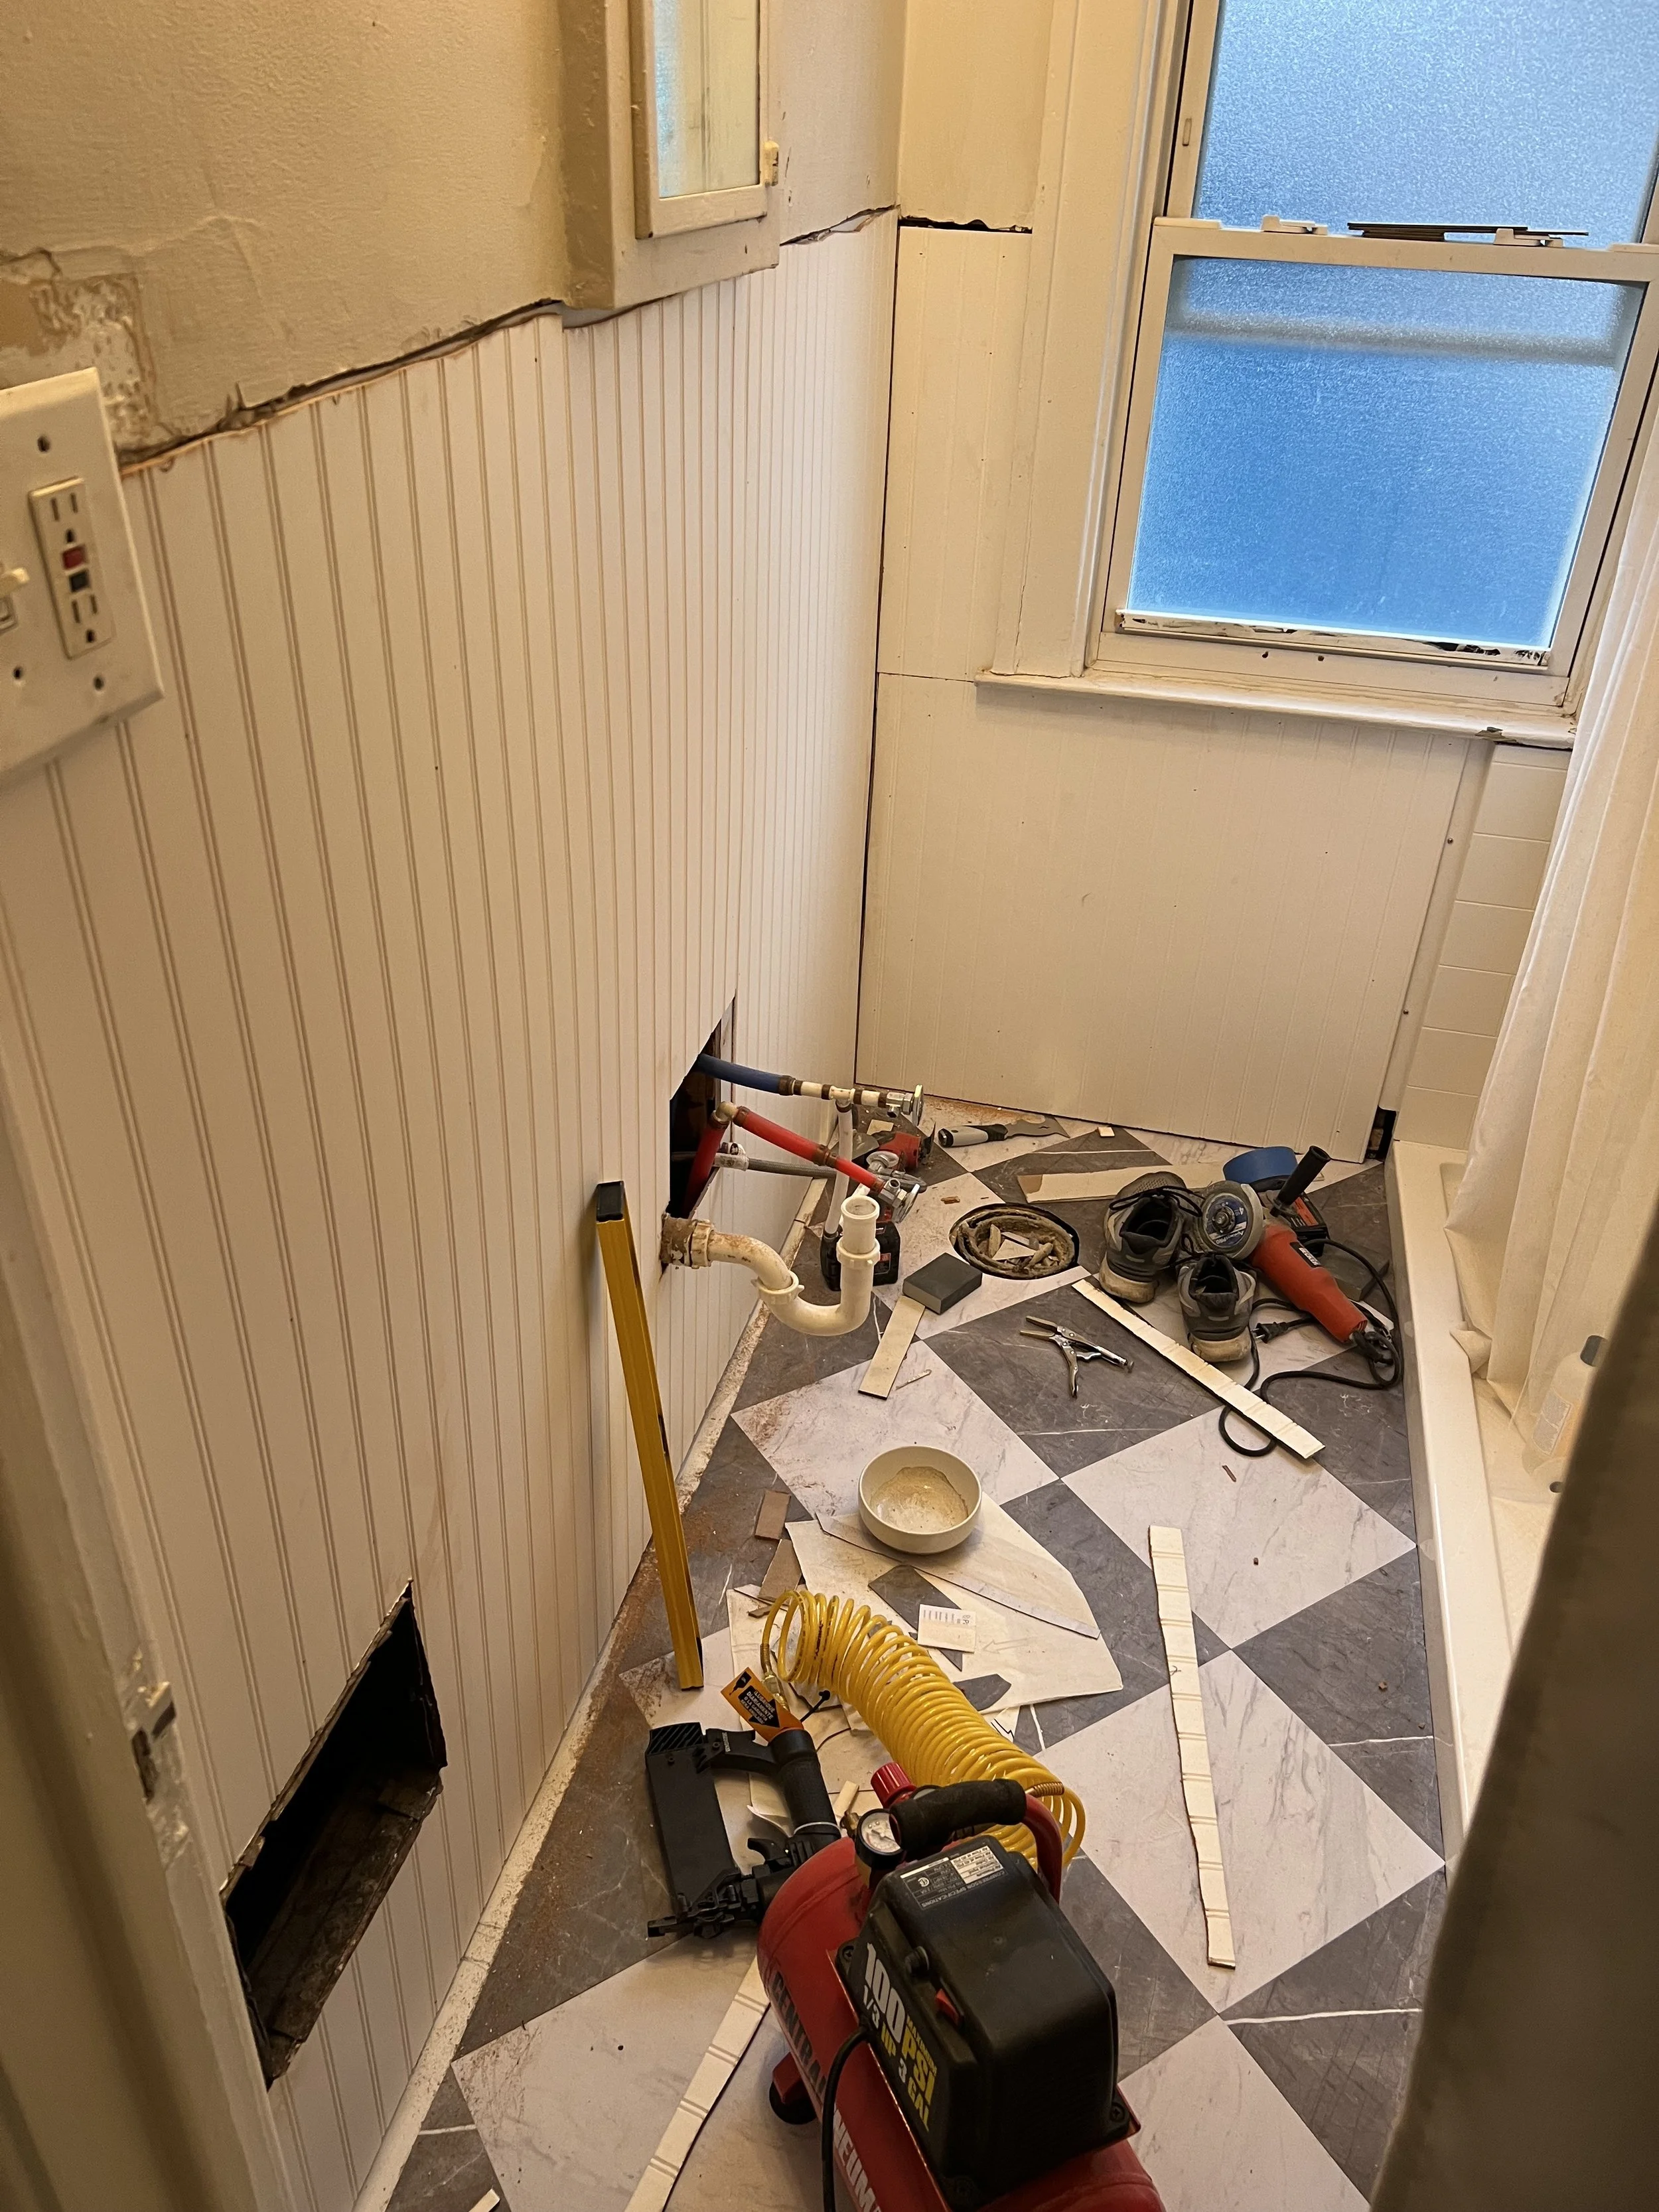
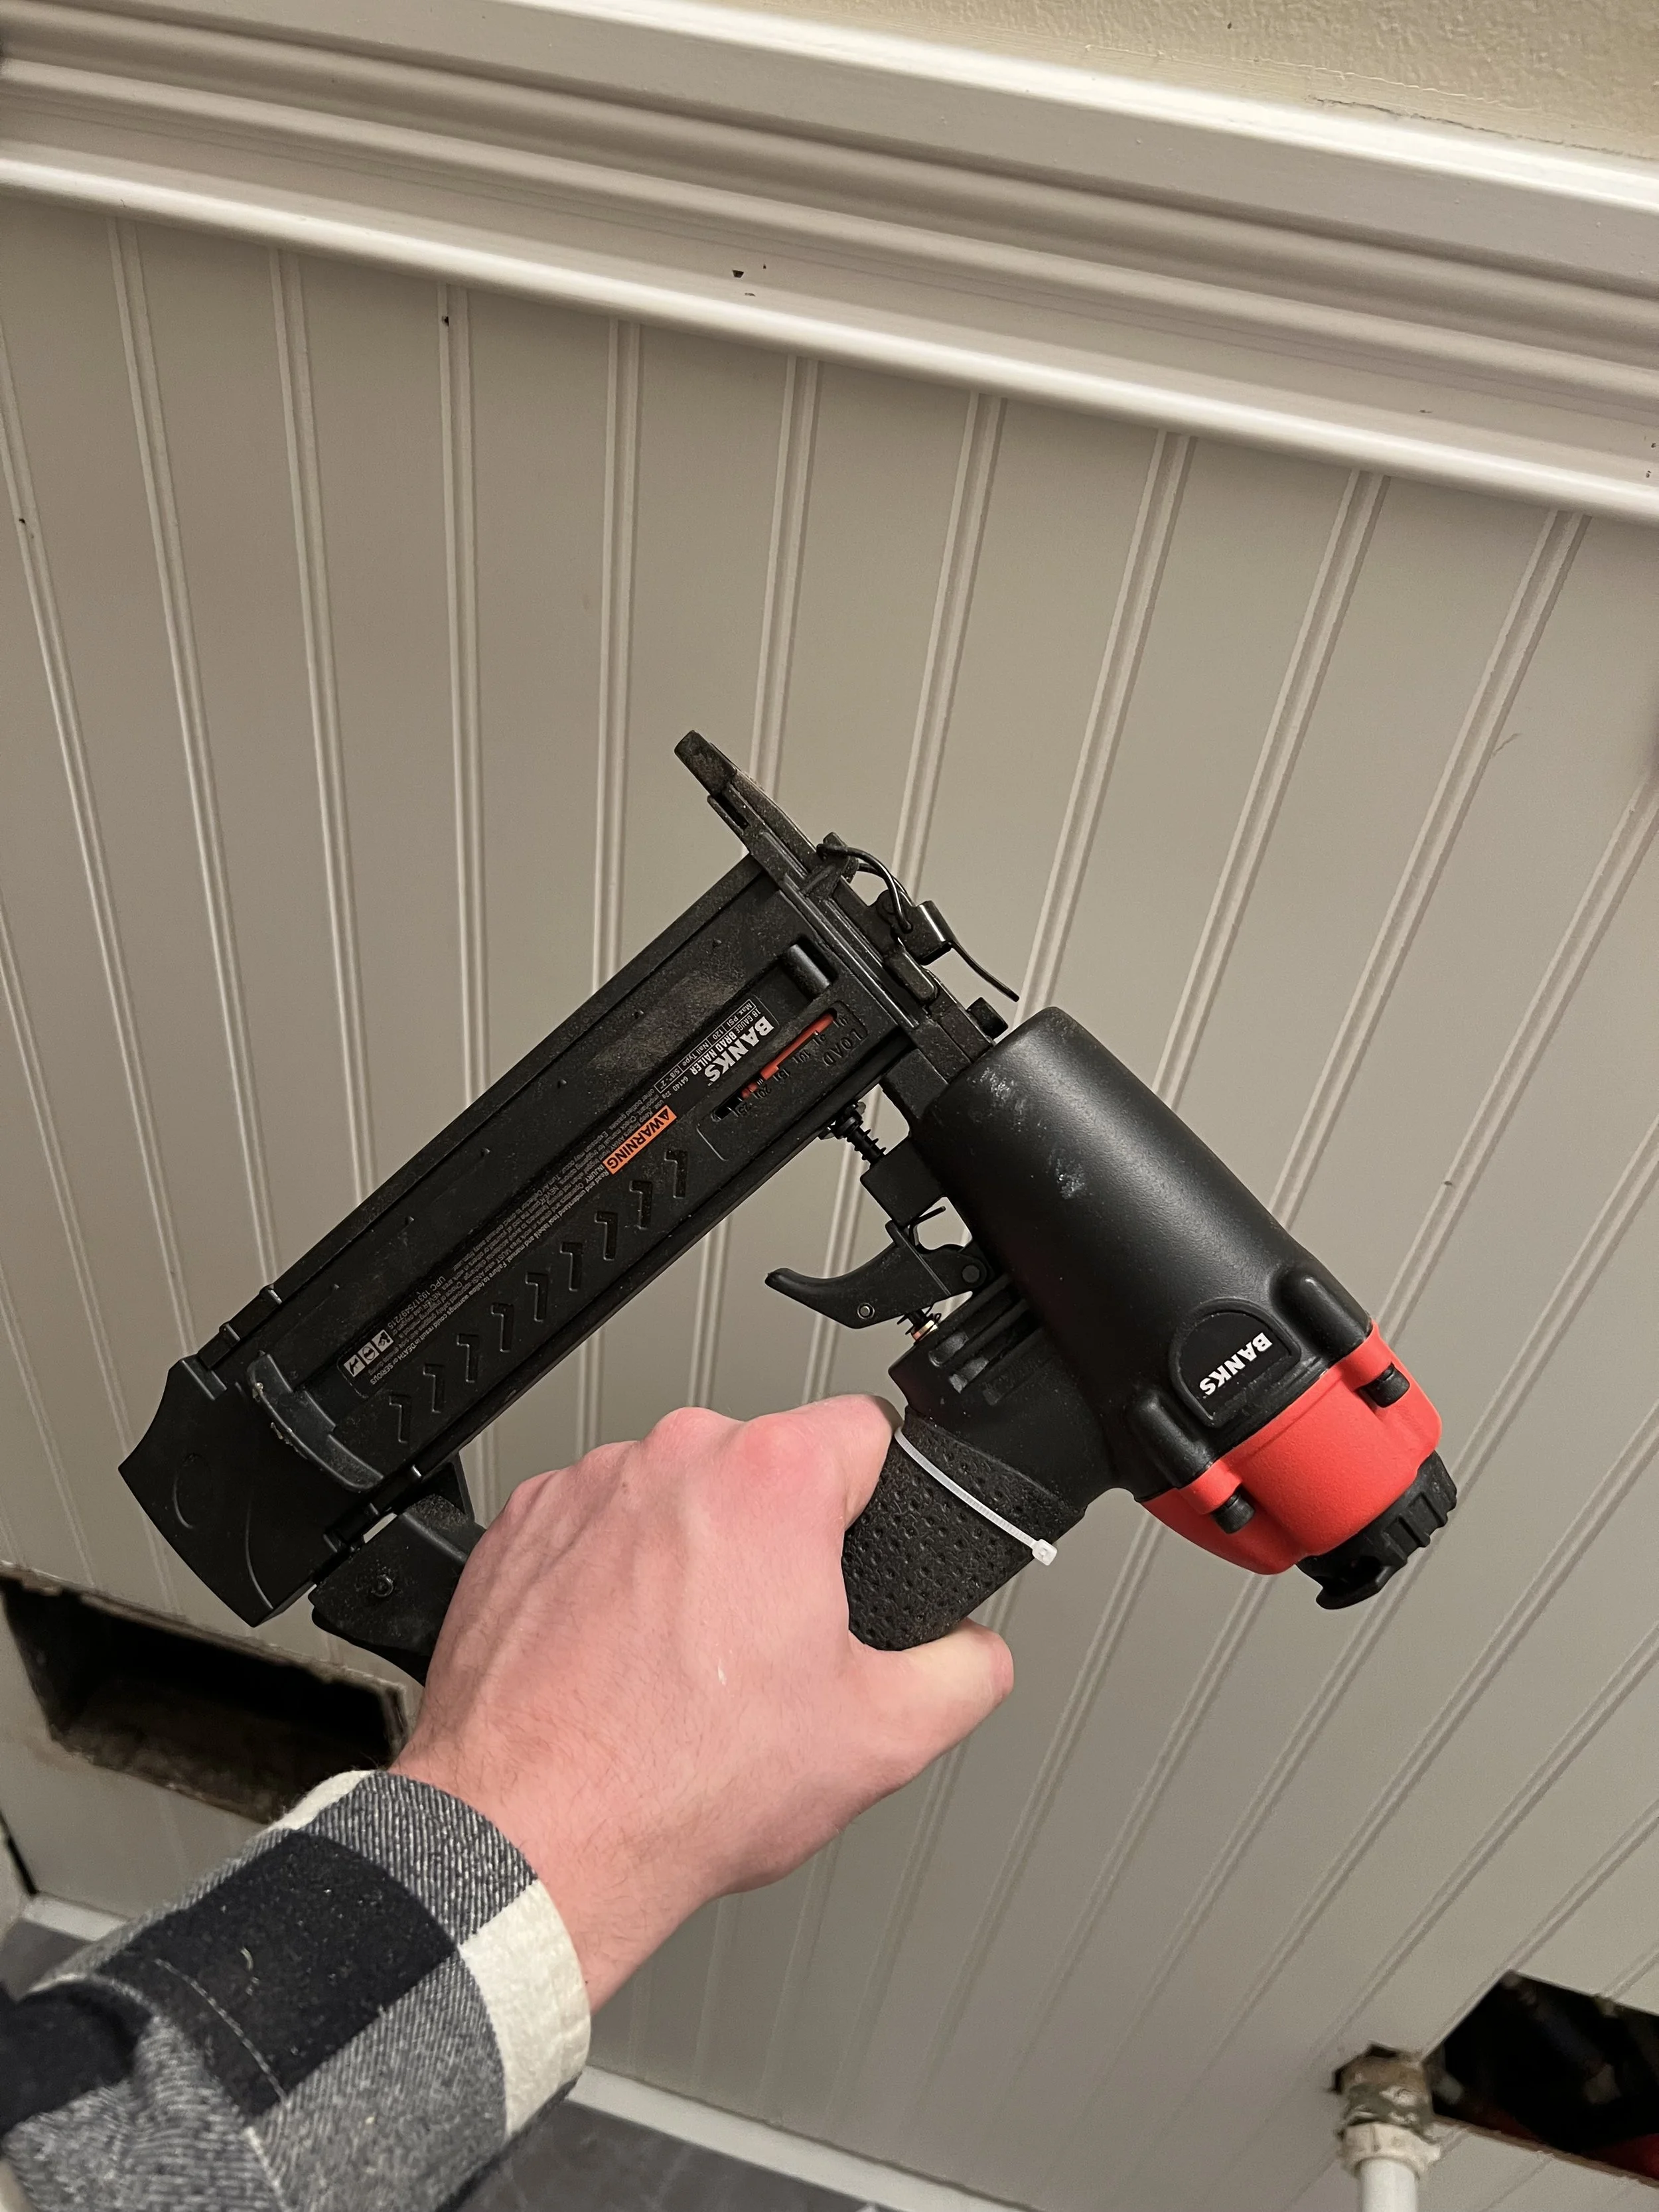
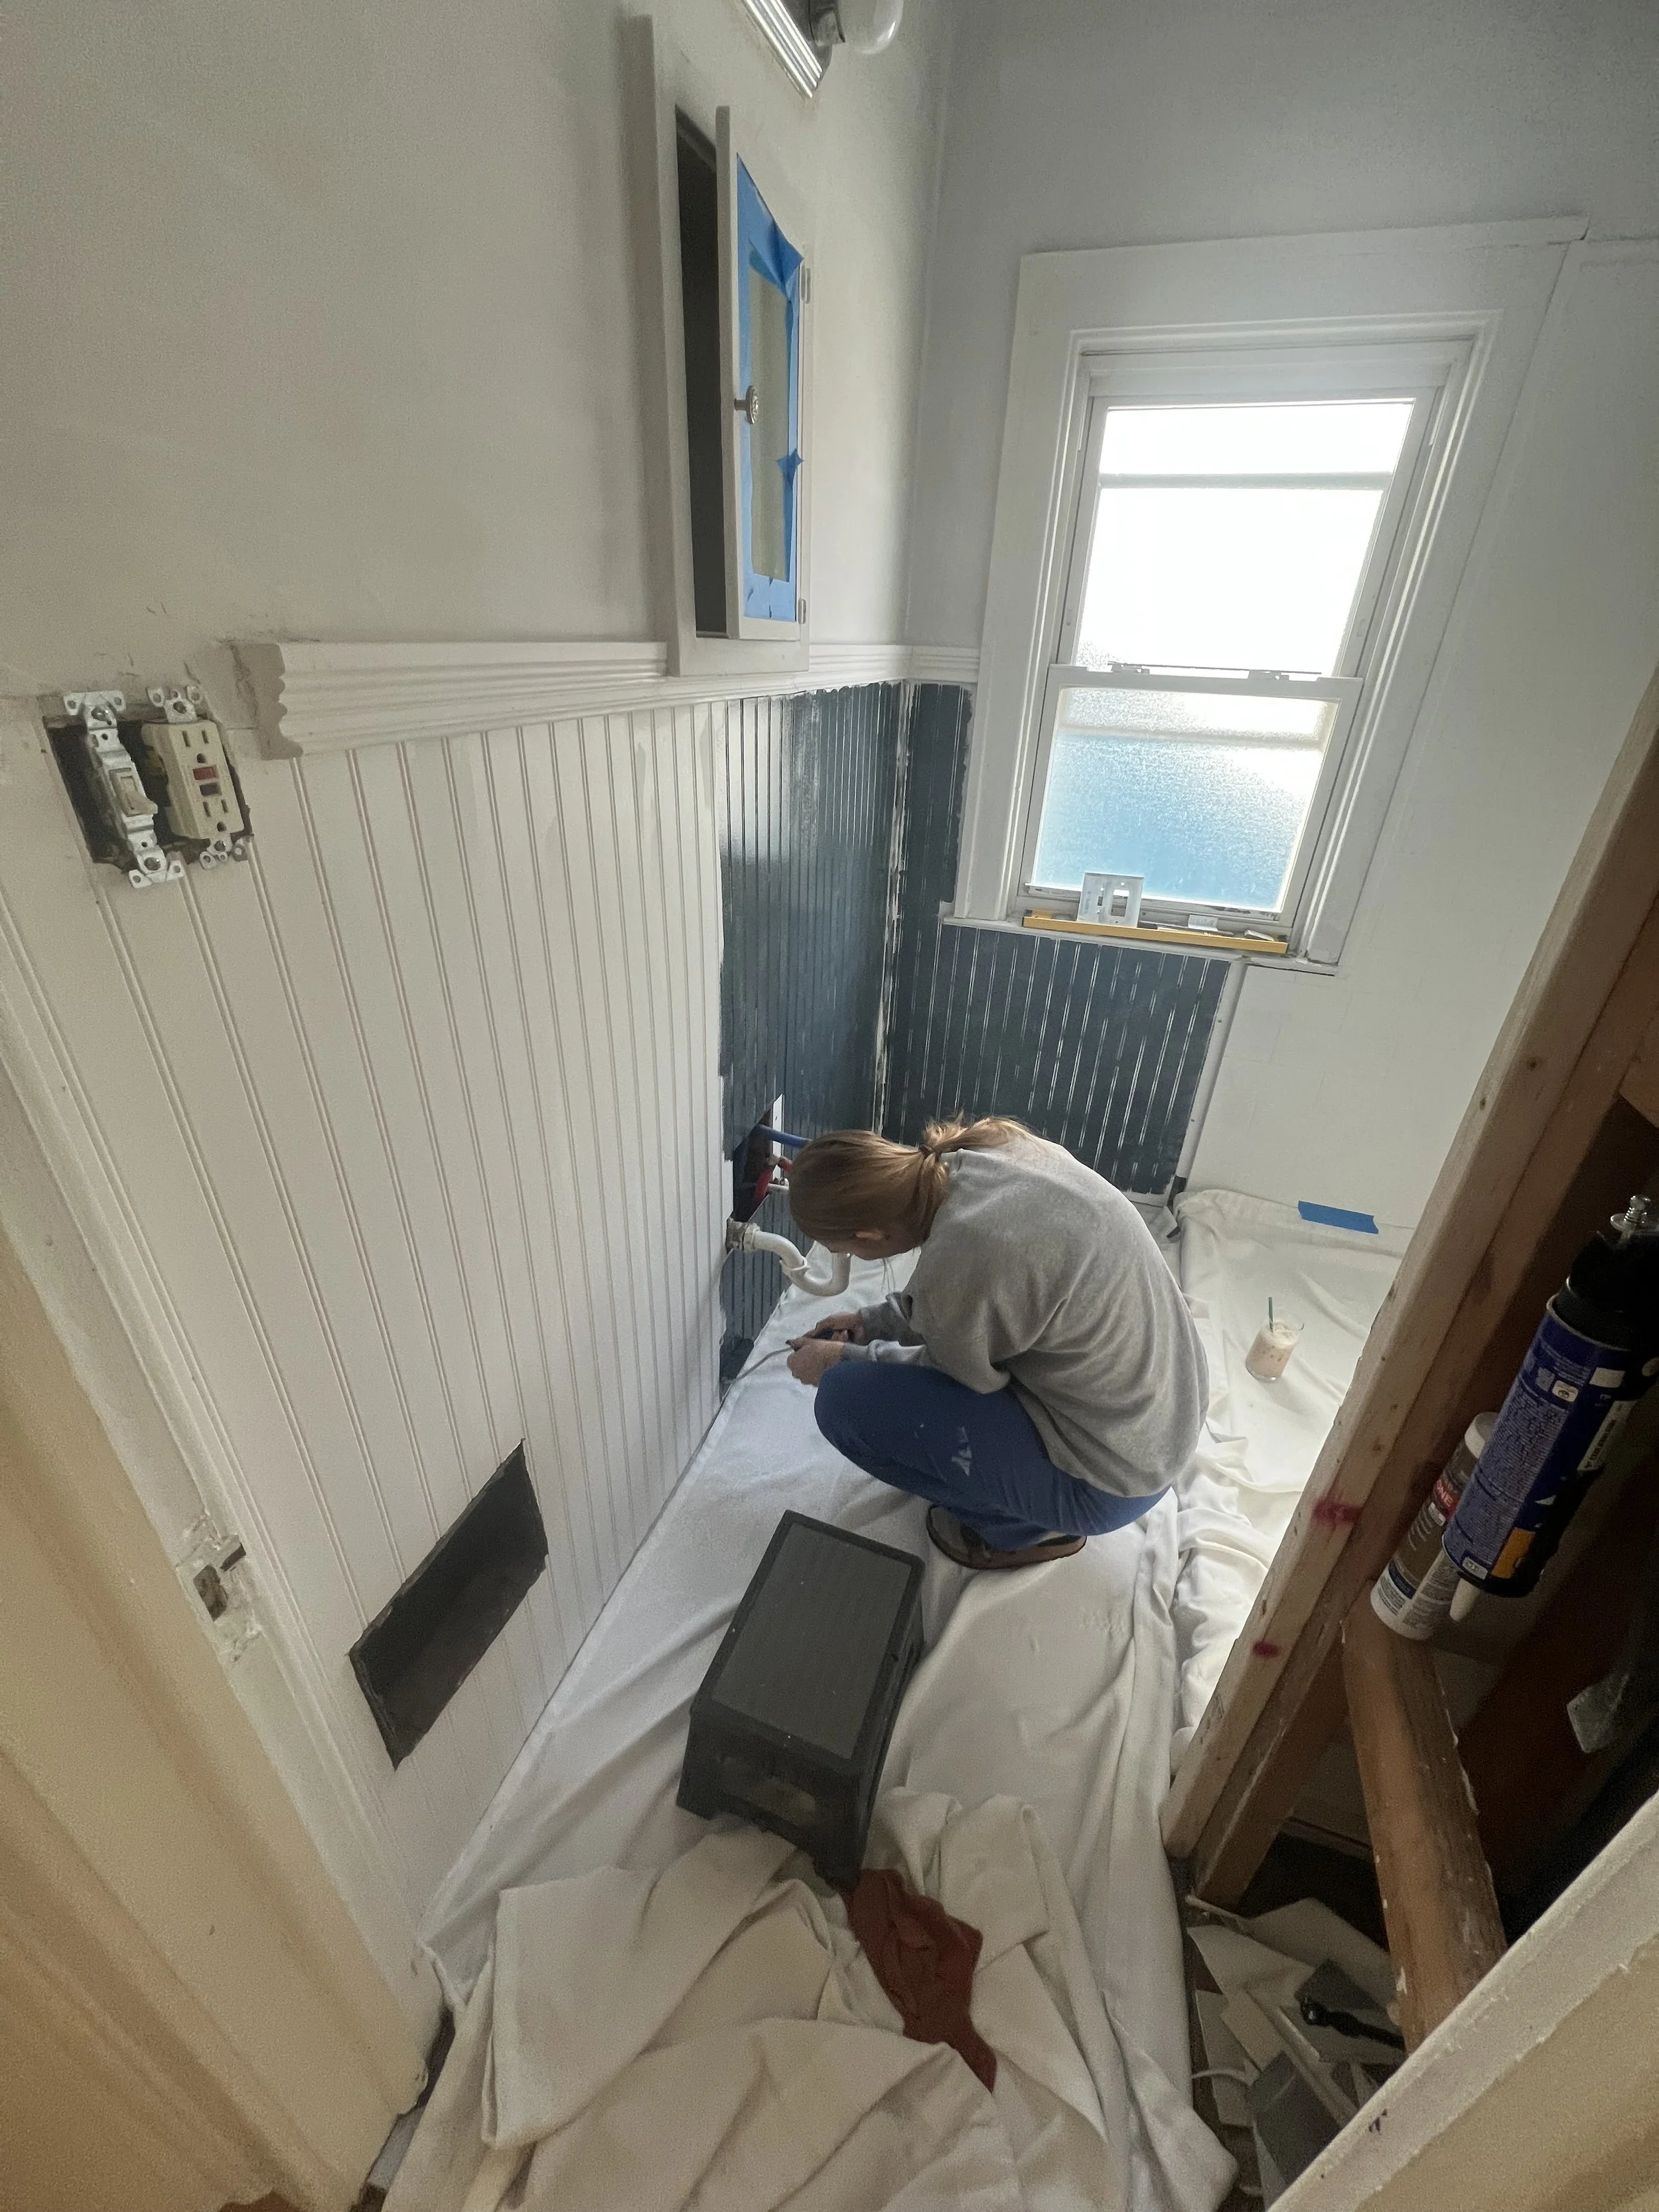
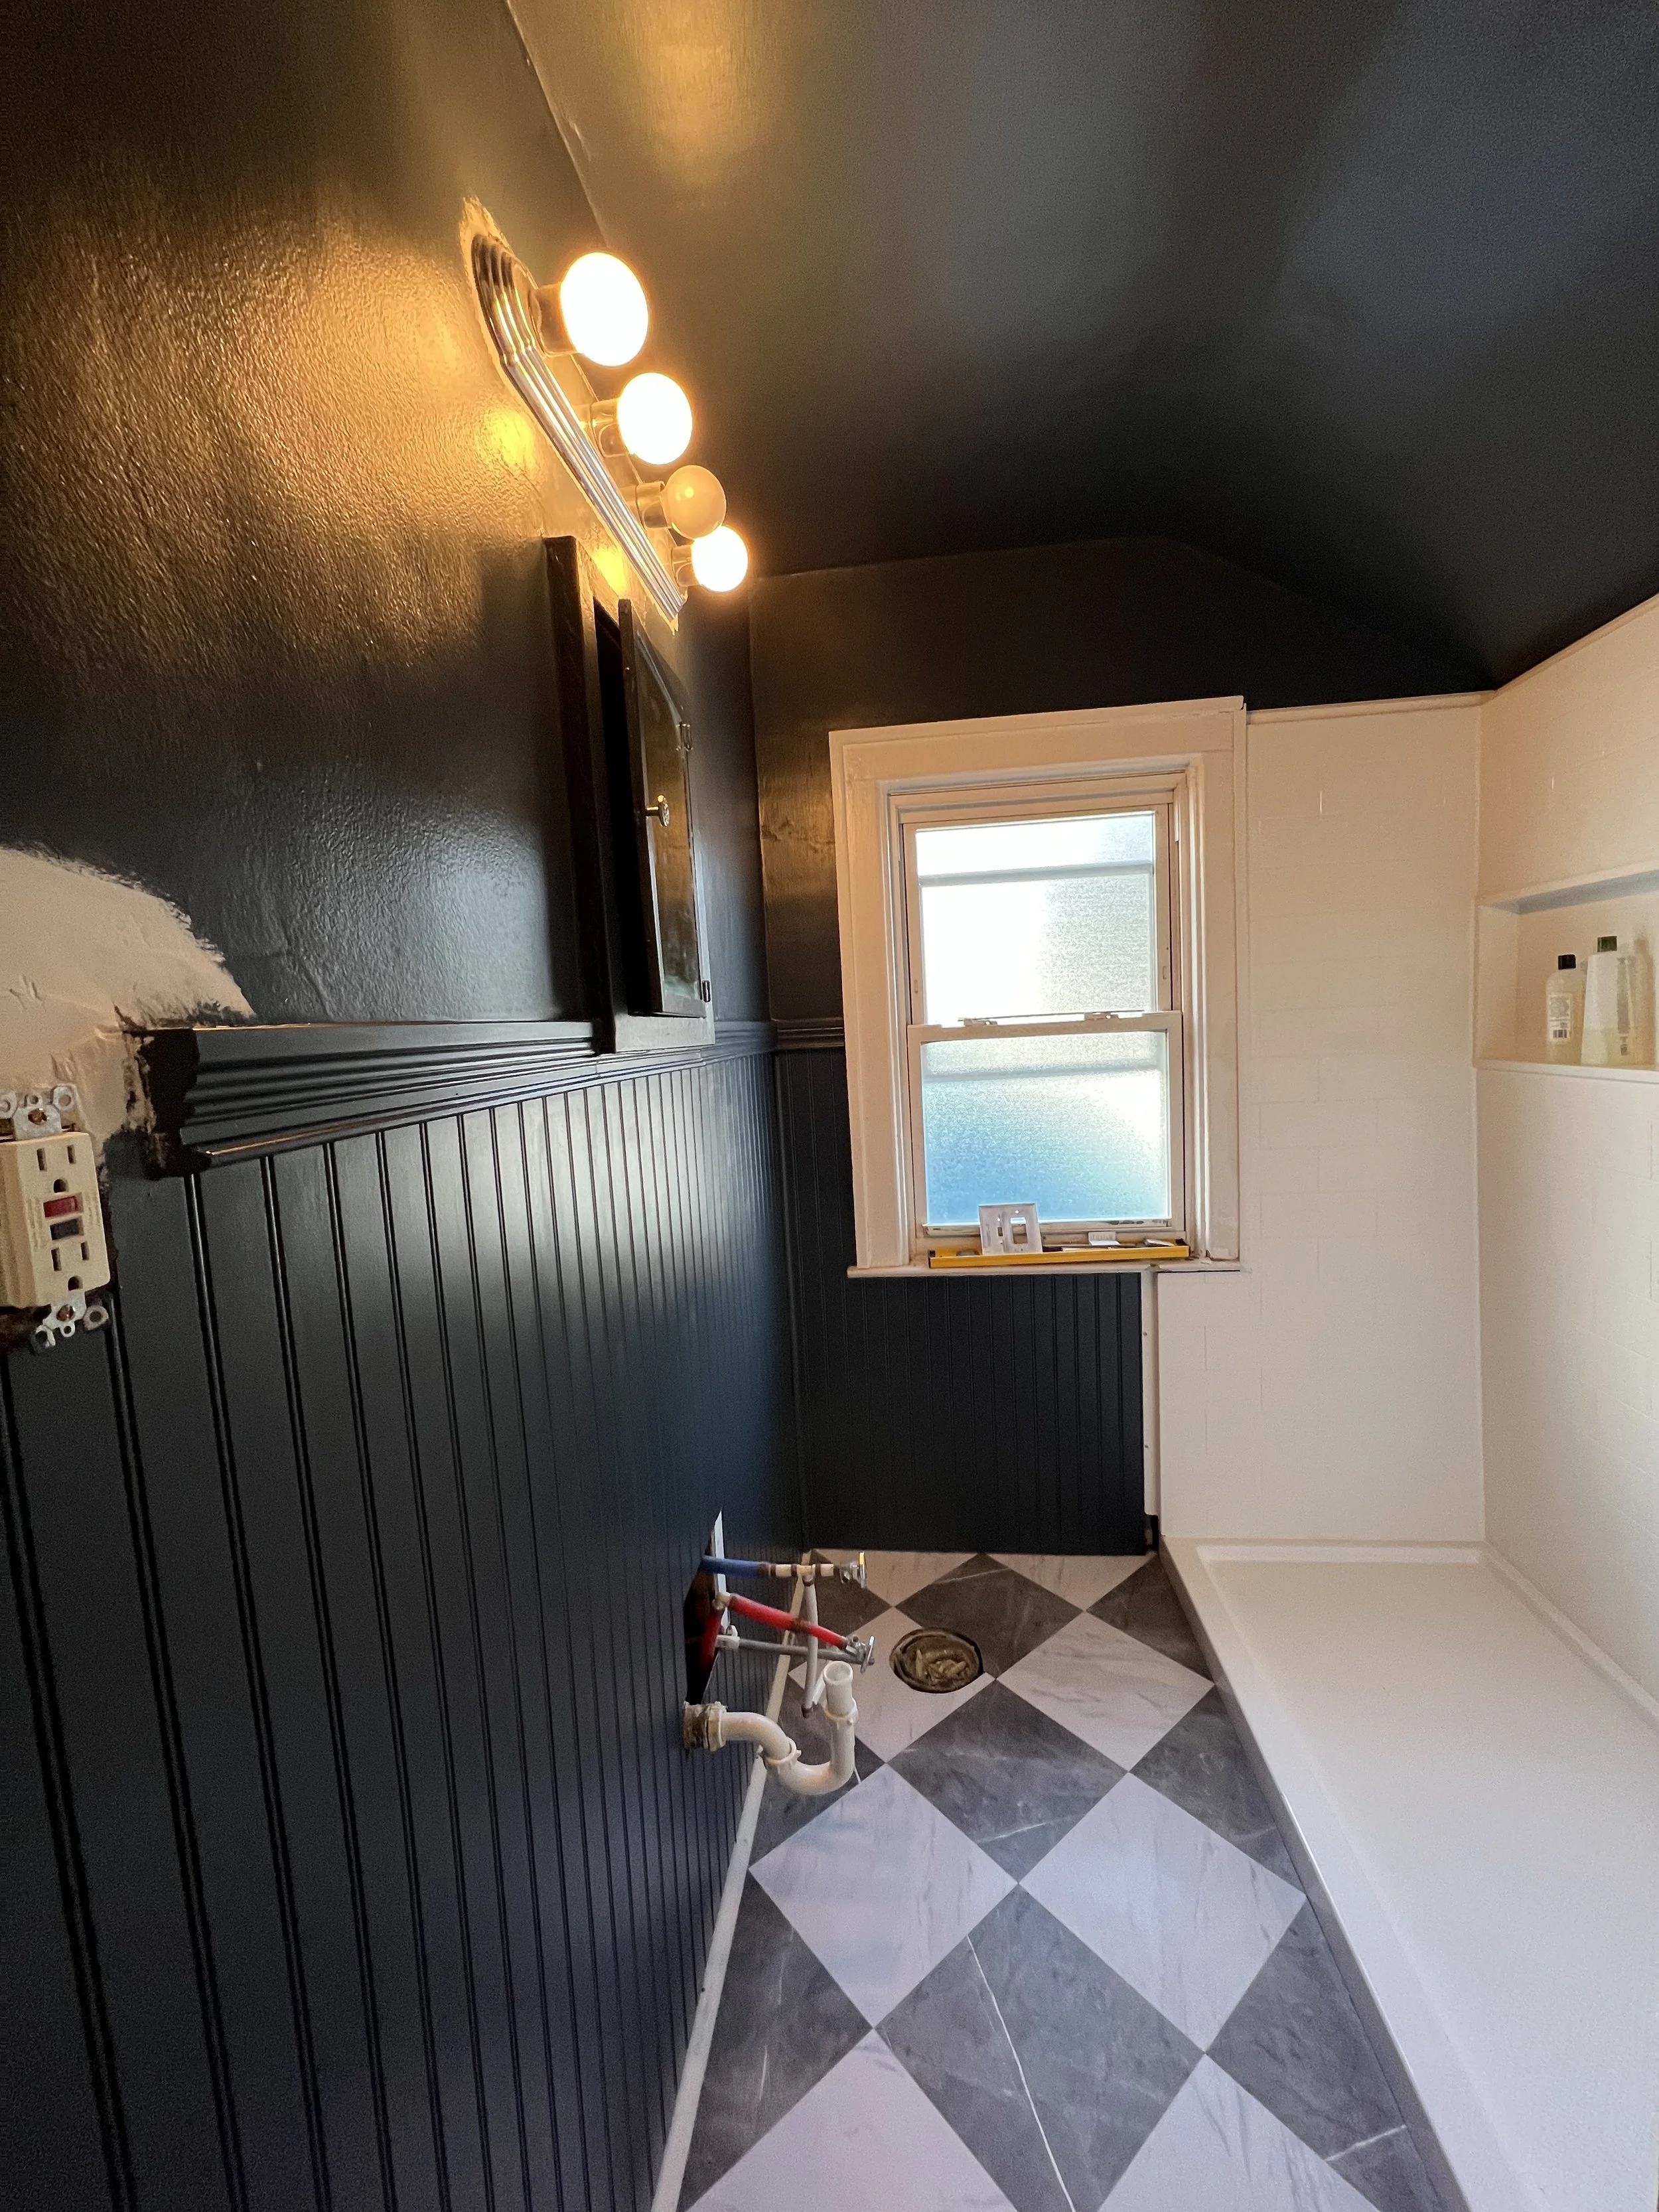
    The existing lathe and plaster on the wall was quite uneven, with about a half-inch of plaster over the lath. To create a smooth base for the finishing beadboard, I screwed in 1/4-inch drywall directly over the lath. If you don’t already own one and plan on doing any trim or finishing work like this, I highly recommend buying a brad nailer. I learned this the hard way downstairs, where I spent two hours carefully hammering in nails to avoid damaging the paint or finish of the bead boards. The brad nailer, which cost only $30 at Harbor Freight, saved me several hours and neatly buries the nails, making them easy to fill or paint over. Once the beadboard and trim were up, we moved on to caulking and painting the walls. After the vanity base and toilet were installed, I added an extra rounded corner piece on the left wall to seamlessly bridge the gap between the wall and the tile.

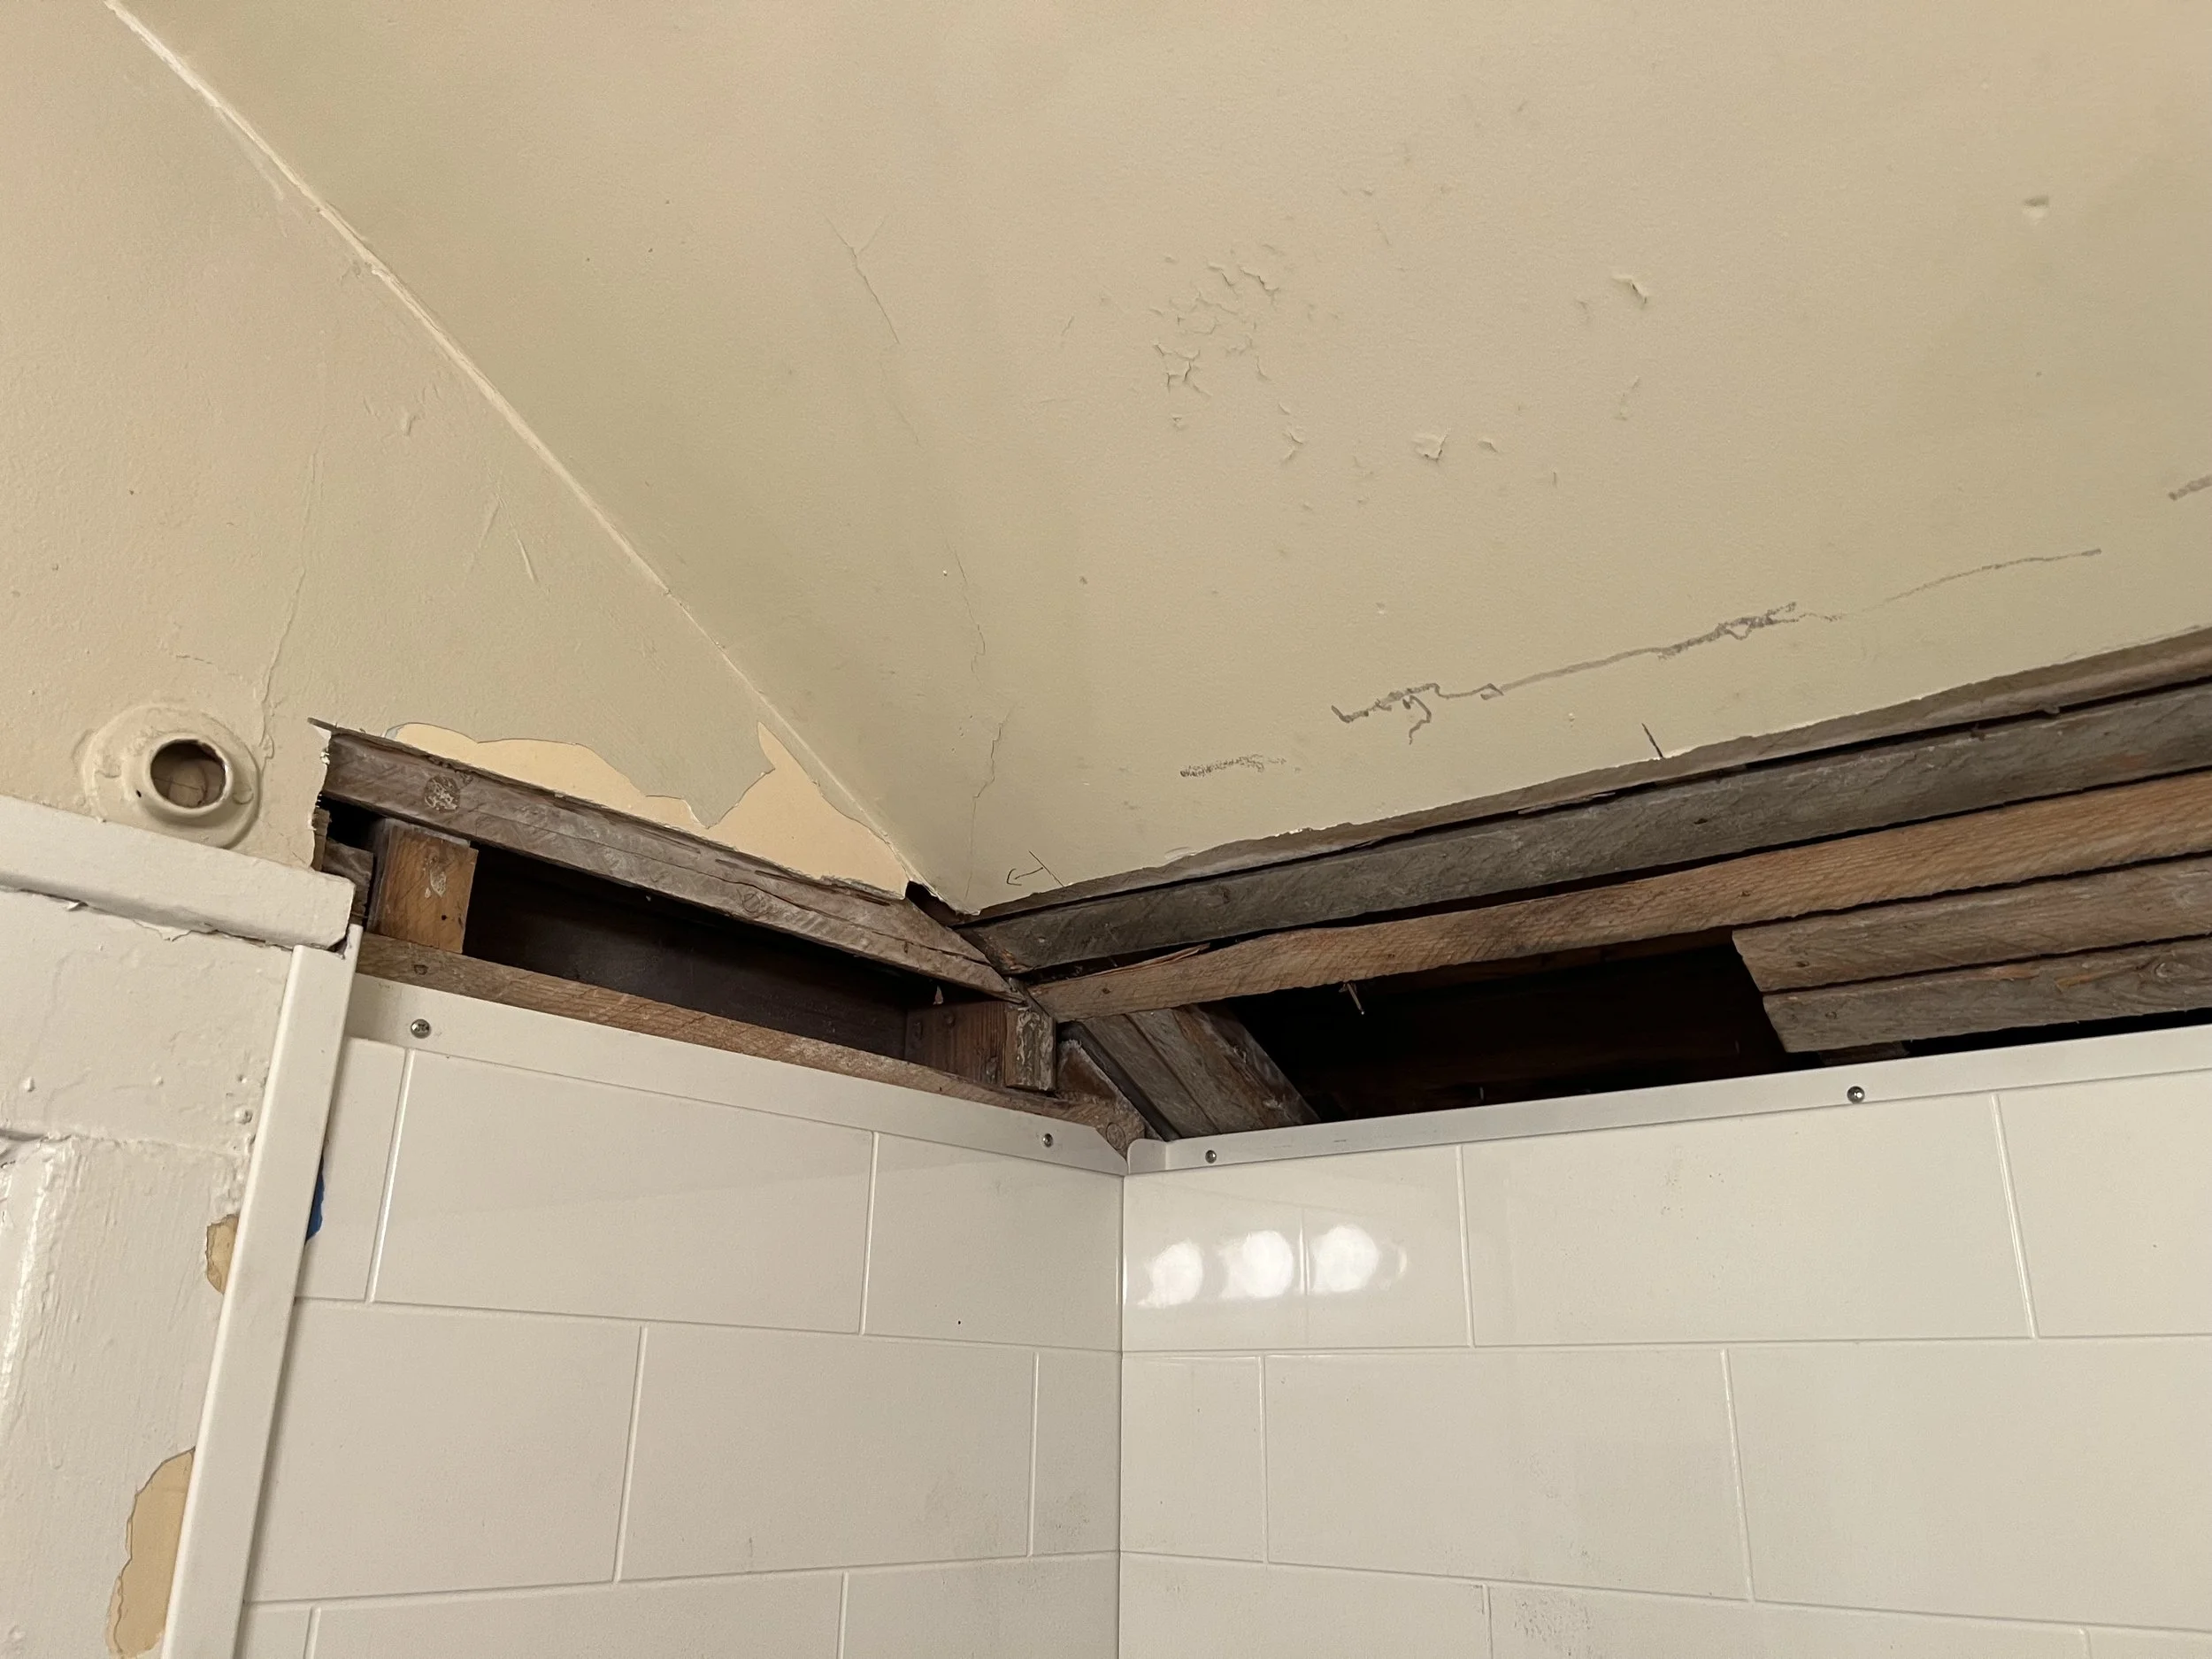
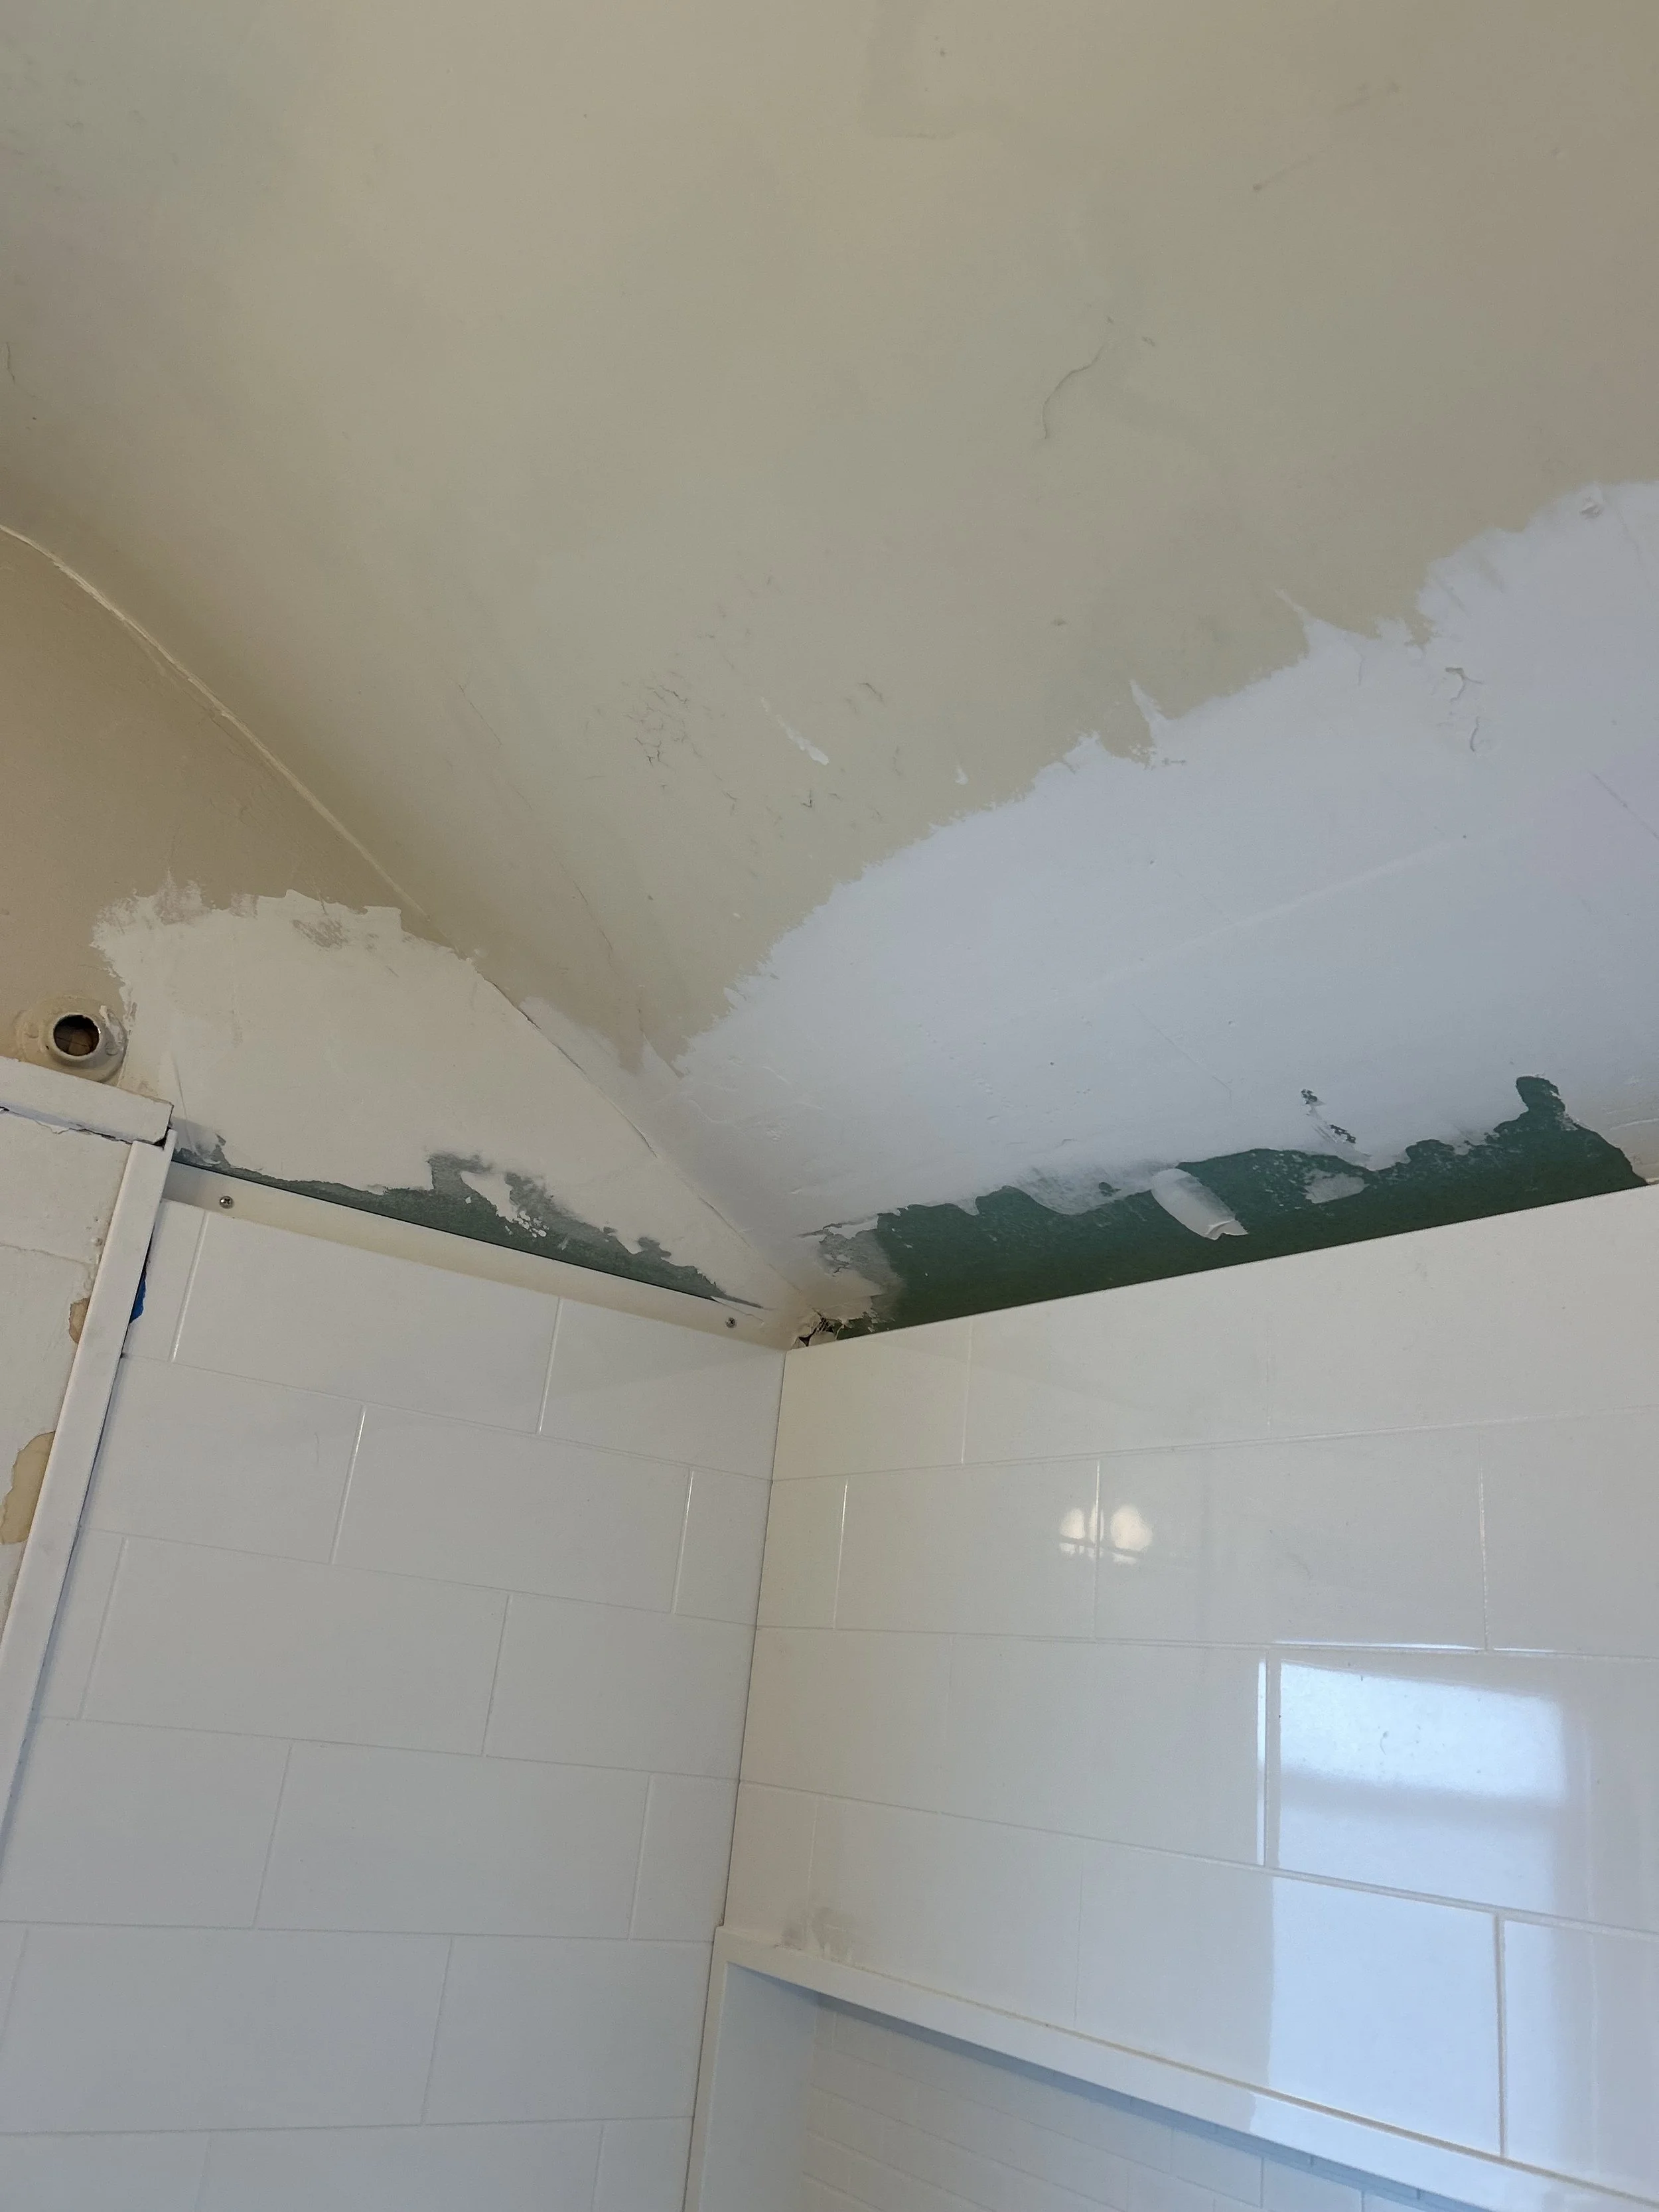
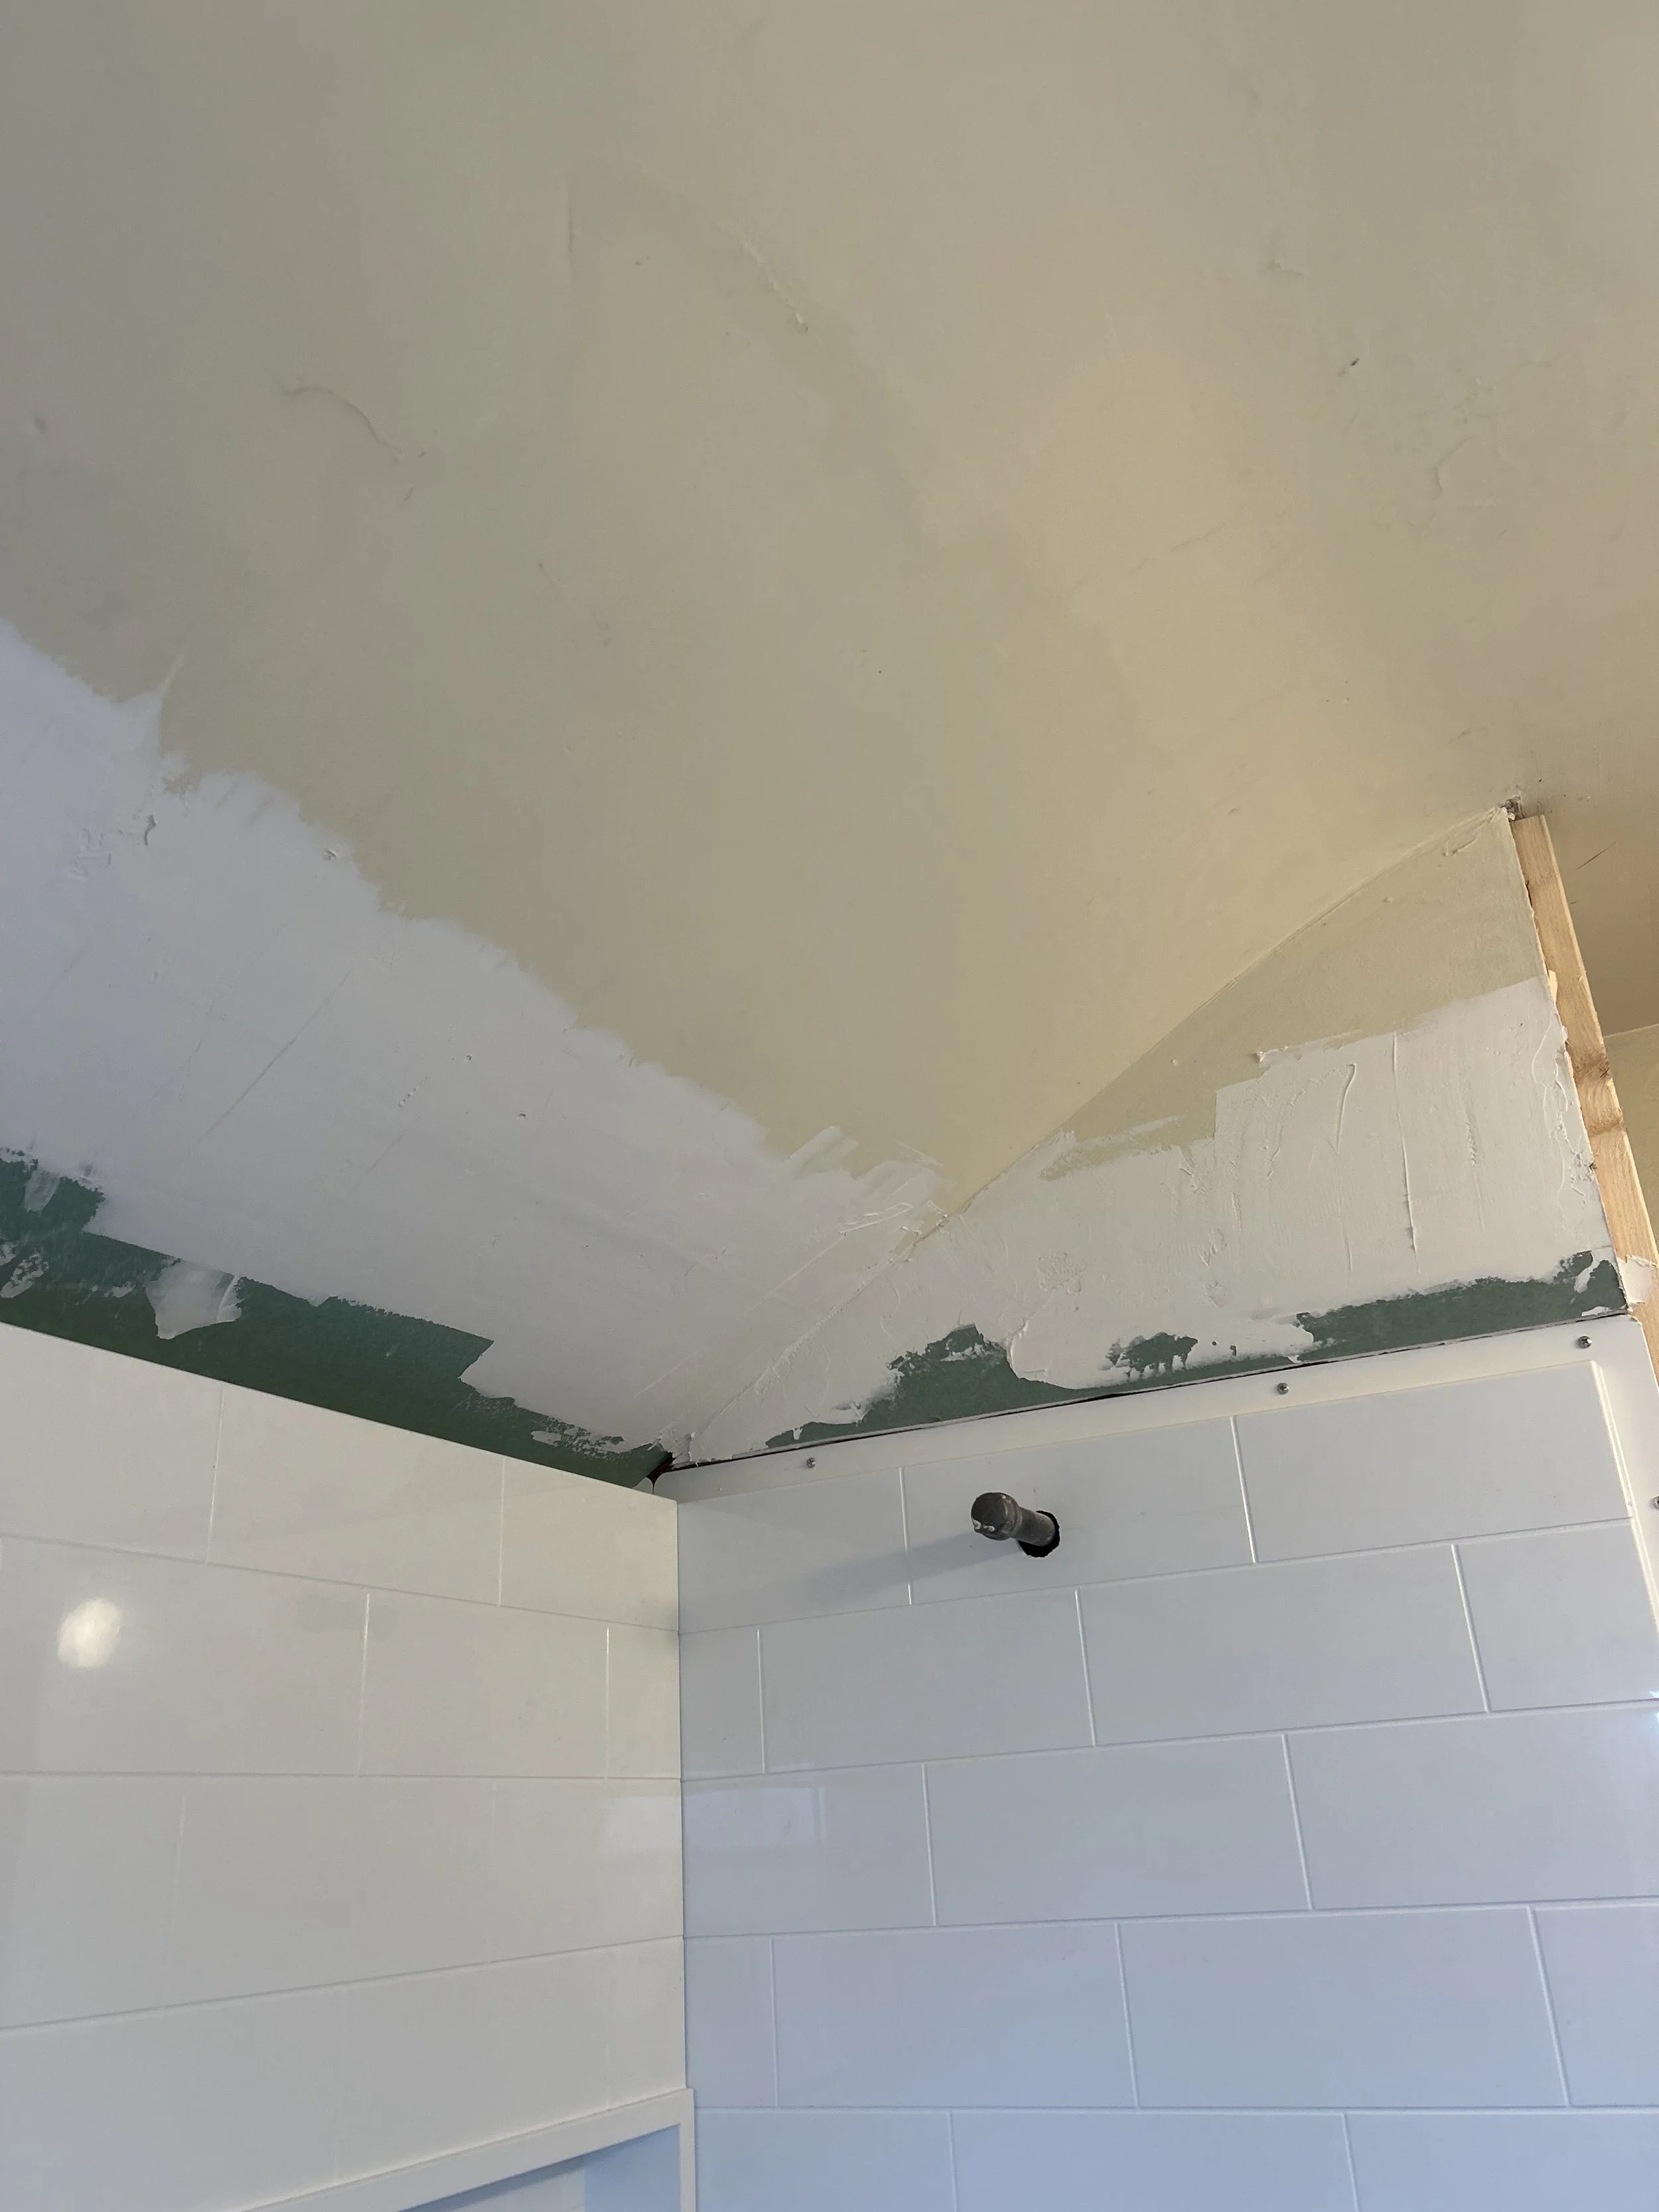
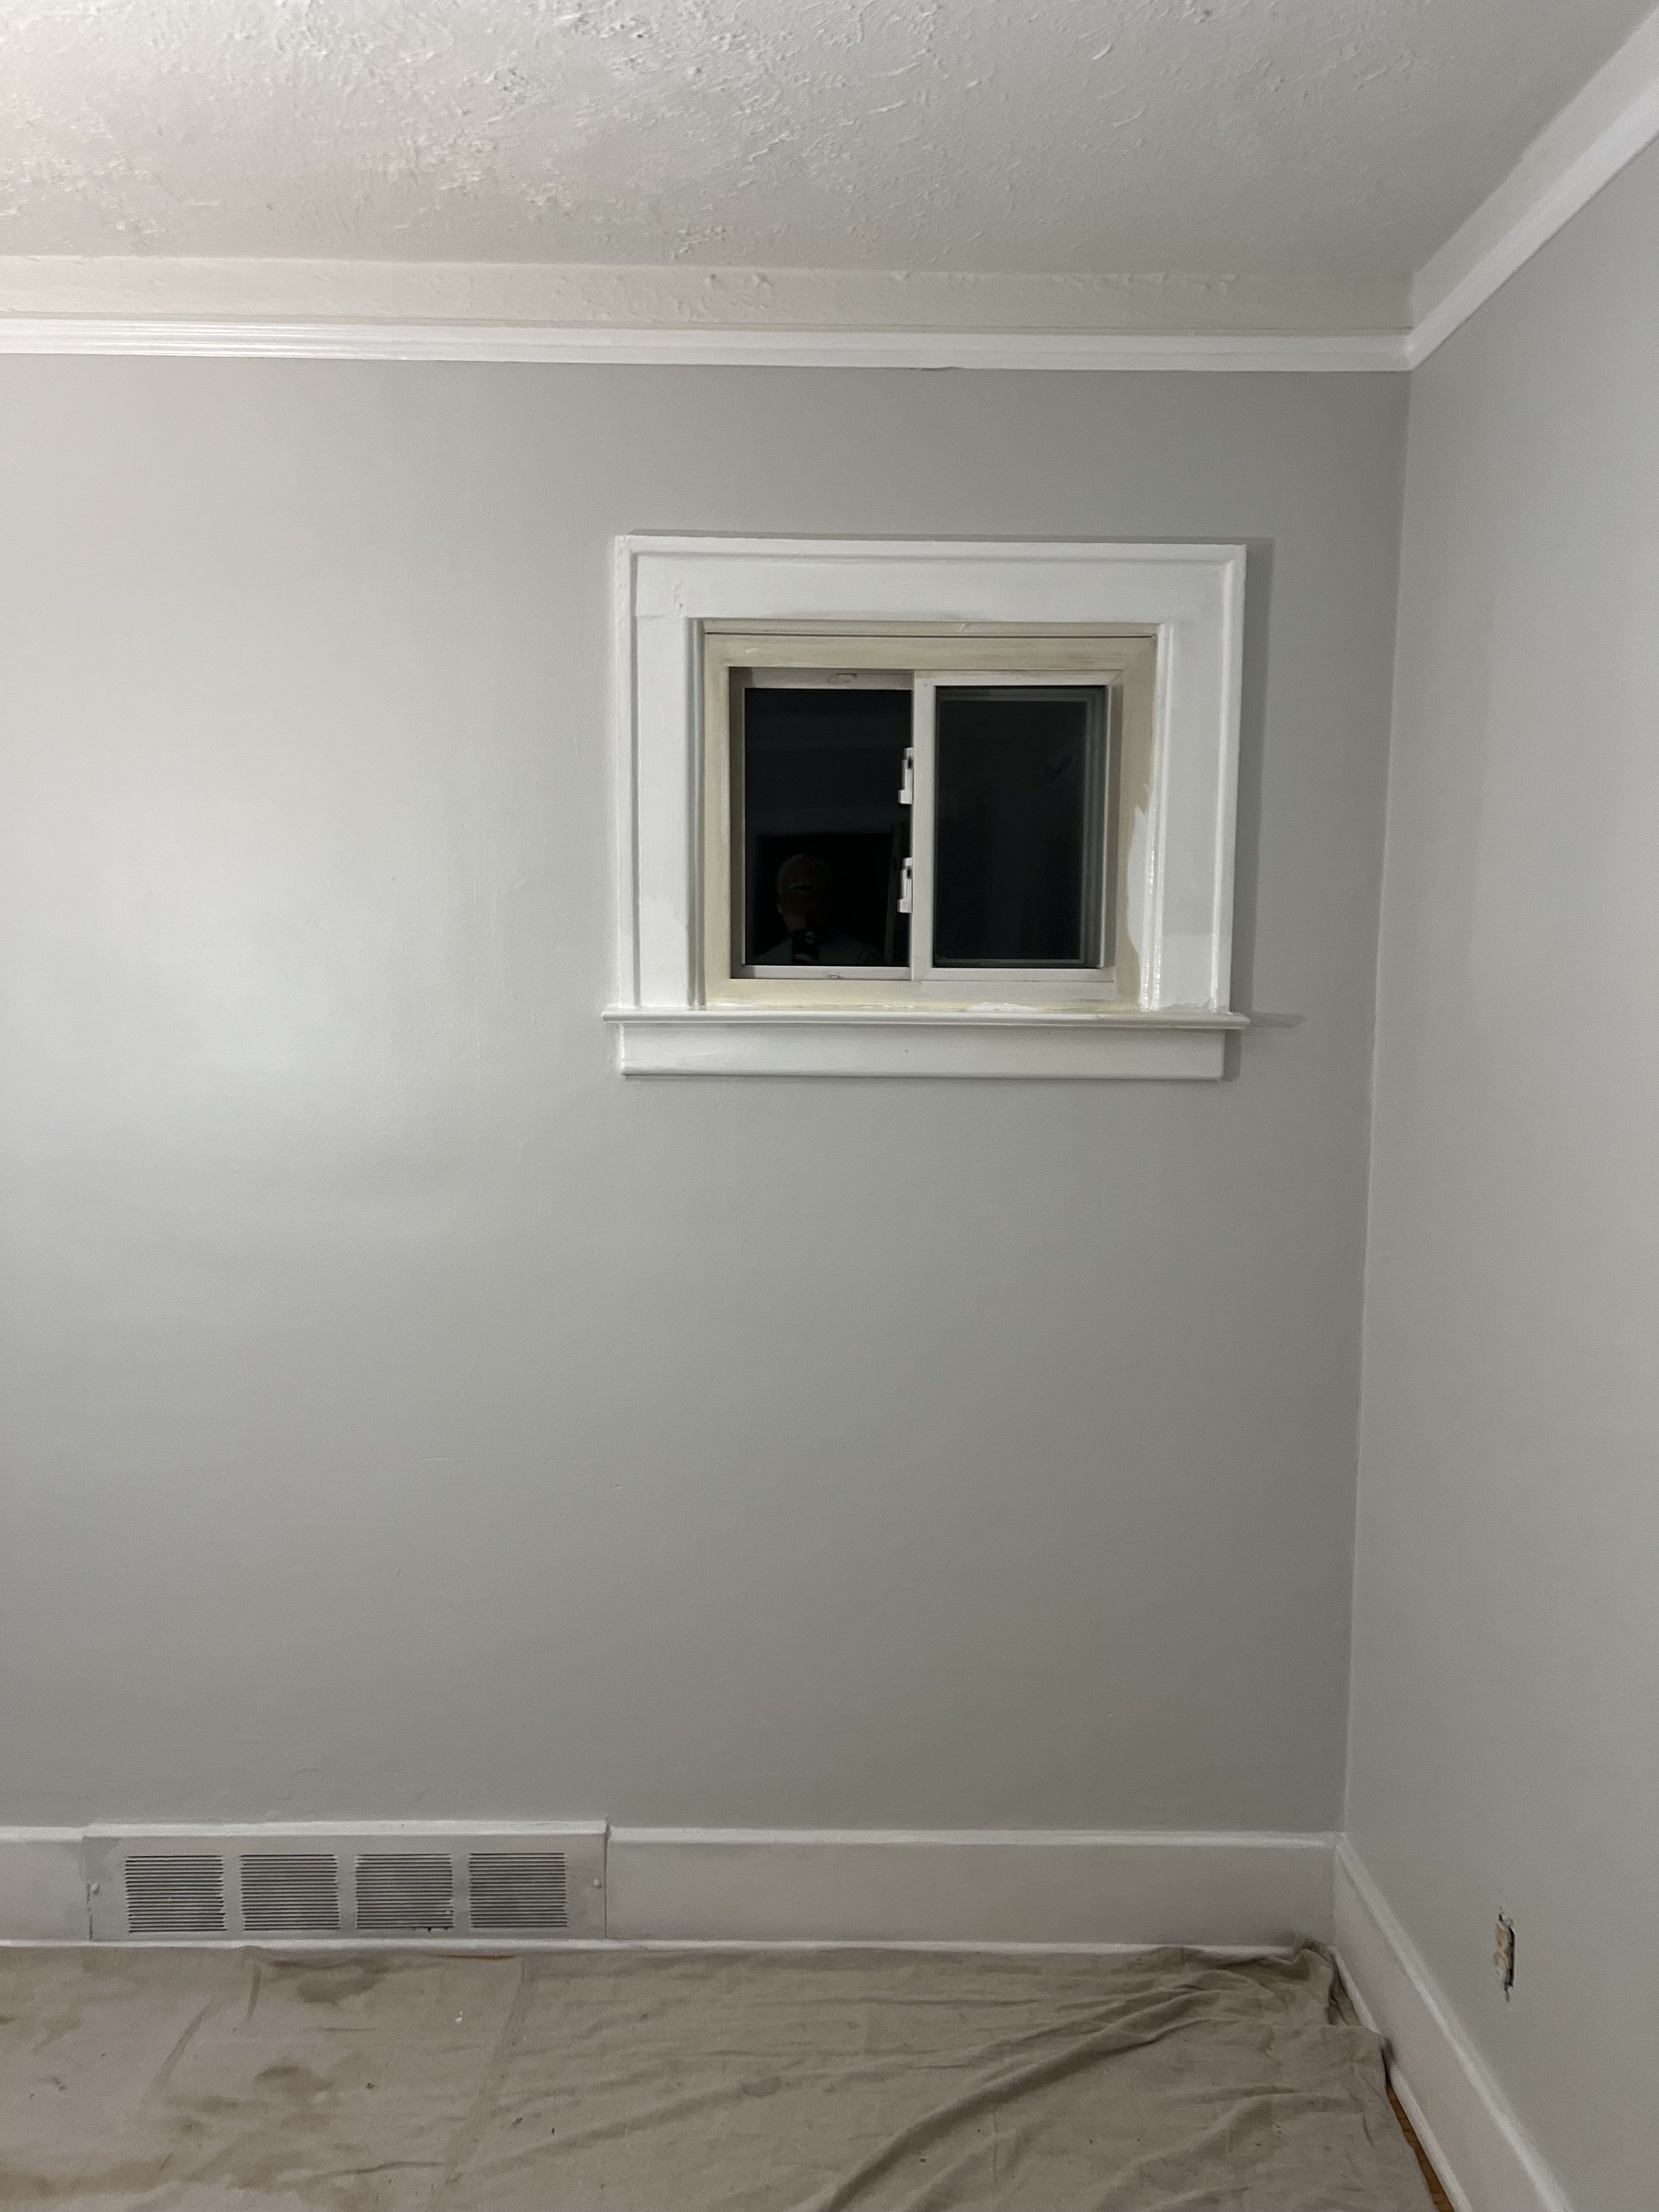
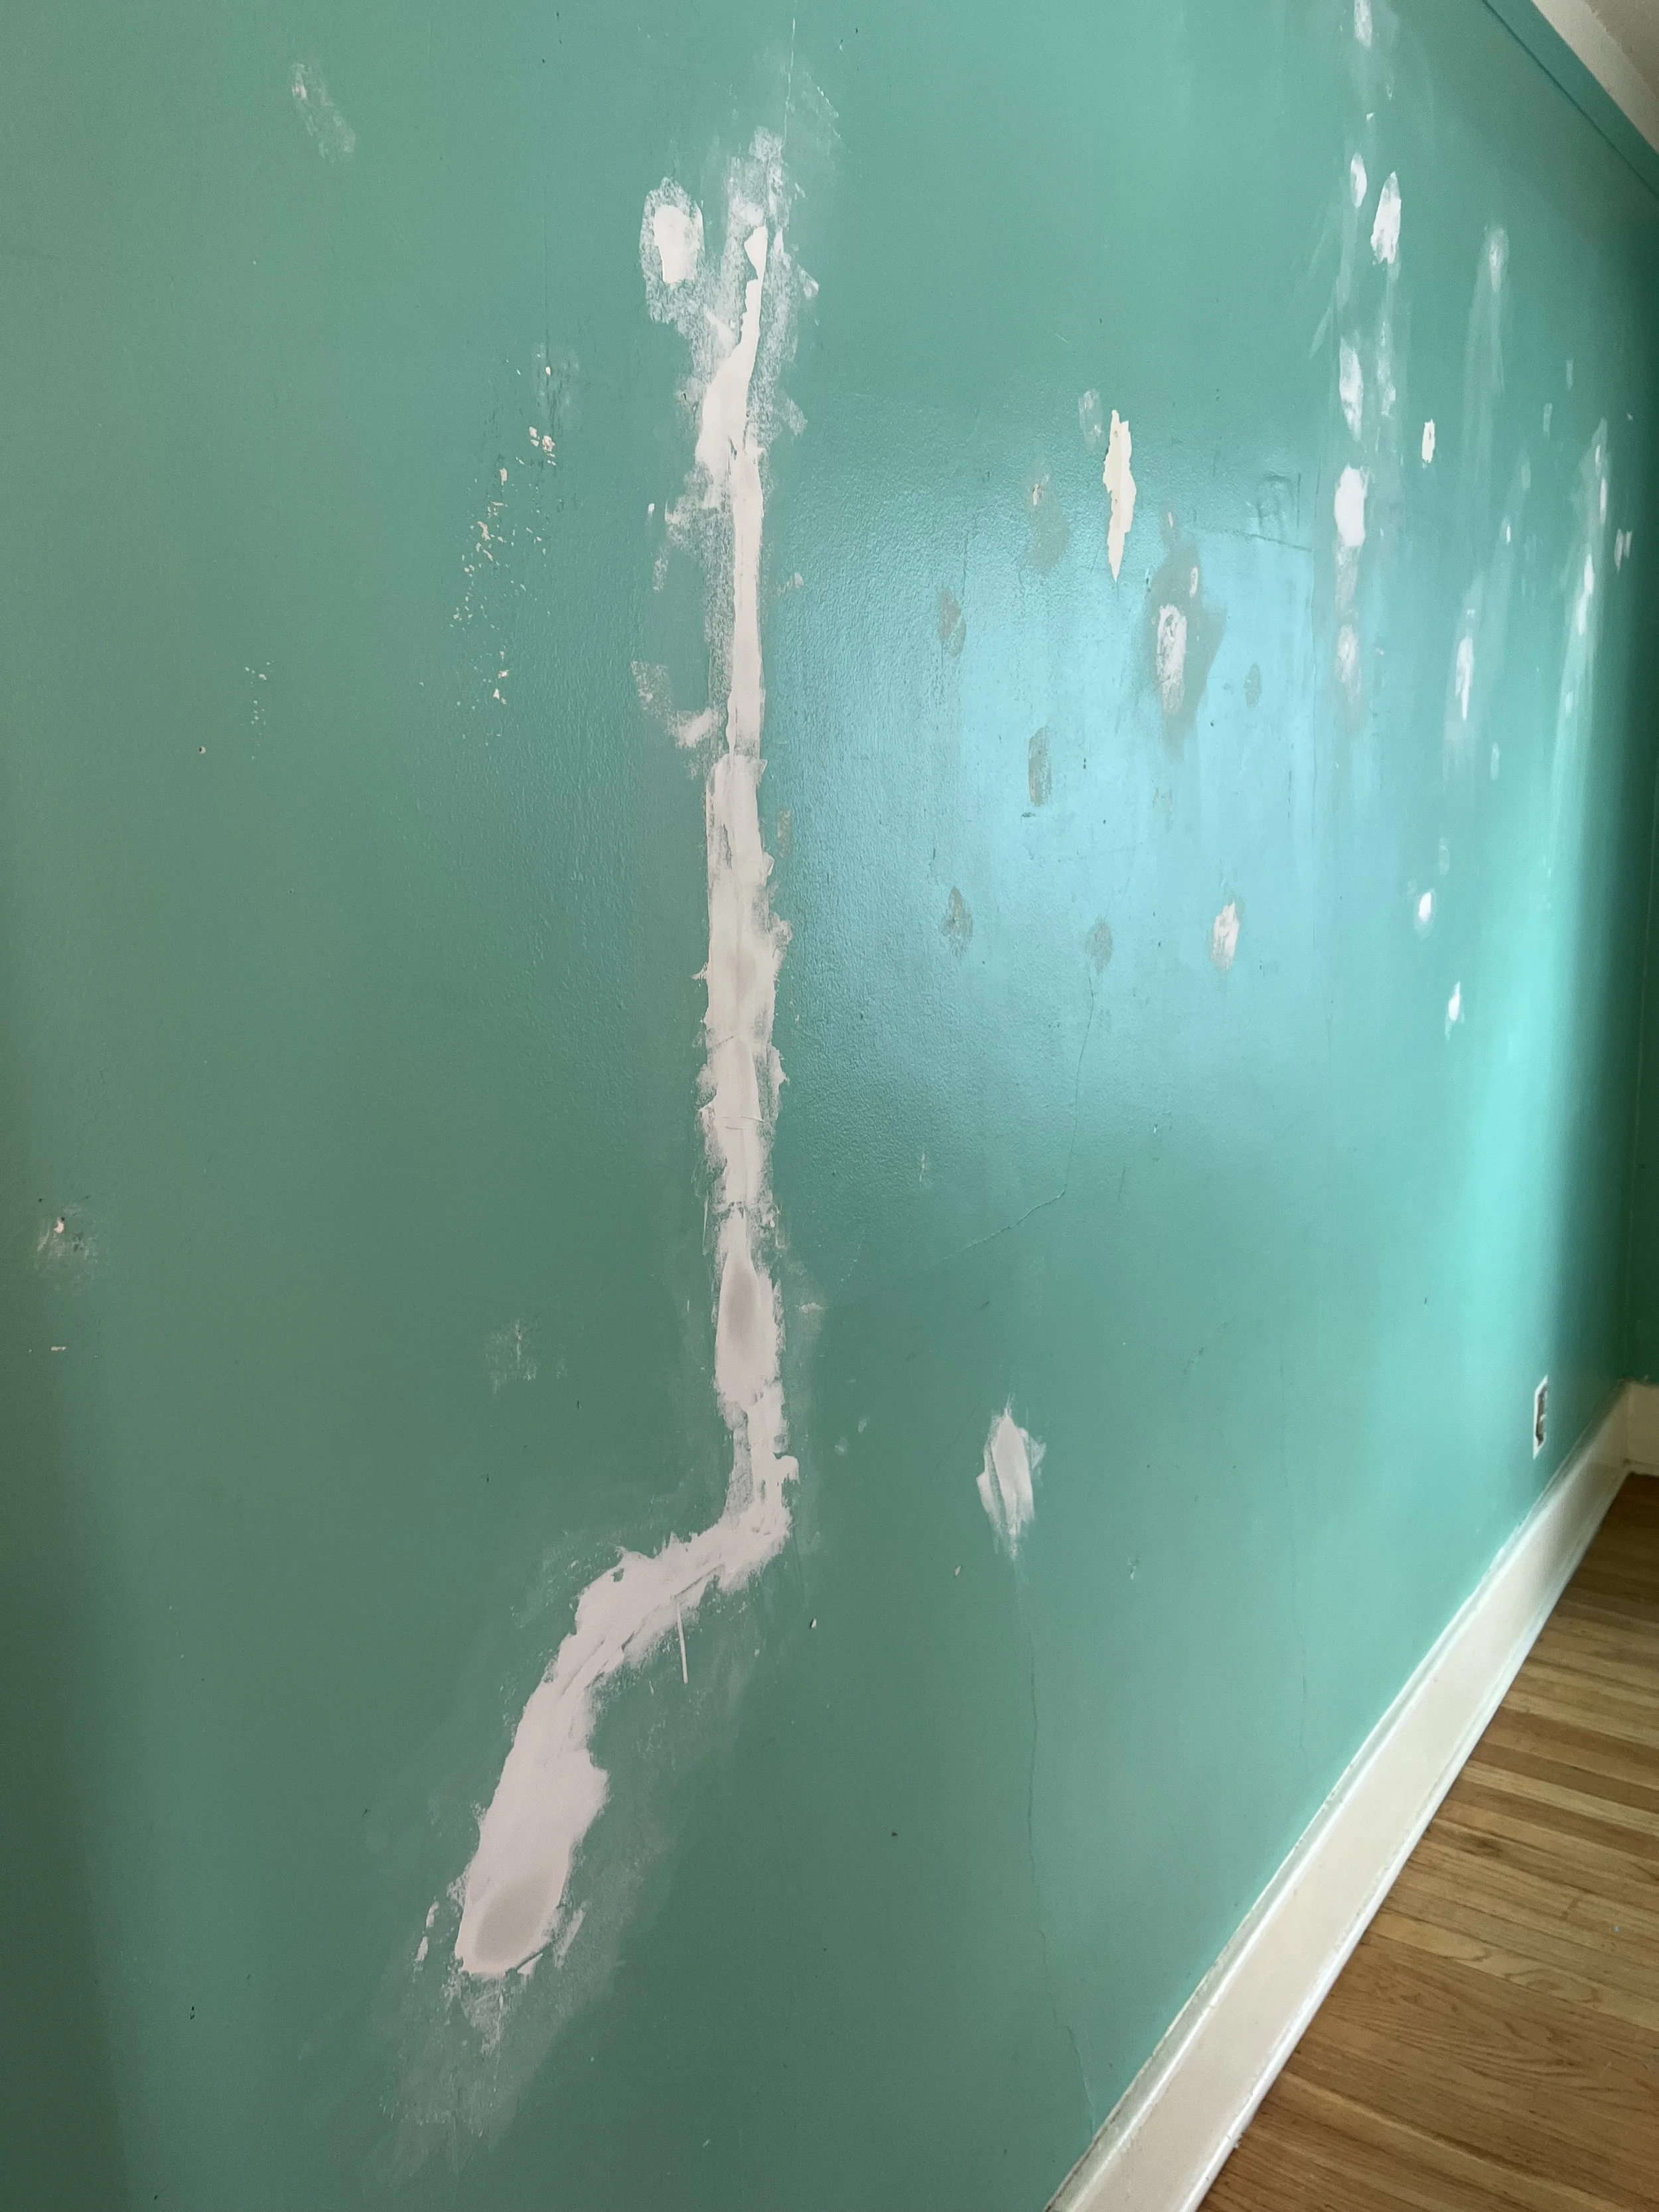
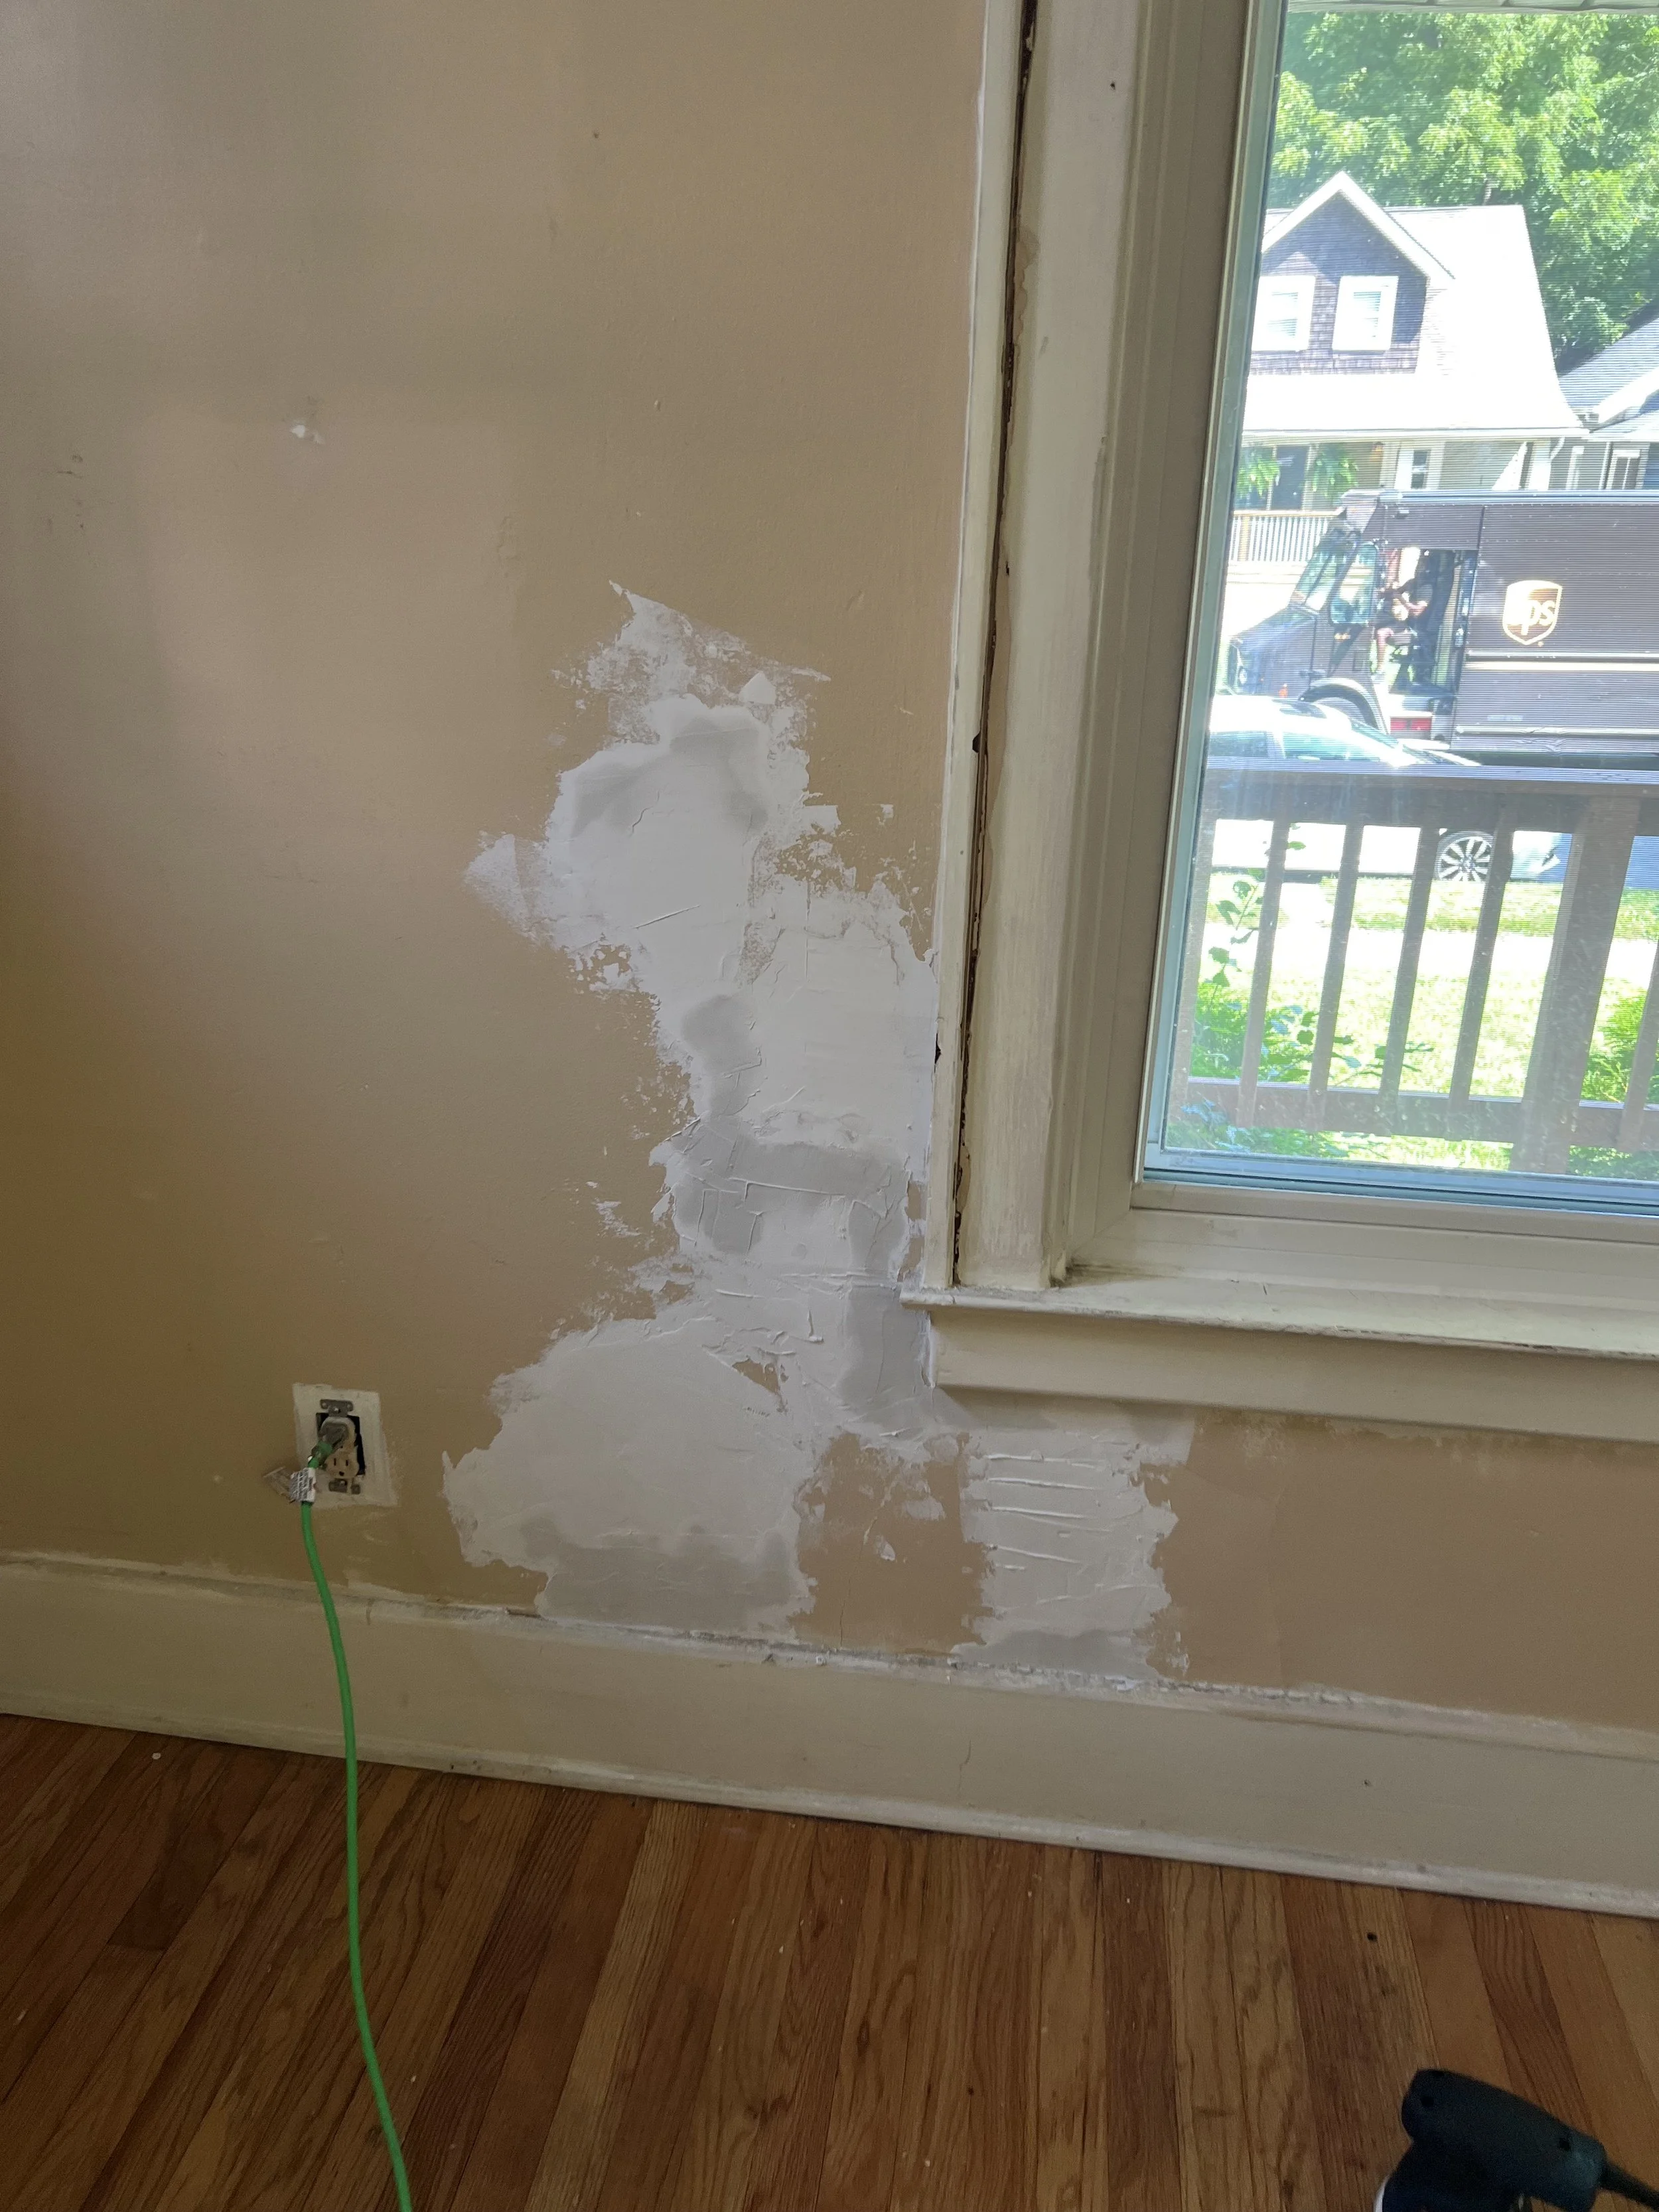
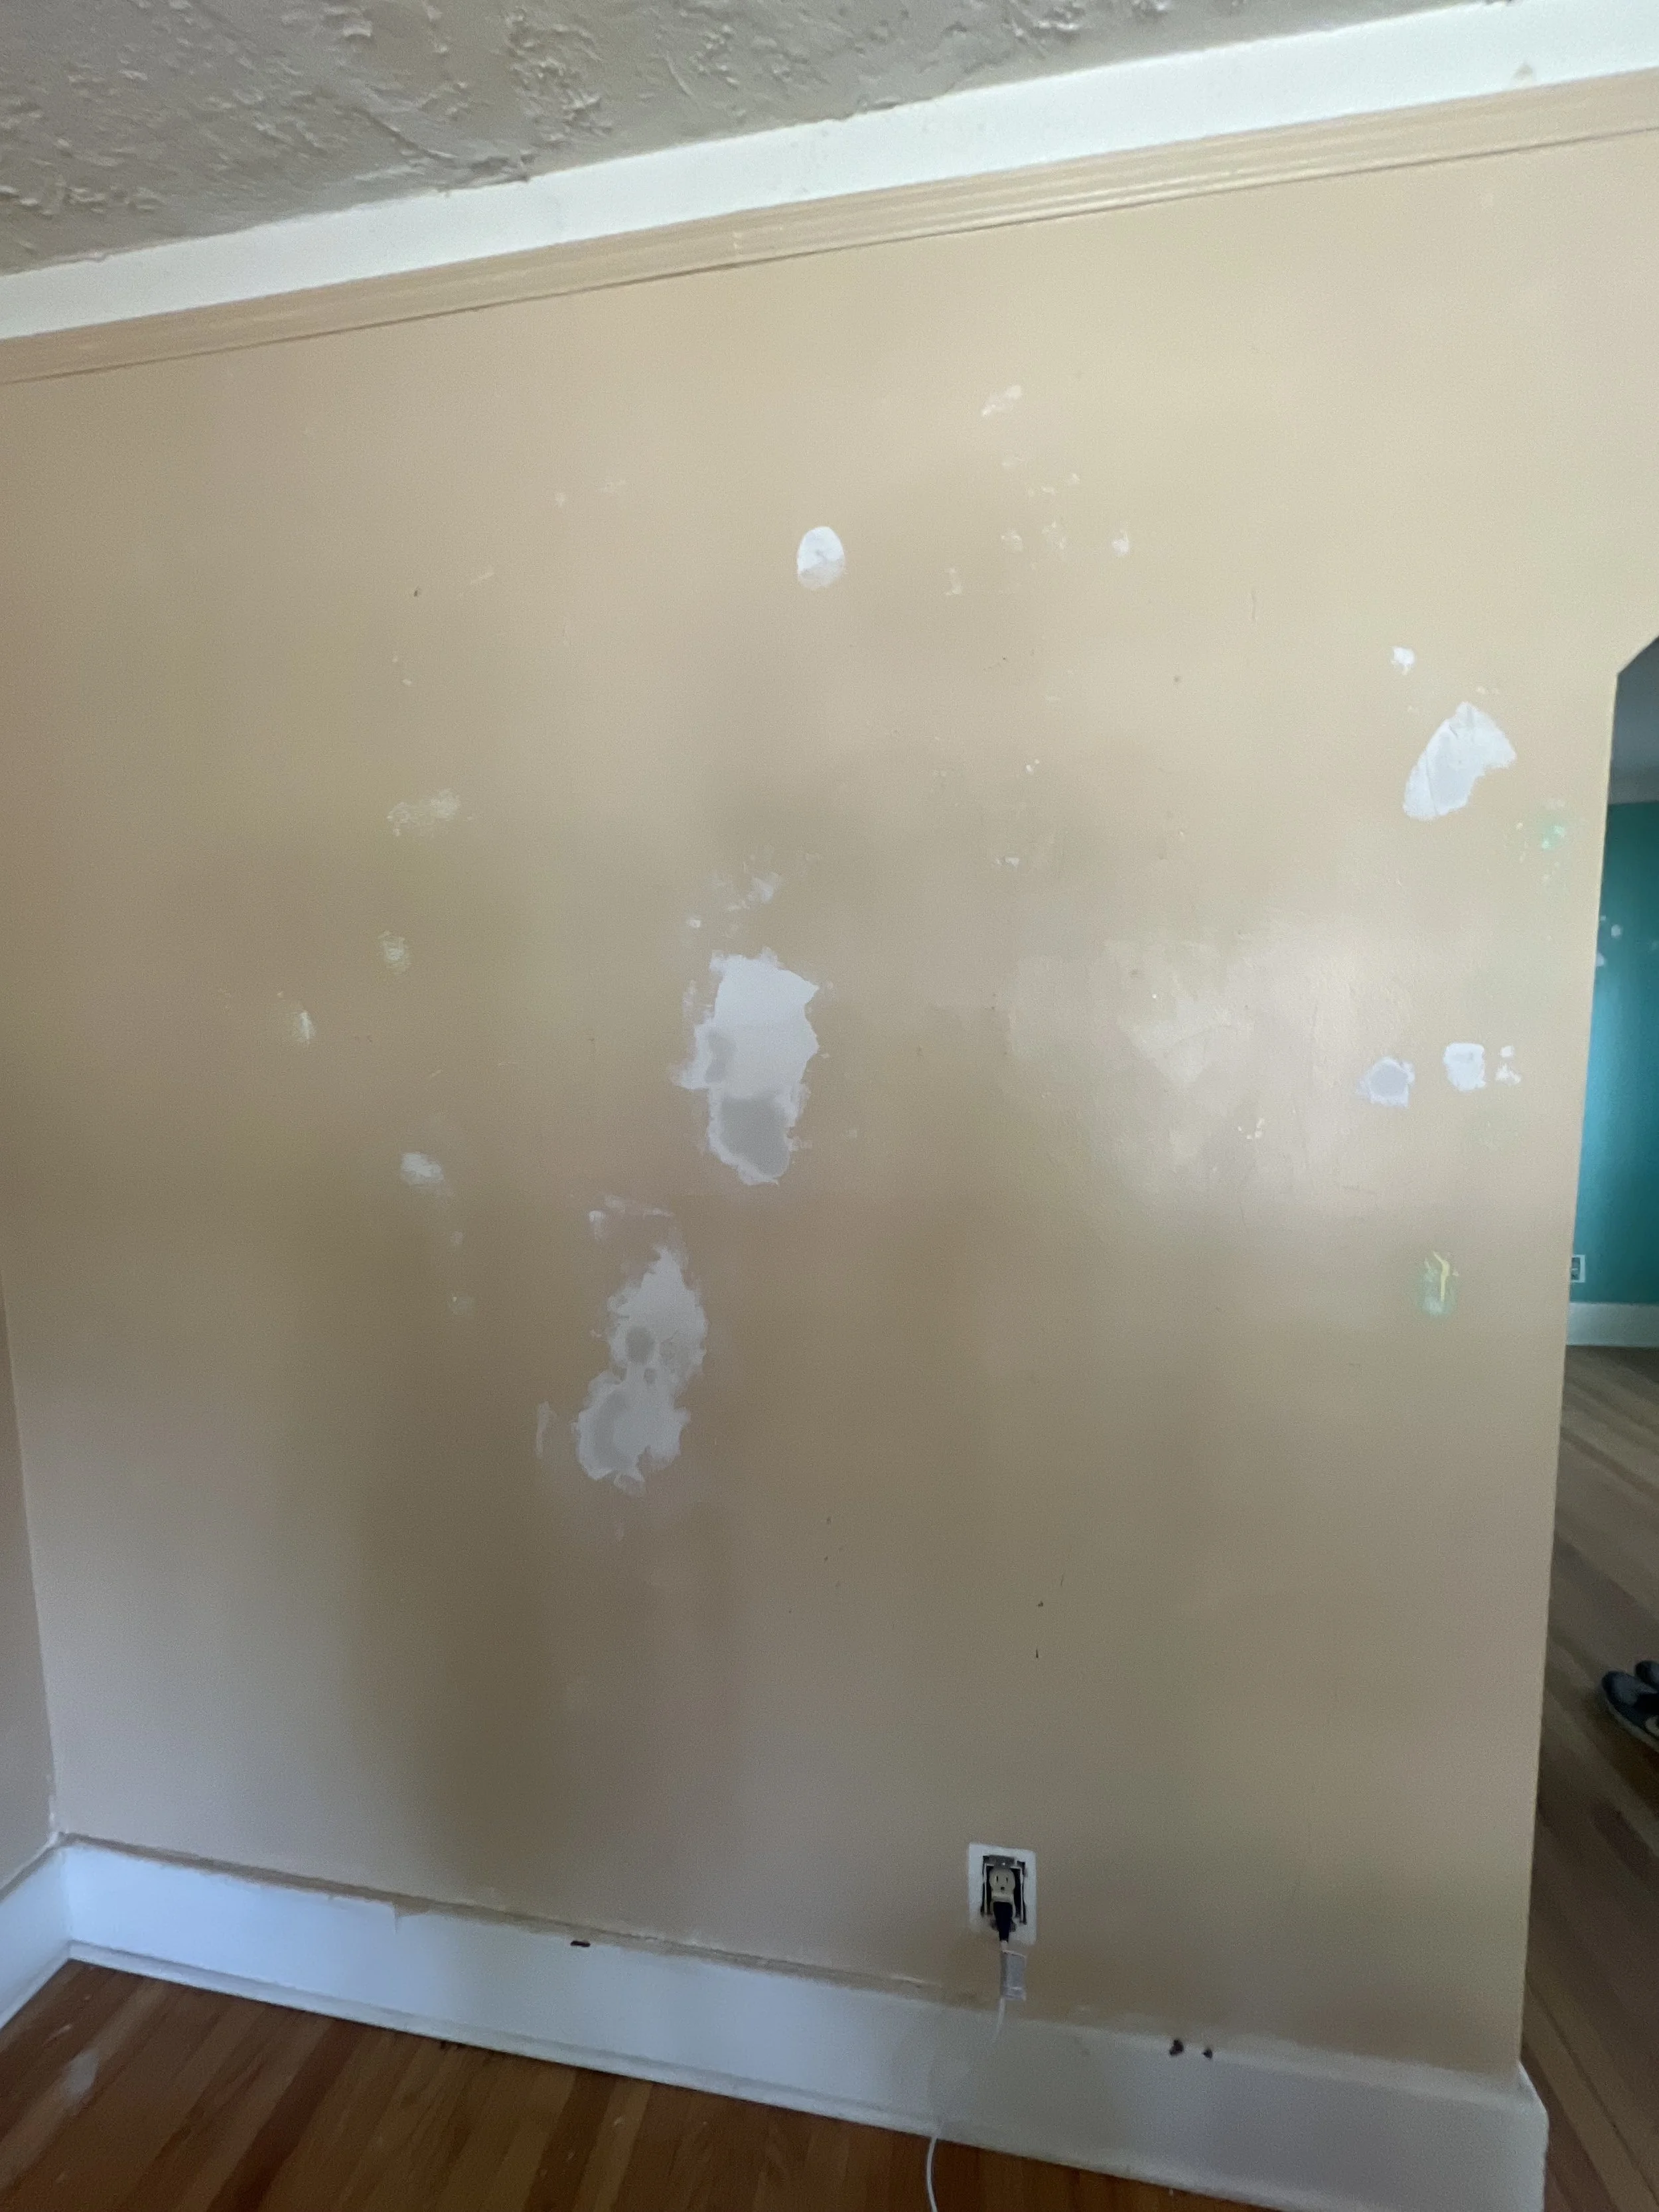
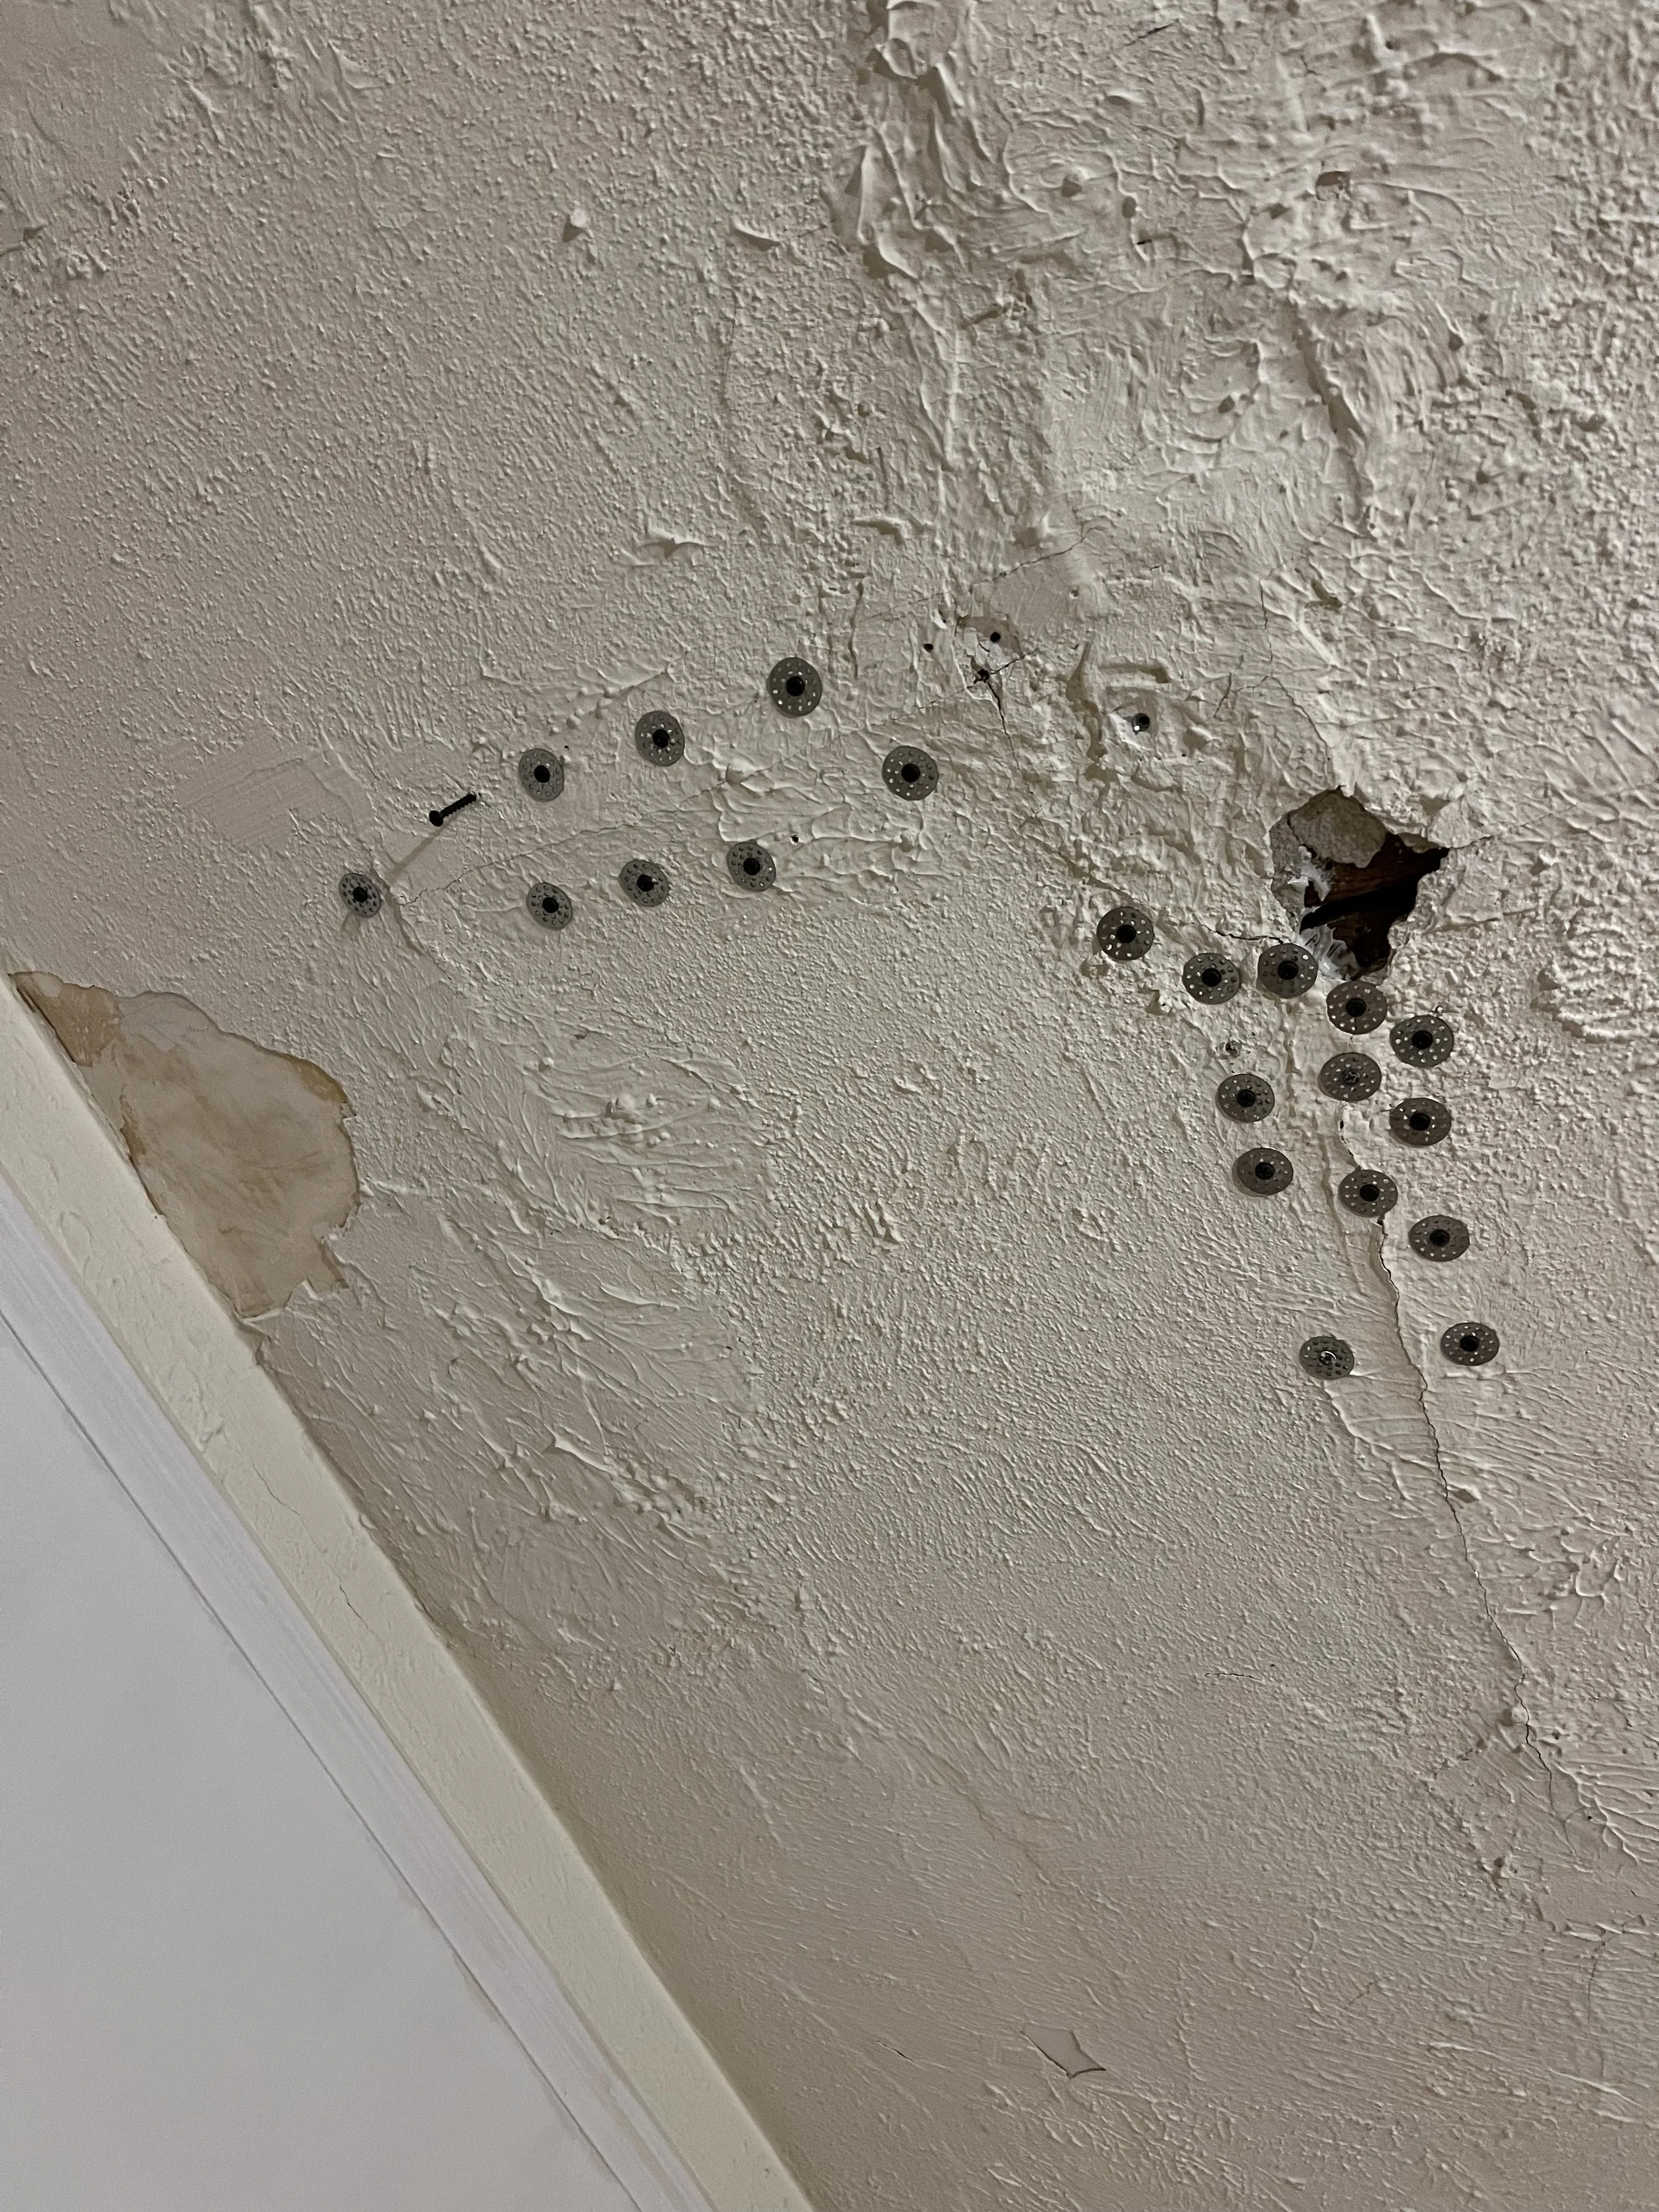
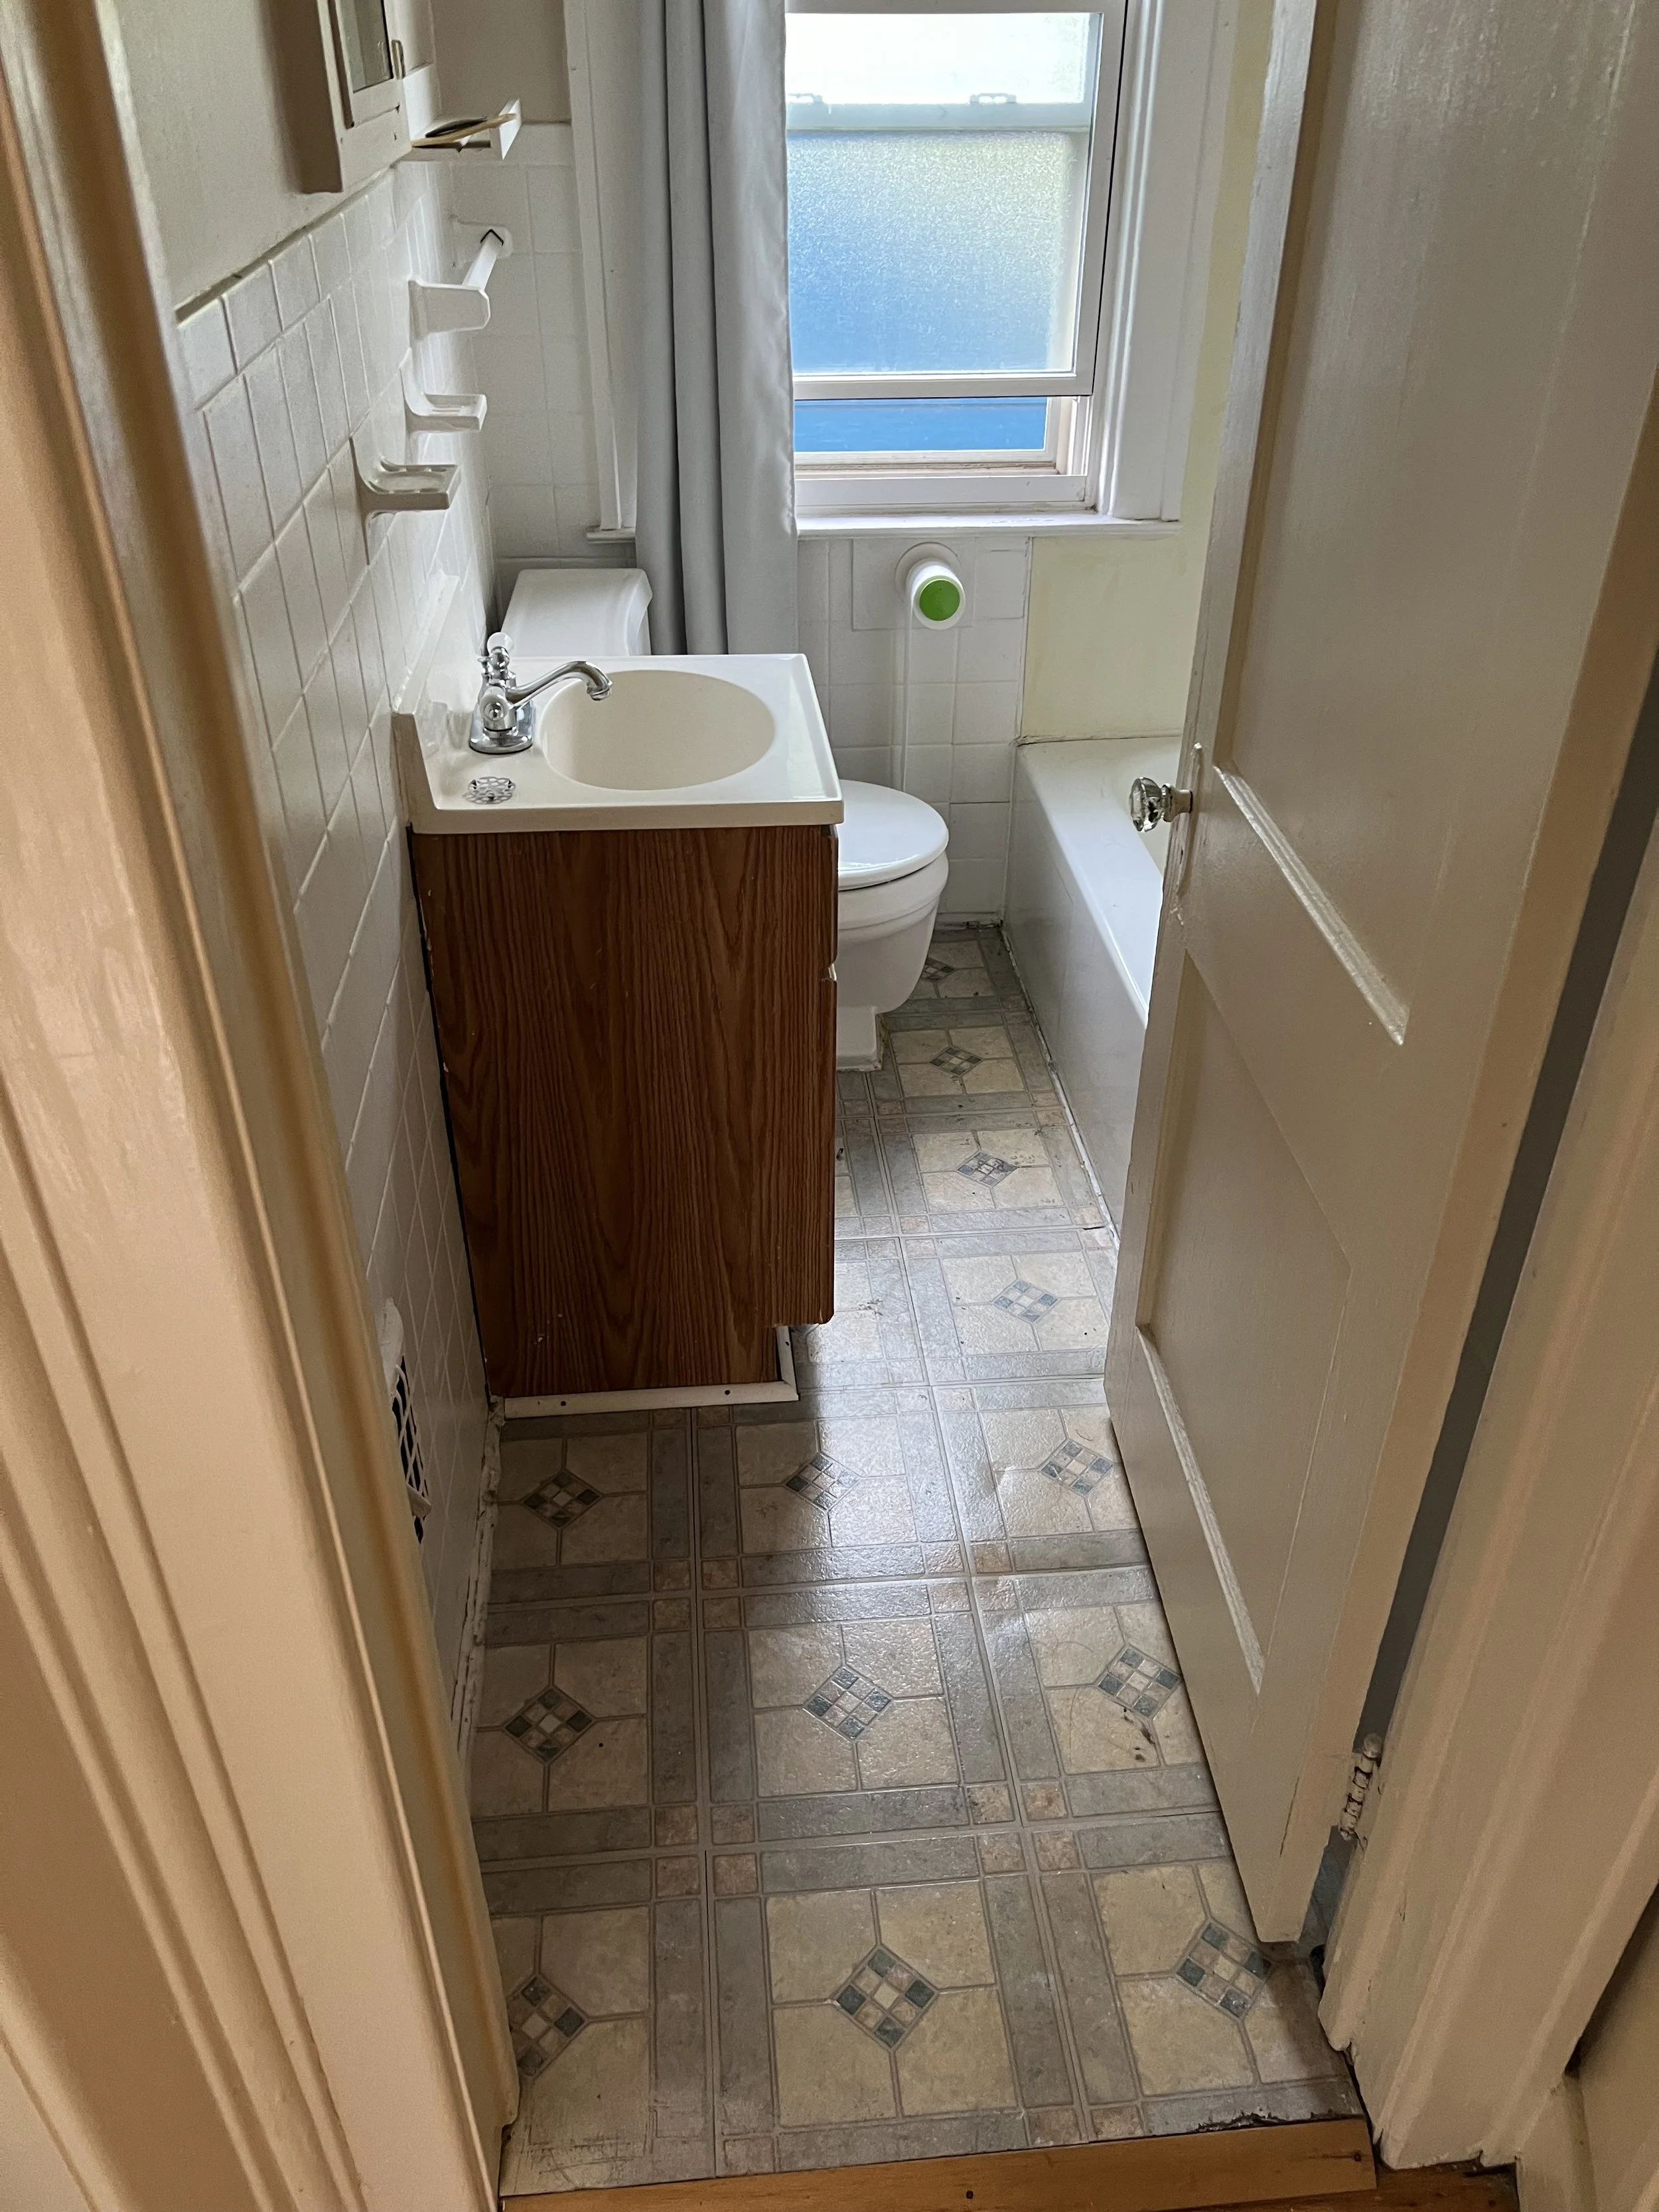
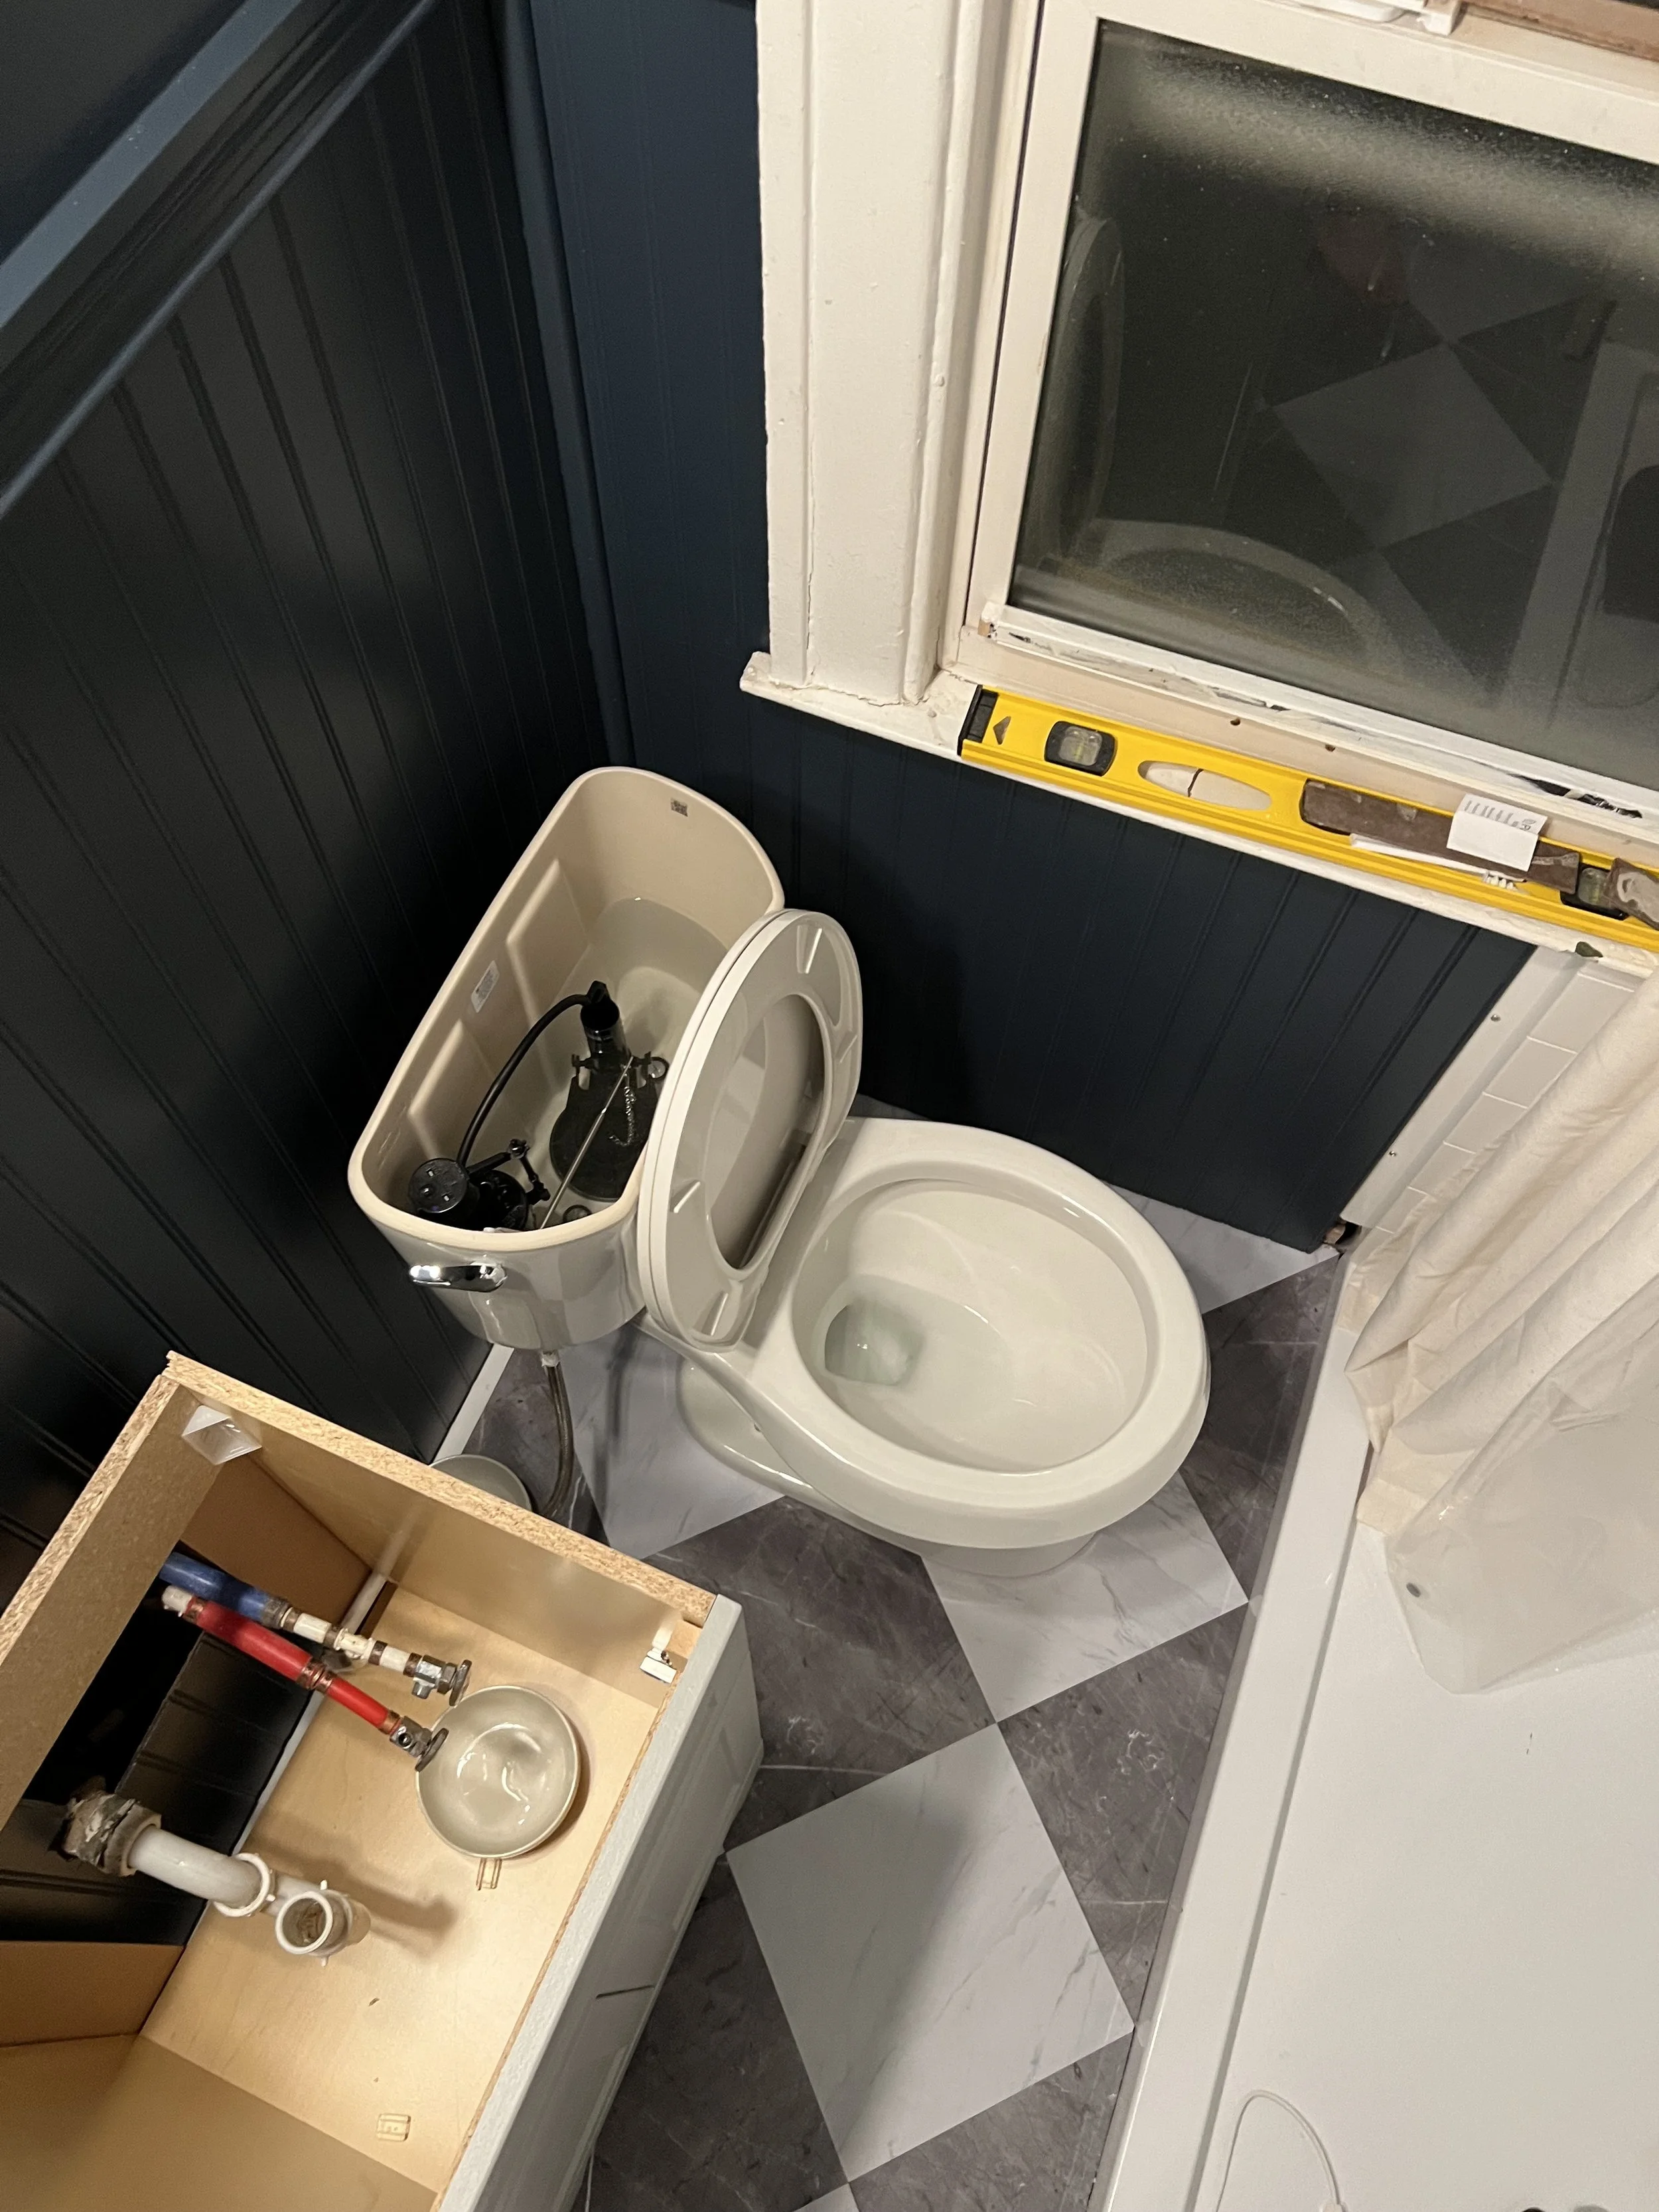
    Due to a crooked and old cast iron toilet base drain, I had to use two wax rings and an adapter to ensure a good seal. Before painting, we scraped and applied joint compound to several spots on the ceiling where the paint was peeling due to water damage. For the new paint, I used the same semigloss finish as in the downstairs kitchen. We applied two coats of primer and three coats of the semigloss paint to thoroughly seal against water and steam.

  • January 2025 – Bathroom x Bathroom

    After getting married in December, I had to finish up the bathrooms for obvious reasons. I have been using the the bottom unit bathroom while the top one is gutted, but the bottom unit has been leaking into the basement.

    The persistent shower leak in the basement proved to be a stubborn adversary. Despite replacing the toilet’s wax ring, recaulking the tub edge, and addressing minor tile issues, water continued to infiltrate after each shower. Diagnostic testing, including prolonged tub water flow without leaks, narrowed the problem to the shower wall below the window.

    I investigated further and found that grout cracks were allowing the water penetration. Upon removing several tiles, it became evident that the underlying drywall had severely deteriorated, leaving the tiles unsupported. Six tiles were removed to expose the damaged area. Structural supports were added to the studs, and new drywall was installed. To enhance waterproofing, I applied 10-inch Kerdi-band, followed by a mud layer.

    The salvaged tiles required extensive cleaning to remove residual mortar and grout. A diamond cutoff wheel on an angle grinder proved effective for this task, despite some minor surface irregularities remaining. After tile reinstallation and fresh grouting, a deep clean and grout impregnator was applied around the entire shower for added water resistance.

    Taking advantage of ceiling access, an exhaust fan was installed to improve ventilation. I used my SUV as a temporary platform for cutting the outside wall opening and securing the vent. There were many small roadblocks during this installation that required moment by moment problem solving and a lot of effort to stay calm.

    The upstairs bathroom renovation continued with tackling the subfloor. I utilized old floor planks and oak flooring pieces to level the existing subfloor, ensuring a stable foundation. Additionally, I reinforced areas where joists had been previously altered, providing added structural support. My M18 Fuel impact driver, one of the best $100 I have spent.

    The shower pan installation presented a new challenge: creating a mud bed. This process required careful mixing and placement, and I found myself needing to mix additional batches of mud mid-installation to ensure proper support for the pan.

    Shower panel installation required unexpected vertical clearance due to their snap-together design, this required more drywall removal. The durable composite material, not plastic, ate a multi-tool blade, making my Dremel with a cutoff wheel the tool of choice.

    Following the panel installation, I installed green board and mudded to create a smooth surface, then PVC trim was added for a clean finish around the panels. To enhance water resistance and provide a stable base for the flooring, 1/4-inch Hardie board was installed over the subfloor. My angle grinder equipped with a diamond blade proved invaluable for cutting both the existing lathe and plaster walls and the Hardie board. The bathroom was now prepared for the cosmetics phase and hardware installation.

      Closet Shelf
    Closet Shelf

    Shortly after my wife moved in, I tackled a small organizational project. To clear my tools off the dining room table and out of sight, I built a tool shelf. I added a support bar on the right side and may need to add another along the front edge of the shelf, against the back wall. So far, it’s working well!

  • November/December 2024 – Screens, Squirrels, and Trees

    November began with replacing the screens on the front windows, then fighting squirrels and ended with the oak tree finally coming down.

    November started with fixing the screens on the front porch downstairs. There are big windows, and it’s part of the Ferndale rental laws to have no holes in the screens of rental places. I didn’t have the right tools, so I ended up using a butter knife, spoon, and utility knife to cut and push in the screen components on the frame. Without the proper tools, this was much more time-consuming, but I managed to get it done. I think I made the screens a little too tight because the sides started to bow after I was done, but I was worried about them being loose since I was doing it for the first time and with the wrong tools.

    Around November, I replaced most of the outlets and switches in the house. Many of them were old, super disgusting, and didn’t match the new paint I put in. The wiring was a mixed bag between new Romex wire and old tar and cloth wires. Some of the copper was extremely brittle, so I had to be very careful. What I’m assuming was more handyman work added a lot of time to replacing these because they didn’t use the screws on the sides of the outlets to fixate the wires. Instead, they pushed them into the sockets on the back, which is less time-consuming but a huge pain to work on later. Almost all the outlets were grounded, which I wasn’t expecting—I assumed almost none of them would be.

    In a previous post, I mentioned all the issues I had with the tree guy I tried to hire earlier in the summer. One of the other companies I talked to in the summer gave me a call to see if they could come trim any branches or do any other work for me during the winter when they have less work. I ended up negotiating with them to do the rest of the tree (basically the whole tree) for the same cost as the first guy, which I learned was quite low for a reputable tree company. Within a week, the tree was down. Some things are just worth the extra dollars for the sake of time and energy. It was pretty cool to watch and amazing how fast they did it!

    Since purchasing the house, I knew I needed to fix the spot in the back where the cable/internet line came to the house. They were pulling the siding off, and there was a gap below the siding into the wall. The day before I was supposed to leave for a week, a fat squirrel got in and chewed its way up into the ceiling, running around in the attic and through the walls, building a nest. I removed the cable/internet line brackets and waited for the squirrel to come out. When I thought the squirrel was out, I tried to close up the flap in the evening. Turns out, the squirrel I had seen wasn’t the only one in there—one of them was already asleep for the night. I woke up in the morning and heard it crawling around, trying to chew its way out. It ended up chewing much of the cedar shingle and underlayment. I spent the whole day closing and opening the siding, thinking the squirrel had come out when it hadn’t or had chewed its way back in. Eventually, I watched it struggle to get out through the existing gap that I even propped open farther earlier in the day. Before putting the cables back up, I tightened the good one (it was sagging) and removed the other, which was an internet or TV line not in use anymore. After all the chewing, when I screwed back on the siding, there was still a small gap, and I was leaving, afraid the squirrels would chew on that and cause damage while I was gone. I remembered I had an oversized vent that I had removed from somewhere downstairs and ended up screwing that over the hole so there was nowhere for the squirrels to chew on and break through into the wall while I was gone. I added a small piece of wood beneath that to cover up the hole for heat and energy purposes.

  • October 2024 – Paint, Demo, Kitchen

    October was a productive month where I was able to focus on the kitchen, finishing the demo of the bathroom in my unit, and take care of some pluming issues.

    Replacing the hose bib turned out to be quite a challenge, even though it seemed like it should have been a simple fix. Like most of my DIY projects, it ended up being unexpectedly difficult.

    I started by trying to remove the hose bib from the outside with a crescent wrench. I managed to loosen something, but it wasn’t the hose bib. To make things worse, the loosening started to feel like it was getting tighter again.

    When I checked in the basement, I found out that I had loosened the pipes two joints back, about 20-30 feet into the basement. The grounding cables connected to the pipe had wrapped around and twisted the line tight. So, I temporarily removed the cables and tried to figure out what to do next.

    I decided to get into the crawl space directly on the other side of the hose bib and loosen the joint there. After buying a pipe wrench and vice grips, I was able to loosen the joint at this location. Then, I fixed the joint I had accidentally loosened and reattached the grounding cables.

    Next, I installed a new 18-inch pipe and put the hose bib on from the outside. One big issue at each step was that the pipe wrench and vice grips were stripping the tooth depth in metal off of the pipes. Getting a tight enough grip to turn the pipe and have proper leverage without breaking more joints or the old pipes themselves was a struggle and a constant worry throughout the whole process.

    In the end, I managed to replace the hose bib, but it was definitely more complicated than I expected.

    The first two images above show the aftermath of ripping out the rest of the wall tile in my bathroom. The bathroom is completely gutted at this point, revealing some serious water damage and a ruined old oak floor. It’s kind of impressive how resilient the old oak is, though. Even in spots where water had destroyed the outer layer, the middle was still solid.

    One of the last areas to prime and paint was the kitchen. I knew I didn’t want all white, and I needed to do something to make those floor tiles look better (they’re so ugly). After spending some time on Pinterest and Google Images, I decided on a dark navy or bluish grey. I ended up picking Behr Midnight Blue, which I didn’t even notice until I was at the cash register and saw it on display. I painted the trim and the bottom half of the kitchen that color, and it made a huge difference! (especially for the appearance of the tile).

    A friend helped me remove the old kitchen and stove. They were still operational but disgusting and on their last legs. The gas stove especially was a potential fire hazard with rust all over it. I decided it wasn’t worth my time to try and sell or recycle them. I put them on the curb, and within a few hours, a scrapper came by and picked them up. Maybe not the best financial decision, but I was done adding extra tasks at that point.

    I bought two new stainless-steel appliances from American Freight that will hopefully last for a few decades and help command a higher rent price. The stove upstairs is electric, so I’m personally jealous of whoever ends up renting downstairs because of the new gas one.

  • September 2024 – Trees & Cleaning

    Continuing with the theme of not documenting much, I have little to show from this month in the form of pictures.

    September continued with painting, part 1 of repairing the defrost component in my fridge, cosmetic repairs, and the start of tree removal.

    While functional, the old fridge and oven were in rough shape. The fridge was extremely moldy, missing lots of parts on the interior, and had various juices (including meat) dried all over the front of it. The old oven was incredibly rusty and had grease and grim baked onto it everywhere. In the interest of (current & future) time as well as safety I put both of these appliances on the curb. The 2nd and 3rd images are a before and after of where I removed the old fridge.

    One day in my unit I notice the fridge was getting warm. I had noticed ice build up in the back of the freezer so I knew that was the issue. I dethawed the whole thing and ordered a new defrost timer. This did not solve the issue, but was a temporary fix until this week (mid Feb 2025). Next I will try the thermal sensor.

    I ended up painting the living room myself and the image of the window and walls shows the new color I used. I also painted the windows frames and vynl parts of the windows, which you can see the start of in the picture.

    Dealing with contractors for anything has been a STEEEP learning curve. Finding contractors with integrity and a sense of urgency to get things done in a timely and professional manner has been a huge challenge. I made the mistake of paying a deposit for a tree removal before any work was done. They came a month after I gave them a $1k deposit and cut the branch that least affected me. After several weeks of me nagging and further excuses and delays, I told them not to come back and found someone that finished the job promptly and professionally. I really learned a lot from this. Especially about negotiation, and how important it is to break things down to the basics. The deposit situation taught me to question everything from first principles and push back when something doesn’t add up.

  • August 2024 – Priming & Painting

    August kicked off with a huge help from my wonderful family! They tackled the priming of the bottom unit, while I dove headfirst into the walls. Ten layers of cracking paint clinging to cracking lath and plaster presented a serious challenge. My tools and materials included joint compound, wood glue, an orbital sander, and foam sanding blocks. It was a meticulous process, but the results were worth it.

    The living room ceiling, also lath and plaster, was in even worse shape, riddled with cracks and sagging from years of Midwest humidity seeping in through open windows. Plaster washers, liquid nails, and more wood glue became my go-to solution. After securing the plaster, I applied a fresh layer of drywall mud, carefully matching the existing ceiling texture for a uniform appearance.

    A few weeks later, my amazing girlfriend (now wife!) helped transform the rooms with fresh coats of paint, breathing new life into the space. I continued the wall repairs, painted all the laith and plaster ceiling, meticulously painted the trim and window frames, and replaced outdated outlets throughout the house. The “vanilla bean” (aka “cigarette yellow,” my friend’s spot-on description) and the disgusting turquoise dining room are finally gone (objective opinions).

    I wish I had more photos to share from this period, but unfortunately, I was more focused on getting things done and hadn’t considered needing the pictures for anything later.

  • June/July 2024 – Paint Prep

    Summer 2024 presented a complex project management challenge: balancing eight weddings (only 3 in state), a 10-day work trip to Cologne in June, and the ongoing house renovation. During the little time I had in June and July, the focus was on preparing the lower unit for painting, addressing inherited tenant issues (including legal and police involvement), and moving myself into the upper unit. In the midst of the whirlwind, documenting the renovation was not a priority. These few photos offer a small window into the work that was done during these months.

  • May 2024 – Getting Started

    I closed on the property in the spring, but the renters’ occupancy pushed my access back to the end of May and early June. The state they left the property in dictated my first steps: a major trash clean-out, serious yard work, and essential maintenance. Once those were complete, I turned my attention to a bathroom demolition upstairs.

    The upper unit bathroom was ground zero for the renovation. The previous tenant moved out before the bottom one and left the place picked up. In general, this space had clearly been neglected (by landlords mainly) for at least a decade (and in some areas, much longer). The “handyman” work was rough, including this shower situation. Installed with the incorrect adhesive, it was leaking and practically peeled off the wall. At first, I thought the tub was cast iron and tried the sledgehammer method… Nope, steel. The hammer just bounced back and left a dent when I hit the tub harder. Thankfully, my friend came to the rescue with his sawzall and some carbide blades. Cutting it out was surprisingly easy. Then came the floor. Two layers of linoleum/vinyl over particle board screwed into the original oak floor (tears). As you can see, the leaky tub had done its damage, turning the subfloor into a moldy disintegrating mess.

    Figuring out the original 1922 layout of this house is like solving a historical mystery, the wall behind the shower framing is a major piece of the puzzle.

    The photos above highlight the yard work and trash that were kindly left behind for me to deal with. Around the time I gained access to the property, one of two oak branches cracked and fell. The one that fell was thankfully over the yard. Its twin is over the front half of my house. More on that in a later post…